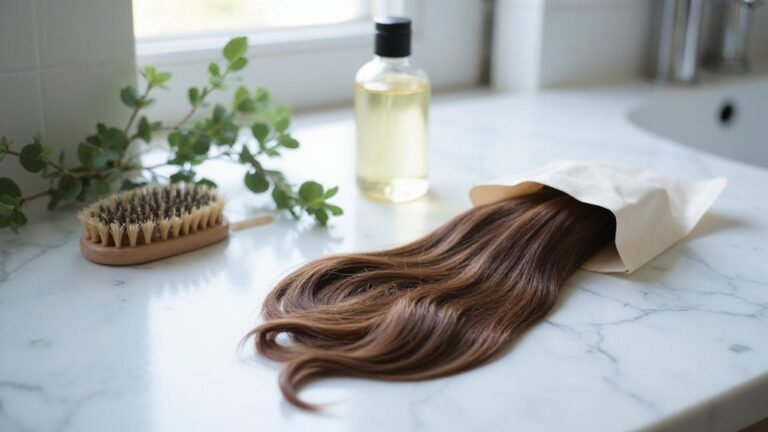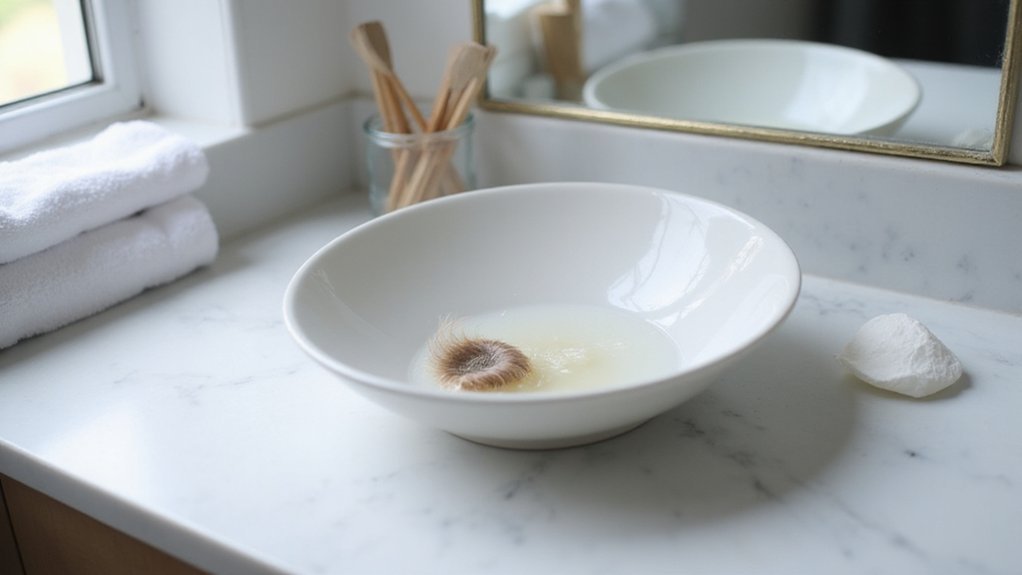
If you’re trying to remove lace front wig glue, you might feel unsure about how to do it without damaging the lace or your hair. The key is using a gentle solvent and patience to soften and lift the adhesive safely.
With the right steps, you can clean your wig effectively while keeping it in good shape.
Below, I’ll guide you through the best way to remove the glue carefully and effectively.
Why Gentle Wig Glue Removal Prevents Lace Tears
Gentle removal prevents lace tears by avoiding the mechanical stress caused by forceful pulling. When you peel off glue without softening it first, you exert tension on the delicate lace mesh, which can lead to tears or fraying. Aggressive scraping or using fingernails to lift the adhesive further distorts the lace structure, creating holes and weakening its fibers. Instead, adopt a two-step process: first, soften the adhesive with a dedicated remover or warm water; second, gently lift the lace once the bond has loosened. This process mirrors how microneedling stimulates collagen by creating controlled micro-injuries, but for removal, the goal is to avoid any damage. Allow the solvent to penetrate for 2 to 5 minutes—you may extend this to up to 7 minutes for acrylic-based bonds. Placing the lace flat on a towel prevents unwanted stretching during removal. Use cotton pads or circular motions with a soft brush to gently loosen residue, and always work in sections for controlled removal. Brushing in one direction at a shallow angle helps reduce stress on the lace, minimizing the risk of tears. Remember, leaving residue behind hardens over time and increases the potential for damage during future removals. For a different application, tape in extensions require careful adhesive management to preserve the integrity of the hair system.
Best Alcohol Percentage for Dissolving Lace Front Glue
The best alcohol percentage for dissolving lace front glue is between 90% and 99%. Higher concentrations work faster on stubborn residue, making removal quicker and less frustrating. You’ll see faster results with these percentages compared to 70%, especially on aged or tough glue. For spot treatment, 99% is ideal because it acts quickly without damaging the wig if applied carefully. This high concentration works by dissolving the adhesive on a molecular level, similar to how ink pigment carriers break down resins. Expert guidance confirms that tattoo inks can degrade over time, just as adhesive solvents lose effectiveness when stored improperly. Additionally, learning proper storage techniques can help maintain solvent potency and prevent adhesion issues.
Apply the alcohol with a cotton swab or ball directly on the glue line. Let it sit for one to two minutes; for more stubborn or aged glue, extend the contact time to about five minutes. Avoid soaking the entire wig to prevent over-drying or damage. Repeat light applications if needed to fully dissolve the adhesive. Think of it like a precise, targeted approach—fast and effective. Use 99% alcohol only for spots, not for saturating large areas, as it is more concentrated and can dry out the hair if misused.
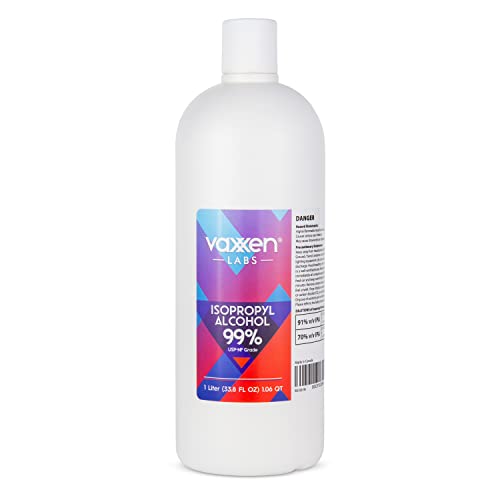
* USP-NF GRADE: Vaxxen Labs 99% Isopropyl Rubbing Alcohol is USP-NF Grade.

99% Isopropyl alcohol is not intended for use on the skin

Pure & Unadulterated Alcohol: Made from the highest grade, 99% pure isopropyl alcohol. High purity alcohol contains no inert ingredients like methanol so you can be assured that you are getting the best and most reliable product
When to Use Oil-Based Removers for Sensitive Skin
Oil-based removers are suitable when your primary goal is to gently remove glue from your skin with minimal irritation. However, they can leave a greasy film that requires a clarifying wash afterward. Repeated use on lace may weaken knots over time, so use sparingly and with caution. Always perform a patch test beforehand, even with products labeled as gentle, to check for any adverse reactions. These removers are best suited for situations where removing residual adhesive without damaging delicate lace is a priority, rather than for aggressively stripping bonds from lace fibers. Just as with tattoo supplies, you should check tattoo ink expiration dates to ensure product integrity and avoid using degraded substances on your skin. For those with sensitive skin, a pure citrus oil formula like the Ace Lace Glue Remover dissolves adhesive while nourishing the scalp, yet it still demands the same cautious, sparing application on lace to avoid long-term fiber damage. Beginners should pair these removers with a wig cap that offers a snug, secure base to minimize the amount of adhesive needed in the first place. Understanding the precise needle groupings used for different tattooing techniques helps clarify why product specifications matter equally for adhesives and inks.

FFAST ACTING WIG REMOVER SPRAY: Our wig remover spray can easily and gently remove your wig. It can be 60 seconds without damage and taking off tape extensions as little as 3 minutes without pain. It can also be used to clean up any adhesive left on your hairline, making it a cleaner and faster way to remove your wig

FAST-ACTING WIG & LACE ADHESIVE REMOVER – This professional wig glue remover quickly dissolves strong adhesives including lace glue, wig adhesive, tape residue, and toupee bonds. Works as a powerful lace wig glue remover spray to remove tape in hair extensions cleanly without pulling, damage, or sticky buildup.

【Quickly & Effectively Remover】Hair extension tape remover oil is designed for quick dissolution of hair gel adhesions, easily loosening hair strands and reducing glue removal time. Lace glue remover can quickly and easily remove hair removal glue and is suitable for any type of tape extension or soft bonding.
Loosen Adhesive With Warm Water and Soap on Lace
To loosen adhesive on lace safely, use warm water and soap instead of harsh oil-based removers. Fully soak the lace section in warm water first; the gentle heat helps soften the glue without harming the mesh. Apply a few drops of dish soap directly onto areas with heavy glue residue. Let it sit for 10 to 15 minutes, or up to 30 minutes if the adhesive is very stubborn, to allow the soap to penetrate thoroughly. After soaking, gently rub the lace in circular motions with your fingertips to lift the softened glue. Rinse the lace thoroughly with warm water and check for any remaining spots. Repeat the process if needed. This method minimizes chemical exposure and helps keep your lace intact for reuse. For particularly thick adhesives, boiling hot water is a faster alternative that turns glue white, signaling it is ready to peel away with less effort. Always test a small corner of the lace first to ensure the water temperature won’t cause melting or warping before proceeding with the full soak. Following these steps mirrors the careful approach used when mastering wig cap application for a flawless look.
Grab a Soft Toothbrush to Scrub Stubborn Residue
Using a soft toothbrush is the best way to remove stubborn residue from your lace wig. Choose a brush with gentle, soft bristles—never medium or hard—to protect the delicate knots in your lace. Dip the brush in warm water mixed with a small amount of dish soap or conditioner. Use gentle circular motions to lift residue, avoiding aggressive back-and-forth scrubbing that could damage the lace. To begin, apply a thick oil to help lift the lace without pulling hair.
Work only over the glue-affected areas and keep the wig supported to prevent tugging. Periodically wipe out the brush to remove loosened adhesive, but do not rinse it down the drain. Check your progress after each pass; stubborn glue may require a second gentle cycle. Always stay gentle—over-scrubbing can create holes that are impossible to repair. This method works best once the adhesive has been softened, serving as a careful, detailed cleaning step rather than a forceful hack. Similar to proper needle depth in tattooing, using the correct pressure prevents permanent damage to the surface.
Apply Solvent Step-by-Step Without Damaging the Lace
Work in small sections along the hairline. Apply the solvent directly to the glue line, not the entire wig. Let it sit—about five minutes for light residues, up to fifteen minutes for stubborn buildup. Adding a little warm water alongside the remover helps soften the bond, making it easier to loosen. Using water to assist in loosening the adhesive aligns with proper product recommendations for effective loosening. Don’t rush the chemical reactions; they need time to break down the adhesive effectively. Always follow damage-free aftercare instructions to preserve the wig’s lifespan once the glue is removed.
Once the glue feels soft, test it with a soft cloth. Gently wipe or roll the residue away. If it resists, reapply the solvent instead of forcefully pulling, to avoid damaging the lace. Patience is key for a clean removal without damage.

Package Included:1.28 fl oz wig glue + 1 fl oz wig glue remover + 0.56 oz hair wax stick flower scent + 1.05 oz edge control wax + 2 pcs elastic bands+ 2pcs hair dual brush + 2pcs wig caps. (Notice: The date printed on the wig glue bottle is the production date, and the shelf life is two years)
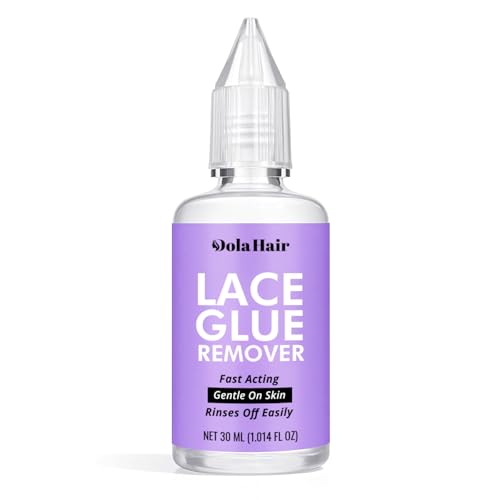
Dolahair Lace glue Remover can remove adhesive residue from a variety of cosmetic bonding products and can be used for all tape-in hair extensions including skin wefts damaging the hair, skin or scalp.

All Mighty Remover can remove adhesive residue from a variety of cosmetic bonding products.
Rinse and Condition Your Wig for Immediate Reuse
After removing the adhesive and wiping away any glue residue, rinse and condition your wig carefully before reuse. Use lukewarm water flowing downward from the roots to the ends, as this minimizes tangling and helps protect the lace from damage. Avoid heavy soaking of the cap, since over-saturation can cause water damage and weaken the lace. Keep the rinse controlled until the water runs clear to remove all residue without over-wetting. Gently press excess water out using a microfiber towel—never wring or twist the wig, as that can distort its shape. For optimal air drying, hang the wig over a suitable surface such as a shower rod, avoiding laying it flat to prevent deformation. This method aligns with proper wig cap care to extend the lifespan of the lace.
Apply a lightweight conditioner only to the mid-lengths and ends of the wig, keeping it away from the lace base to prevent residue buildup. This prevents knots from loosening and keeps future adhesion intact. Allow the conditioner to sit for 2 to 5 minutes, then rinse thoroughly until all product is removed. For human-hair wigs, opt for a sulfate-free shampoo and occasionally deep condition to maintain softness without stressing the lace fibers. Once rinsed, let your wig air-dry completely on a wig stand before reinstalling.

【13x6 Lace Front Wigs Human Hair Material】100% Unprocessed Brazilian Virgin Body Wave Wigs Human Hair, Cut from Young Girl Head Directly, Natural and Healthy, Soft and Comfortable.

Non-Slip Hold Without Clips or Adhesive: Soft elastic velvet grips securely against your scalp, keeping your wig firmly in place all day without clips, glue, or tape.

13x6 Lace Front Wigs Human Hair Material: 13x6 hd lace front wigs human hair, 100% Unprocessed 10A Brazilian Virgin human hair body wave lace front wigs. No shedding,no tangling. The hair is soft, natural look,full and thick,health and comfort,smooth and bouncy, with natural luster and color.