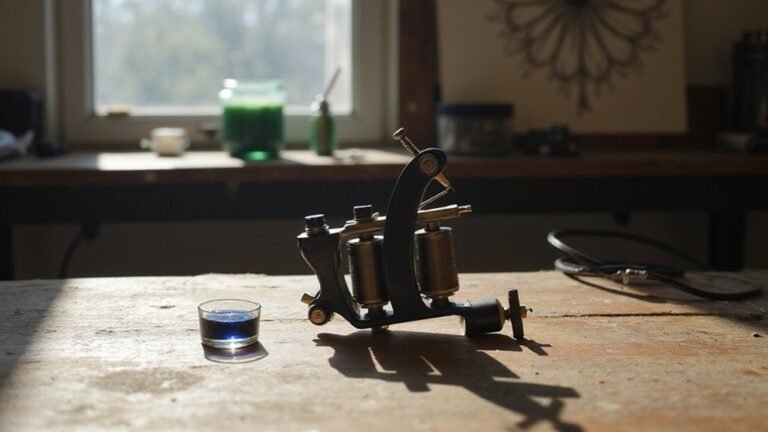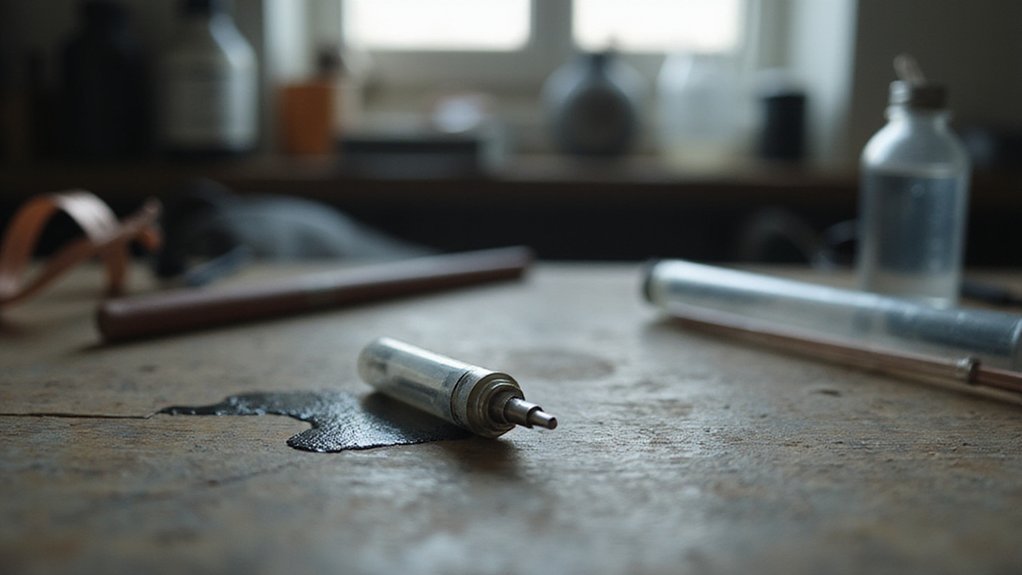
If you’ve ever wondered what tattoo needles actually look like, you’re not alone. They’re quite different from sewing needles—made up of tiny pins grouped together precisely.
Understanding their shapes and how to spot flaws can make a big difference in your work. Keep reading to learn more about these essential tools.
Why Tattoo Needles Look Nothing Like Sewing Needles
Tattoo needles look nothing like sewing needles because they are clusters of tiny needles soldered together, not a single solid shaft. Their primary design focuses on delivering ink into the dermis rather than penetrating fabric. These grouped micro-needles control ink flow precisely, with gauges like #10 or #12 indicating their size and detail capability. Understanding these needle grouping configurations helps artists select the right tool for specific line work or shading. Safety is crucial in tattooing, so strict sterilization protocols and single-use packaging are standard to prevent infection and cross-contamination. Sewing needles lack engineered sterility and depth control, which could lead to inadequate ink retention or skin damage if used for tattooing. When handling a tattoo needle, you’re working with a specialized, hygienic tool designed exclusively for controlled skin penetration—not a repurposed sewing tool. The dermis layer of skin is the target destination for ink delivery during the tattooing process. The manufacturing process for these needles involves precise soldering and inspection to ensure consistent ink flow and patient safety.
What a Round Tattoo Needle Looks Like and When to Use It
A round shader needle features a circular formation of pin tips with slightly wider spacing compared to a round liner. This configuration creates small gaps between the pins, making it ideal for blending colors and achieving smooth shading effects. You’ll want to use a round shader when working on soft gradients, stippling techniques, or areas requiring gentle transitions without harsh lines. A key consideration for this type of needle is that consistent speed and correct angle prevent skin trauma and ensure clean shading results. Cartridges marked “RS” are typically round shader needles, helping you distinguish them from tighter “RL” (round liner) configurations used for precise lines. This type of needle is perfect for adding depth and softness to your artwork by blending colors seamlessly and creating broad, smooth coverage. Beginners should practice on synthetic skin before attempting to use a round shader needle on a real canvas. Similar to preparing skin for a red light mask session, proper aftercare on the tattooed area is essential for healing and lasting results.
How Flat Tattoo Needles Create a Wide, Linear Shape
Flat tattoo needles are soldered in a straight horizontal line, creating a wide, linear shape that deposits ink across a broader area at once. Unlike round needles, which cluster pins in a circle, flat needles consist of pins side-by-side with no spacing, forming a rigid strip that contacts the skin along a single edge. This configuration enables precise, even strokes ideal for geometric designs or straight-edge work. Because they are a single-row configuration, flat needles are considered largely outdated for achieving heavy saturation in modern tattooing, as their straight line cannot match the pigment-carrying capacity of stacked or woven groupings. This limitation makes them less effective for tasks that require heavy saturation compared to modern needle configurations. This is similar to how some skincare tools, like roller derma, are often touted for results that their basic design cannot fully deliver. For instance, flat tattoo needles are best suited for fine line work rather than bold fills.
Because the full row of pins hits the skin simultaneously, flat needles significantly boost ink distribution. This allows for strong saturation in a single pass, resulting in clearer, darker lines without multiple strokes. Flat needles, often labeled as 3FL or 7FS, excel at sharp edges and technical shading, making them a favorite for crisp lines and tonal blends. You can easily angle them for clean fills or subtle gradients, and their shape outperforms rounded groupings by maximizing pigment delivery during each stroke.
Why Magnum Needles Are the Best for Shading Large Areas
Magnum needles are the best for shading large areas due to their high ink capacity and efficient coverage. Their dual-row pin configuration allows them to hold significantly more ink than flat needles, enabling you to deposit color more rapidly without frequent dipping. This results in faster shading, fewer strokes, and less skin trauma over time. For instance, common magnum configurations include 12 or 14 pins in a tightly packed double row, providing a wide surface area for smooth application. Just as beginners need to choose the right wig cap for comfort and fit, selecting the correct magnum needle configuration is essential for achieving optimal shading results.
The grouped needle layout of magnum needles ensures even ink distribution, which is crucial for smooth gradients and consistent shading. Whether you’re working with black ink or color blends, magnums produce soft, seamless tonal transitions. Curved or woven magnum configurations give you greater control over saturation, allowing lighter pressure to create realistic gradations without overworking the skin. These qualities make magnums ideal for backgrounds, solid fills, and any large-scale blending work. Using multiple passes with a magnum can also help achieve dense black saturation without damaging the skin.
What Needle Gauge and Taper Mean and How They Affect Appearance
Needle gauge is measured in numbers like 8, 10, or 12, with higher numbers indicating thinner needles. The gauge affects how much ink is deposited into the skin: larger gauges (smaller numbers) produce finer lines suitable for detailed work, while smaller gauges (larger numbers) deposit more ink and create bolder, more saturated lines. Taper refers to the length of the needle’s point, with longer tapers giving you greater precision for delicate shading and finer details, and shorter tapers producing softer, broader strokes. Together, gauge and taper determine the needle’s overall performance: a thicker needle with a short taper will lay down a lot of ink quickly, ideal for filling in large areas, while a thinner needle with a long taper offers more control for fine lines. Selecting the right combination depends on the specific effect you want to achieve and the area of skin you’re working on. Understanding needle configuration is also essential for achieving consistent results across different techniques. Knowing the number of needles in a grouping, such as a 3-round liner or 7-magnum, is key to matching the tool to the desired effect. Using gentle removal techniques is just as important for preserving skin integrity as selecting the right needle gauge is for achieving precise tattoo lines.
How Bugpin Needles Differ From Liner and Shader Configurations
Because bugpin needles use thinner individual pins than standard tattoo needles, the cluster appears finer and smaller in overall diameter, even if the grouping count remains the same. This results in a more delicate deposition of pigment and affects how you approach color blending. Bugpin liners and shaders deposit pigment more subtly, creating smoother gradations without heavy saturation. For needle grouping, a bugpin round liner stays tightly packed for crisp, precise lines, while a bugpin round shader opens slightly wider for softer fills. Standard 12-series needles tend to feel bolder and more robust, whereas bugpins in the 8 or 10 series excel in achieving precision and fine detail. You’ll need to apply lighter hand pressure with bugpins, as they are less forgiving if you dig too deep, but they reward your effort with delicate detailing and seamless tonal gradients. Shorter tapers enable quicker packing and larger holes, making them suitable for faster color saturation when using bugpin configurations.
How to Tell If a Tattoo Needle Is Defective Before Use
To identify if a tattoo needle is defective before use, start by thoroughly inspecting the packaging. Ensure it is unopened, undamaged, and within its expiration date; compromised packaging or expired needles can compromise sterility and material integrity. Next, examine the needle shaft carefully— it must be perfectly straight. Any bend can cause uneven ink distribution and increase the risk of skin trauma. Check the solder joint where the bar meets the tip, making sure it is firm and even; a loose or uneven joint can cause the needle to twist during use. Look closely for burrs, broken points, or irregular edges on the needle tip—discard any that show signs of wear, damage, or an excessively open tip. Confirm the needle sits snugly without wobbling in its cartridge or tube to prevent movement during procedures. Before opening, also verify that the needle type is compatible with your tattoo machine setup. Reject any defective stock to ensure proper needle performance and safety—never force a compromised needle into service. Following these checks supports proper ink distribution and helps avoid skin trauma associated with using inferior aftercare products. Just as damaged needles can harm the skin, using unsafe hair products may similarly lead to breakage and irritation. Selecting a reliable tattoo aftercare ointment can further protect the healing skin from infection and promote faster recovery.
How to Inspect Tattoo Needles Under a Magnifying Glass
To inspect tattoo needles under a magnifying glass, use a loupe with 3.5x to 5.0x magnification. This level of zoom uncovers details invisible to the naked eye, ensuring you spot defects before use. Focus on the grouped metal pins at the tip, checking that they are sharp, round, and free from deformation. Look for “mushroom-like” ends, which indicate damage or manufacturing flaws. Consistency in color across the entire needle group is crucial; variations suggest poor quality or contamination.
Examine the surface closely for any contamination, such as clumps or powdery debris near the tip or weld joint. The shaft should be smooth, free from scratches, grooves, or uneven textures. The weld area must appear clean and well-fused—roughness or irregularities can compromise performance. At higher magnifications, slight tip deformations become evident, such as bent, flattened, or irregular shapes. Aim for evenly centered, pointed tips; irregular or asymmetric points stand out clearly when inspected with a loupe. Damaged needles can harm the skin, so always check your needles thoroughly before starting your tattoo session to ensure safety and quality.