Thinking about adding hair extensions but unsure whether tape-ins or clip-ins are better for your lifestyle?
If you want something semi-permanent that lasts for weeks with minimal effort, tape-ins might be the way to go.
But if you prefer versatility and easy removal daily, clip-ins could be your best option.
Keep reading to find out which fits your hair and schedule best.
Clip-Ins vs Tape-Ins: What’s the Real Difference?
Clip-ins and tape-ins differ significantly in how they’re applied and worn, shaping your styling options and maintenance routine. With clip-ins, you attach them by snapping pressure clips into your natural hair, which makes them easy to put in and take out daily. This method offers maximum flexibility—you can switch up your look whenever you want, whether that’s a full head of extensions or no extensions at all, without any commitment. It’s also straightforward to match your hair color by swapping sets, so you’re never stuck with one look. Tape-ins, on the other hand, involve adhesive wefts that are bonded directly to your hair, providing a semi-permanent extension solution that can stay in place for several weeks. These sit flat against your scalp, feeling lightweight and natural, and give a seamless appearance that’s ready to go as soon as you wake up. However, since tape-ins are glued in place, you can’t remove or adjust them yourself without professional help, limiting instant style changes. Essentially, clip-ins give you full control and versatility, while tape-ins prioritize a smooth, long-lasting, blended finish that requires less daily effort. Tape-ins also require proper adhesive care to maintain their bond and prevent damage during wear. Notably, tape-ins can be reused multiple times with professional removal and reapplication, making them a cost-effective option over time. This process of using micro-needling technology can stimulate the scalp to improve blood flow and support healthier hair growth. Additionally, using a red light mask may help calm scalp irritation caused by adhesive wear.
Which Type: Clip-Ins or Tape-Ins: Fits Your Daily Life?
Clip-ins are ideal if you want flexibility for your daily routine. You can put them in in just 5 to 10 minutes for a quick night out, then remove them before sleeping or showering. This allows you to skip extensions on lazy days or if your schedule is unpredictable. However, you’ll need to handle the attachment and removal process each day, which can be inconvenient. If scalp sensitivity is a concern, removing clip-ins at night can help avoid discomfort. Understanding how to properly secure the wig cap underneath can also improve clip-in comfort and stability during wear.
Tape-ins are better if you prefer a low-maintenance, long-term solution. They stay securely in place for 6 to 8 weeks, eliminating the need for daily removal or reapplication. This makes them perfect for a consistently ready look without extra effort. Keep in mind, however, that maintaining tape-ins requires regular salon visits. If you frequently dye your hair, tape-ins can complicate color changes because they are typically left in for weeks. In contrast, clip-ins let you dye your natural hair and extensions separately. Think about how your routine fits best with either option. For those seeking a non-invasive approach to facial rejuvenation, radio frequency machines offer a similar long-term convenience for skin tightening without daily maintenance. For proper care of tape-ins, you should follow a specific wash method using sulfate-free shampoo to avoid loosening the adhesive bonds. Additionally, applying a protective scalp barrier before installation can reduce irritation from the adhesive over the 6-8 week wear period.
How Tape-Ins Work and What to Expect
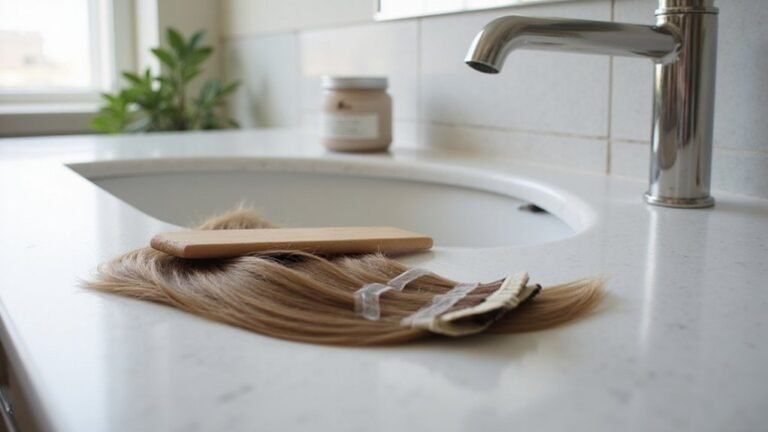
Tape-in extensions use a sandwich method: a thin section of your natural hair is placed between two adhesive wefts, forming a flat bond that sits close to your scalp. Double-sided tape secures this bond, holding your natural hair between the wefts. During installation, your hair is sectioned into rows starting from the nape of your neck and moving upward. Each section is carefully separated, leaving a small gap from the scalp to allow flexibility and prevent tension. Skilled installation ensures the bonds are discreet and comfortable, enabling you to style your hair up without visible attachments. For optimal coverage, the wefts are placed in a brick lay pattern to fill gaps between tapes and prevent visible lines. You can enjoy up to eight weeks of wear before reapplication is necessary. When it’s time for removal, solvent-based products are used to strip the adhesive, and the wefts can be reused with fresh tape. Keep in mind that repeated re-taping may cause the base to thicken slightly over time. Compared to sew-in methods, tape-ins present a lower damage risk because they avoid the tension and braiding required for sewn attachments. The adhesive bond is strong enough to hold securely while still allowing for natural movement of the hair. Similar to achieving consistent needle depth for tattoo work, proper tape-in placement requires an even and controlled application to ensure a secure, long-lasting hold without discomfort.
How Clip-Ins Work and When to Use Them
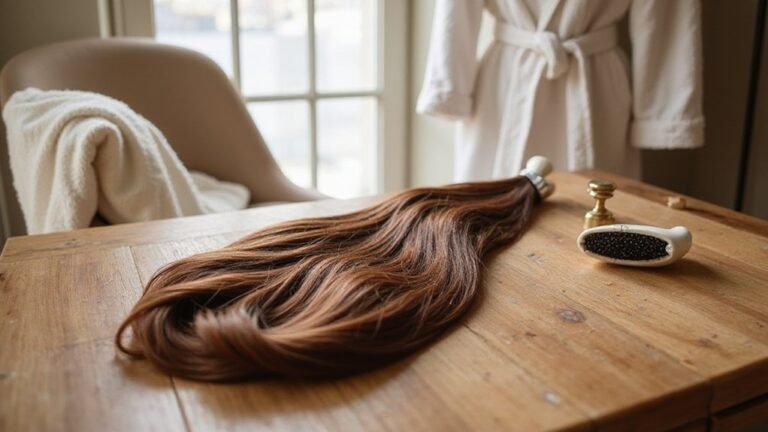
Clip-in extensions are designed for daily use, allowing you to add length or volume quickly without long-term commitment. You install them section by section, starting at the nape of your neck and working upward. Each weft has pressure-sensitive clips that snap close to your roots, locking the extensions in place. To ensure a secure hold, light teasing at the roots can improve grip without the need for glue or adhesive. For added security against slipping, the clips often feature silicone grip technology to maintain a firm hold close to the scalp. Using a derma roller on your scalp beforehand can stimulate blood flow, potentially improving the natural hair’s strength and thickness as a base for the extensions. For optimal scalp health, it is recommended to wait at least 24 to 48 hours between derma roller sessions to allow proper recovery. For a more permanent alternative that lies flatter against the head, tape hair extensions offer a seamless look that lasts several weeks.
These extensions offer great styling flexibility. You can curl, straighten, or add color accents as desired, then remove them easily before bed. Maintenance routines are straightforward: wash your clip-ins and store them flat, keeping them ready for your next event or photoshoot. They are ideal for those who want fast, temporary results, whether for a volume boost or a quick length change, and do not want to sleep in extensions or make permanent alterations to their natural hair.
Are Tape-Ins or Clip-Ins Safer for Your Natural Hair?
Clip-ins are generally safer for your natural hair compared to tape-ins. Since you remove clip-ins daily, your hair follicles experience regular breaks from tension, reducing the risk of damage over time. Tape-ins, although considered low-risk when professionally installed, stay attached for weeks, and improper removal can lead to root breakage. Application techniques also influence safety; clip-ins require careful placement and rotation to prevent repeated stress on the same strands. Tape-ins need precise salon scheduling every 6 to 8 weeks; missing these appointments can create excessive root tension that damages your hair. If your hair is fine or fragile, clip-ins are the better choice because they avoid adhesive contact and scalp irritation. While tape-ins aren’t inherently damaging, they leave less room for error—poor removal or maintenance can significantly harm your hair’s health. Watch for early warning signs like soreness or shedding, which indicate the tape is pulling at your roots and causing damage.
Real Cost: Tape-Ins vs Clip-Ins Over Time
Over time, clip-ins generally cost less than tape-ins for occasional wear, but tape-ins can become more economical if worn daily due to their reuse potential. A typical up-front expense for tape-ins ranges from $400 to over $1,200 for both the hair and installation. Maintenance costs of $100 to $300 every 6 to 8 weeks then add up, totaling around $750 to $2,400 annually. In contrast, clip-ins usually require a one-time purchase, priced from $50 to over $400, with no recurring salon fees. Similar to how red light masks offer different benefits depending on usage frequency, the cost-effectiveness of extensions hinges on how often you wear them. Just as needle grouping configurations determine the specific function of a tattoo machine, the choice between tape-ins and clip-ins depends on your usage pattern.
Tape-ins can last about a year with 2 to 4 reinstallation sessions, which reduces the average per-wear cost if you wear them every day. Conversely, human hair clip-ins tend to last between 9 and 18 months but do not involve any ongoing salon bills. If you wear extensions sporadically, clip-ins are clearly more budget-friendly. However, for daily use, tape-ins’ ability to be reused over time makes them more competitive—only if you’re willing to handle the recurring expenses.
reinstallation sessions significantly extend the total lifespan of tape-in hair extensions compared to single-use alternatives.
Should You Choose Clip-Ins or Tape-Ins? A Decision Guide
If you want a low-maintenance, wake-up-ready routine, tape-ins are the best choice. They can stay installed for 6 to 8 weeks, providing a long-lasting, natural look without daily handling. You’ll need salon visits for application and move-ups, but once in, they feel lightweight and seamless, especially on fine hair. You won’t need to remove them for sleep or showers, making them ideal for consistent, everyday wear. To maximize this wear time, proper aftercare is essential, including using sulfate-free shampoos and avoiding oil-based products near the tape bonds. This is similar to how a tattoo machine requires a stable setup to ensure consistent, long-lasting results without frequent adjustments.
Choose clip-ins if you prefer versatility and zero commitment. They’re easy to put in and take out whenever you want a different look, offering flexibility without the need for salon visits or long-term attachment.