How to Wear a Wig Cap for Beginners
Worried about how to keep your wig secure and natural-looking? Properly prepping your hair and choosing the right wig cap are key steps that can make all the difference. When done right, your wig will stay in place and look seamless.
Keep reading to learn the simple, effective way to wear a wig cap that works for beginners.
How to Prep Your Natural Hair Before Putting on the Wig Cap
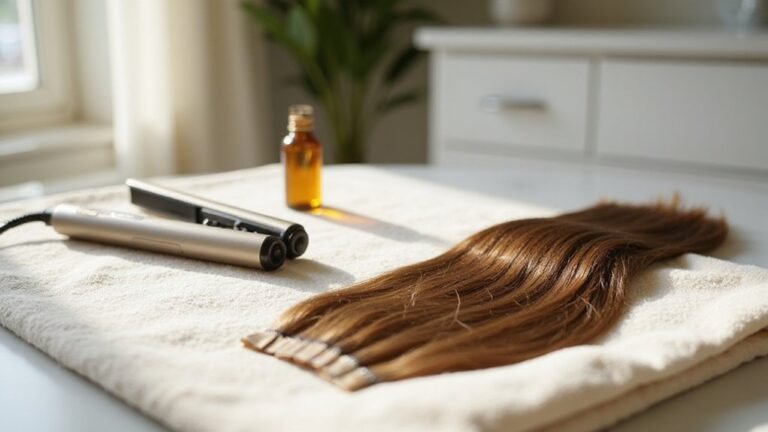
To prep your natural hair before putting on a wig cap, start with a thorough cleansing using a sulfate-free shampoo. This removes buildup and helps prevent itchiness under the cap. Rinse your hair completely to ensure no residue remains. Follow up with a leave-in conditioner to add moisture and keep your hair hydrated. Seal dry ends with a lightweight oil such as argan or jojoba to prevent breakage and keep hair smooth. When selecting hair extensions later, aim for a color match to ensure seamless blending.
Using microneedling techniques similar to those of a derma roller, the scalp can be gently stimulated to improve circulation before applying the cap. For cleanliness, always clean your device after each use to prevent bacteria buildup. Achieving the correct needle depth is crucial to avoid damaging the scalp during this process.
Next, create a smooth hairline by gently brushing your hair upward with a boar-bristle brush. Pin back any front strands to keep them flat and out of the way. Secure your hair in a low-profile style, like flat pin curls or braids wrapped around your head, to flatten the hair and eliminate lumps. Using thin elastics instead of thick ones further reduces bulk for a flatter base. The goal is to achieve a compact, tension-free base that allows the wig cap to lie flat and secure during wear. Proper prep minimizes shifting and discomfort, making the wig fit more naturally.

REFRESHING WIG SHAMPOO - Easily incorporate this wig wash into your routine to gently cleanse away product residue, dust, and environmental buildup to make your wigs shine again!

Moisturizing & Clean Formula - This shampoo gently cleans synthetic wigs and hair extensions while helping preserve softness and movement. Designed as a sulfate free cleanser for women who want a refreshed feel after each wash in their wig care routine
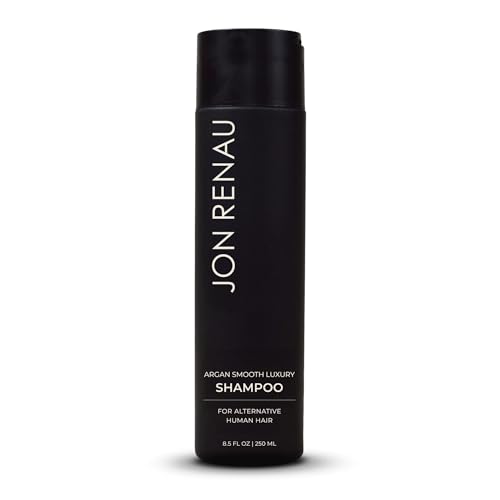
Gentle Hydrating Cleanser: This Argan Oil shampoo creates a soft, gentle lather that refreshes the hair without stripping moisture, offering hydration that leaves strands feeling smoother, replenished, and comfortable after each wash.
Pick the Right Wig Cap for Your Hair Type and Style
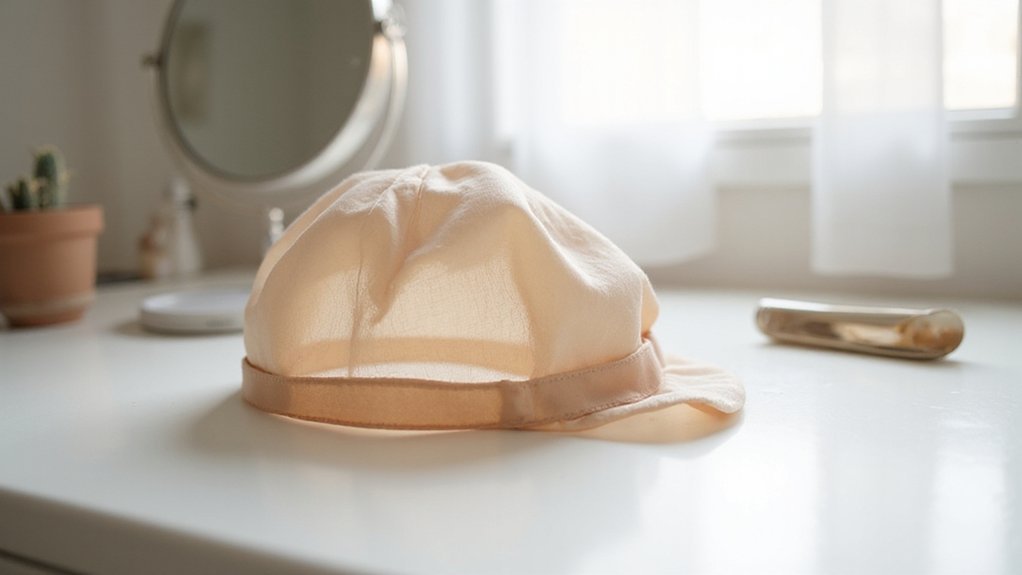
Choosing the right wig cap depends on your hair type, style, and comfort preferences. If you have natural hair, a cap with more stretch, such as a nylon stocking-style cap, can provide a close, slick fit without causing pressure points. For daily wear, look for caps made from materials like nylon mesh, which offers lightweight, smooth coverage and breathability. Cotton caps are absorbent but can trap heat, so they might be less comfortable if you have scalp sensitivity. Similar to how red light therapy can improve scalp health by stimulating circulation, a well-ventilated wig cap helps maintain a healthy environment for your hair and skin. Understanding the manufacturing safety standards for these materials ensures the cap is free from harsh chemicals that could irritate the scalp.
Cap construction also influences comfort and appearance. Wefted or capless caps allow more airflow, making them ideal for all-day wear. Lace wigs often require a cap with a strong hold to keep the hairline smooth and natural. If your hair is thick or curly, choose caps with added stretch to accommodate volume without causing discomfort. Prioritize breathable and soft materials, especially if you plan to wear your wig for extended periods, to keep your scalp healthy and comfortable. For example, caps with open wefts on sides and back like the Betty by John Renault allow for easy tightening and improved ventilation for petite wearers.

Package : 2 wig caps packed together in one paper board ,total 4 pcs wig caps

Package Included: Total 6 pieces Black nylon wig caps. Color: Black. 2 wig caps packed together in one paper board , total 3 paper board and 6pcs wig caps.

Dreamlover nude wig caps for women are perfect as bald wig caps for lace front wigs.
How to Position the Wig Cap for a Secure and Realistic Fit
To position the wig cap for a secure and realistic fit, start by aligning the front edge with your natural hairline—never on the brow bone. For lace-front styles, set the front about half an inch back from your hairline. If you have a widow’s peak, place the cap at its lowest point to match your natural hair growth pattern. Pull the cap smoothly toward the nape of your neck using a front-to-back motion, avoiding yanking or tugging. Keep the cap centered and symmetrical, using the ear tabs as reference points for proper alignment. Tuck the sides behind your ears, making sure they lie flat without bumps, and smooth out any wrinkles or air pockets to create a flat surface. Check that no hair escapes the edges to maintain a natural appearance. These hair styling techniques ensure a secure, invisible fit that works equally well with all types of fashion accessories. Using adjustable tabs at the back of the cap can tighten or loosen the fit for added security. For a truly seamless look, always smooth out any wrinkles before applying your wig. To prevent slipping throughout the day, you should master the full method of securing the cap with bobby pins at the temples and nape. The front-to-back motion used here mimics the direction of hair growth to prevent tension and lift.
Smooth and Tuck Hair Under the Wig Cap
To smooth and tuck your hair under the wig cap, start by thoroughly brushing or combing your hair to remove knots, which helps reduce bulk beneath the cap. Slightly dampen your hair or apply a small amount of gel to flatten strands and control flyaways, creating a sleek base similar to smoothing foundation on your skin. Divide long hair into low-profile sections—using two center-parted braids or flat twists can help distribute the hair evenly. For beginners, practicing with a beginner-friendly walkthrough ensures each step is clearly understood before moving forward. Flatten each braid against your scalp, pressing down firmly until no raised bumps remain, ensuring a smooth surface. Secure loose ends inward by tucking them neatly using either the back of a rat-tail comb or a makeup brush. Carefully push in baby hairs and shorter pieces around your hairline to create a seamless look. The base should feel compact, even, and free of lumps. For long or thick hair, carefully pinning the flattened sections securely before adding the cap is essential to prevent shifting and maintain that smooth base, rather than relying on bulky braids or curls. This technique mirrors the precision of ink or die tattooing, requiring patience and a steady hand for the best result. Understanding tattoo ink toxicity is important for anyone considering permanent body art, as it involves potential health risks from certain pigments.
Next, slide your wig cap over the smoothed hair, making sure the material lies tight without wrinkles or folds. If additional flatness is needed, you can use a second cap or hair accessories designed for this purpose. Before proceeding, check the perimeter carefully for stray strands or uneven areas to ensure a clean, secure fit, and pull the cap tight and smooth to avoid an alien head shape or bulges.
3 Ways to Secure the Wig Cap: Bobby Pins, Gel, and Straps
To secure your wig cap effectively, three main methods are recommended: bobby pins, gel, and straps. Bobby pins are the simplest option and work by anchoring the cap’s edges every few inches around your head. For thicker hair, jumbo pins offer better hold. To blend seamlessly, choose pins in colors that match your hair tone. Applying gel at the hairline creates extra grip—spread a thin line, allow it to become tacky, then press the cap down firmly. Make sure your skin is clean beforehand for optimal adhesion. Straps provide an adjustable, reusable option for securing the cap without any adhesive. They tighten around your head to reduce looseness and increase comfort. Keep in mind that material differences influence their use: pins are straightforward, gel requires skin prep, and reusable straps are adjustable but may take some effort to find the right fit. Combining these methods can give you a more secure, long-lasting hold. Avoid forcing pins through delicate lace areas to prevent tearing. Since comfort and effectiveness vary by person, experiment with different methods to find your best combination. When removing the cap later, follow safe removal steps to avoid pulling out your natural hair. For thick or resistant hair, the cap’s strong elastic around the front helps hold short pieces and bangs in place.

Strong wire bobby pins with smooth rubber tips.

Brown Bobby Pins and Bun Bobby Pins Set: Come with bobby pins brown hair and u shape bobby pins and hair bands, 3 diffrent hair accessories in one package. 50* 2'' bobby pins +50* 2.75'' large bobby pins +50* 2'' bun bobby pins+ 50* 2.36'' hair pins +100* clear hair bands. Meet almost all needs for hair styles

Dreamlover wig grip band is made of thinner and soft velour fabric to make it super breathable, especially in summer.
Apply Your Wig Over the Cap Without It Shifting
To apply your wig over the cap without it shifting, ensure the cap is securely in place before placing the wig. Start at the front hairline, then gently pull the cap back toward the nape for a flatter, more secure base. Smooth the cap flat with your palms to eliminate air pockets, especially around the ears and nape area. Choosing a cap color that closely matches your scalp tone helps keep the cap hidden, while a durable material ensures the base remains stable during wear. Proper understanding of wig parts is essential for effective wearing and helps you align the cap correctly. High-frequency wands use electrical currents to stimulate the scalp and improve blood circulation, which can support a healthier foundation for wig application. For a more secure hold, you can apply a thin layer of glue along the front hairline before placing the wig. Preparing the cap correctly helps extend the longevity of your wig base.
When placing the wig, lower it gradually from the front to the back, centering it before adjusting the sides for a natural look. For lace-front styles, position the cap slightly behind your natural hairline to blend seamlessly. After placement, perform a quick shake test by gently tugging around the hairline to check for any shifting. If the part appears uneven, re-center the wig. A snug, well-fitted cap provides a friction-free foundation, preventing the wig from slipping during daily activities.
Common Wig Cap Mistakes (and How to Fix Them)
A snug, thin cap creates a smoother, more natural-looking base for your wig. Avoid baggy, bulky caps that can cause bumps and an uneven silhouette. Make sure all your natural hair is sectioned and flattened completely before putting on the cap to prevent pressure points that can cause discomfort or shifting. The same precision used in selecting tattoo needle materials ensures that only quality components are chosen for a durable and reliable tool. Proper placement is key—position the cap centered along your natural hairline to maintain a realistic look. Instead of overusing adhesives, which can seep into the lace and damage fibers, opt for adjustable straps for a secure, clean fit. A snug, thin cap also benefits from proper cap adjustments using straps at the nape to ensure a secure and comfortable fit without causing headaches or slippage. For a flatter profile, use a sewing technique to gather the cap at the crown for a custom contour.
How to Fix a Wig Cap That’s Too Loose or Too Tight
If your wig cap is too loose or too tight, addressing the fit requires identifying the exact problem area first. For minor looseness, start by adjusting the built-in straps—tightening them to their smallest setting usually takes just 30 to 60 seconds. If the cap remains too loose, reinforce the fit with internal anchors like wig clips or a sewn-in elastic band near the nape or sides; this process typically takes about 2 to 3 minutes. For caps that are too tight, using scissors to make small slits between wefts allows the cap to expand while minimizing hair damage.
For moderate looseness, using a wig grip band made of velvet or silicone provides additional friction without permanently altering the cap. Your choice should also depend on the wig’s material and your hair type—grip bands tend to work well with lace front wigs, while elastic bands are better suited for denser hair. For those who prefer a display option, using a mannequin with head for sizing can help avoid fit issues entirely.
If the cap is too tight, you can carefully slit the interior seam to create extra space, but start small to prevent damage. For a mismatch of more than one inch, significant alterations are necessary. Always verify the exact loose or tight zone before making adjustments to ensure proper fit.

【Fairly Price】: You will get 2 pcs wig grip bands+ 4pcs wig cap, one-stop shopping, best value for money

THE ORIGINAL LACE WIGRIP COMFORT BAND: Seamlessly secure your Milano wigs and scarves in place with this premium wig band for lace fronts and lace tops; Featuring a one-size-fits-all adjustable glueless elastic lace band for wigs that firmly grips your wig and provides no-slip all-day security

Adjustable Hook and Loop Fastener: The Dreamlover wig grip cap features a lengthened hook and loop fastener, which fits most head sizes and allows you to adjust to comfortable tightness as needed.
Should You Use Bobby Pins, Gel, or Straps? Here’s When
Bobby pins, gel, and straps each serve a distinct purpose when securing your wig. Bobby pins are ideal for providing extra grip in thicker natural hair, weaving through the cap at targeted points to lift and anchor your wig without the need for adhesive. Use them daily when straps alone don’t offer enough stability, especially for irregular or thicker hair textures.
Gel is best used for cosmetic blending rather than structural support. Applying a small amount along the hairline helps melt lace edges into your natural skin, especially when matching colors or layering hair. It smooths out surfaces and creates a seamless look but does not add tension or hold the cap in place.
Straps are primarily used to adjust the overall fit inside the cap. Before using pins or gel, tighten or loosen the straps to ensure the wig fits securely on your head. Properly adjusted straps provide a stable base, making other methods more effective.
Most beginners find combining these methods works best: set the fit with straps, add pins for lift and grip, and use gel to melt edges. Relying on just one method can lead to less security or a less natural appearance, since each serves a specific function.

Snug & Stretchy – Elastic Band Wig Cap for Women. This wig cap features a built-in elastic band for a secure, non-slip fit. Ideal for keeping your natural hair flat and your wig in place, even during extended wear or active use

【Unique Design】The unique adjustable buckle design behind the headband can not only adjust the headband, but also better hide the excess part of the headband.

Shape: There is a U-shaped leave out in the middle
Why You Need a Wig Cap for a Natural Look
A wig cap is essential for achieving a natural look because it creates a smooth, realistic base for your wig. It flattens your natural hair against your scalp, eliminating bumps and uneven areas that can give away the fact you’re wearing a wig. Without a cap, your natural hair’s texture might show through the wig material, breaking the illusion of hair growing directly from your head. The cap also effectively hides your natural hairline, allowing the wig to look more like a natural extension of your scalp. This results in a cleaner part and a more believable silhouette, especially when wearing styles close to the head.
Choosing the right cap material and color matters. Breathable fabrics like nylon or mesh keep your scalp cool and comfortable during extended wear. Matching the cap color to your scalp tone enhances realism even further. Additionally, a wig cap provides grip, preventing your wig from shifting or slipping out of place. It also acts as a protective barrier, shielding your scalp from direct contact which can reduce irritation. Furthermore, it helps keep your wig cleaner and fresher by blocking oil transfer from your scalp. Overall, a wig cap isn’t just an accessory — it’s a critical component for a seamless, natural appearance.