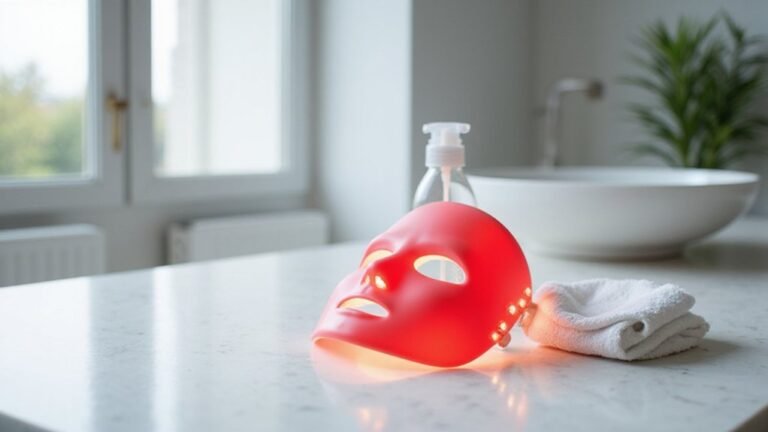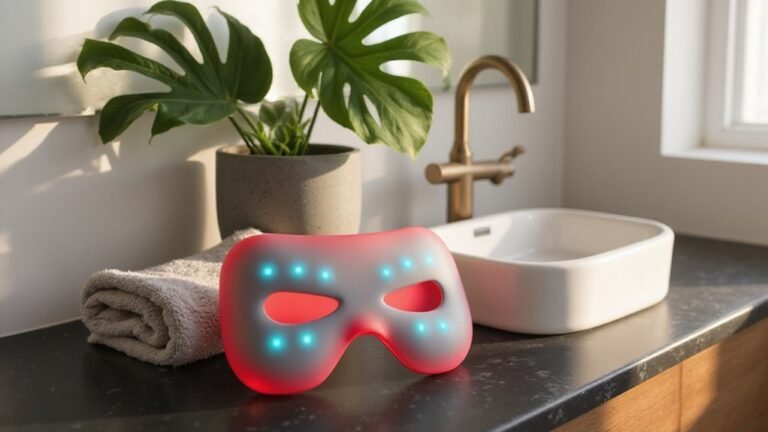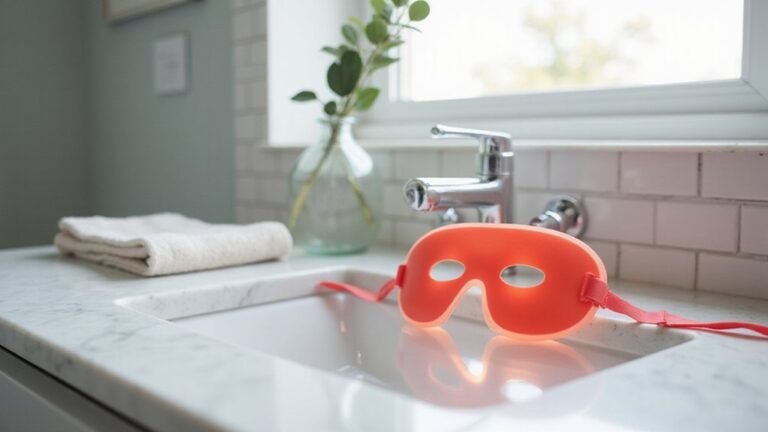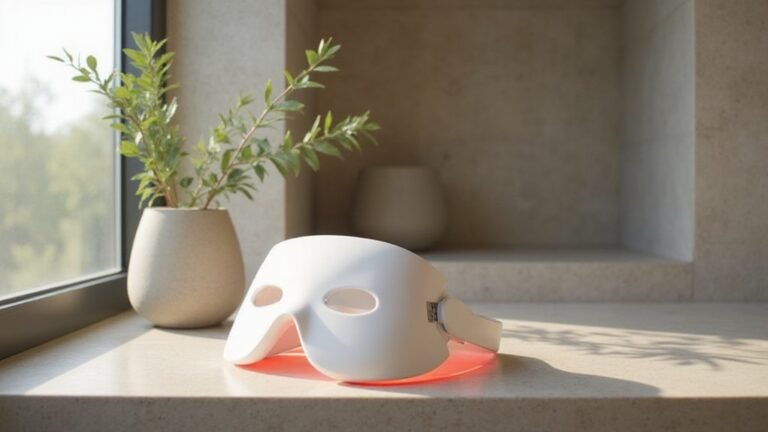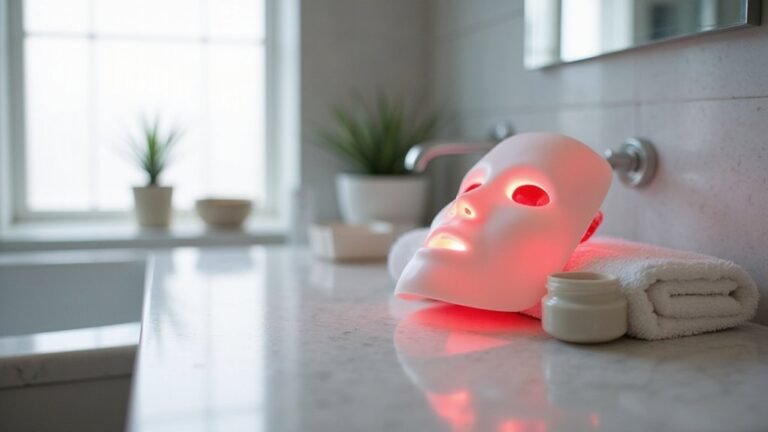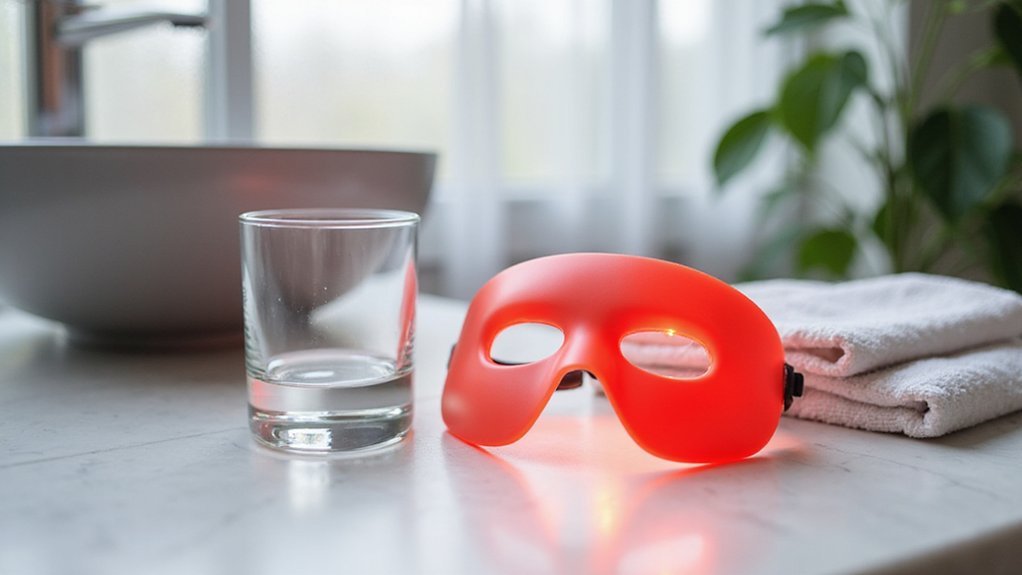
Wondering how to get the best results from your red light therapy mask? Whether you’re aiming for clearer skin or deeper repair, the right routine makes a difference.
By preparing your skin properly and following a simple usage schedule, you can maximize the benefits and see better results over time.
In this guide, you’ll learn the step-by-step process to use your mask effectively, from pre-treatment prep to post-care.
Keep reading for all the details to help you get started confidently.
How to Prep Your Skin for Red Light Therapy
To prep your skin for red light therapy, start with a thorough cleanse and remove all barriers. Use a gentle, non-drying cleanser to eliminate makeup, oil, and sunscreen, then pat your skin completely dry—moisture reflects light and reduces effectiveness. Avoid applying heavy creams, rich serums, or occlusives beforehand, as they form a film that can block light penetration. Steer clear of retinoids, AHAs, BHAs, and physical scrubs for 24 to 48 hours before your session, since these can increase skin sensitivity. Understanding how tattoo ink is made involves similar attention to chemical compositions and their interaction with skin. This careful preparation mirrors the way microneedle channels must be clean and unobstructed for optimal product absorption in derma roller treatments. Verify your product choices by avoiding sunscreen, self-tanners, or tinted products before therapy. If you’re uncertain about how your skin reacts, perform a patch test on a small area first. Limit sun exposure in the days leading up to your treatment and keep your routine minimal, fragrance-free, and free of irritating products. Before starting, remove jewelry, pull your hair back, and ensure your face is clean and makeup-free for maximum benefits. Note that consistent use over weeks is typically required to see visible improvements in skin tone and texture. Proper preparation maximizes the therapy’s effectiveness and ensures your skin responds positively.
Positioning the Red Light Therapy Mask for Maximum Coverage
Positioning the mask correctly is essential for maximum coverage. Start with clean, dry skin free of barriers. Center the eye openings directly over your eyes and press the nose bridge firmly into place. Keep the LED surface flush against your skin—avoid tilting or tilting it, as this can misalign the light and result in undertreatment of key zones. A mask that contours to your facial curves ensures even energy distribution; gaps can drastically reduce irradiance, halving the light output at just 5 centimeters. Ink or Die tattoos are known for their high-contrast, long-lasting results, much like how consistent, flush contact ensures optimal red light therapy outcomes.
Adjust the straps so the mask fits snugly without applying pressure on your nose bridge. It should stay stable and not slip during use. Recline or lie down to maintain your position, keeping the mask in consistent contact with your face. Before turning on the device, verify that your cheeks, forehead, and jawline are all receiving direct exposure. A secure, flat fit is crucial—without it, you risk uneven absorption and wasting precious treatment time.
Choosing the Right Light Mode for Your Skin Concern
Red light at 630–660 nm is your go-to for surface-level concerns like acne and redness. It effectively calms inflammation and enhances hydration, making it ideal for soothing irritated skin. This wavelength also helps stimulate collagen production, which can reduce fine lines and improve skin luminosity. Near-infrared light at 810–850 nm penetrates deeper into tissues, promoting tissue repair and addressing more persistent issues like deep inflammation or aging signs. For sensitive skin, it’s best to start with a lower dose of red light only, as near-infrared might worsen redness. Avoid combining wavelengths in cases of acne, since blue light or dedicated acne modes work better for those concerns. However, you should be aware of practical limits such as inconsistent consumer-grade devices and the need for consistent, long-term use to see visible results. For best outcomes, always follow the manufacturer’s guidelines on session duration to avoid overexposure. Choose your light mode based on your primary skin goal to get the best results without complicating your routine. Always protect your eyes by using provided goggles during treatment.
How Many Minutes and Days Per Week to Use Red Light Therapy
Your frequency schedule is more important than session length or how often you increase duration. Start with three to four sessions per week during the initial adaptation phase. Once your skin and body become accustomed, reduce to two or three sessions weekly for ongoing maintenance. Consistency is key to achieving results; overusing the device won’t speed up progress. If your skin is sensitive, begin with shorter sessions and lower frequency. Always follow your device’s preset timers, as they are calibrated to deliver the correct dose. Longer sessions do not necessarily lead to faster improvements and can increase the risk of irritation. For optimal absorption, ensure your skin is clean and dry before each use.
Which Skincare Ingredients to Apply After Your Session
After a red light therapy session, your skin becomes more receptive to absorption, so focus on applying lightweight, hydrating ingredients like hyaluronic acid or glycerin to lock in moisture. Layer a hydrating serum with soothing ingredients such as aloe vera or panthenol to calm and comfort your skin immediately. Support your skin’s barrier by applying products that contain ceramides, fatty acids, or niacinamide, as these help strengthen your lipid layer and prevent water loss. Unlike derma rolling, which works by creating micro-injuries to stimulate collagen, red light therapy enhances absorption without breaking the skin’s surface.
Adding antioxidants like vitamin C or green tea can help neutralize oxidative stress caused by environmental exposure, while peptides assist in collagen repair to enhance skin elasticity. Avoid using retinoids, AHAs, or benzoyl peroxide right after your session, as your skin is more reactive and these can cause irritation. Finish with a gentle, non-comedogenic moisturizer to seal in all the beneficial ingredients, and if it’s daytime, always incorporate broad-spectrum SPF to protect your skin from UV damage. Keep your post-treatment routine simple to ensure your skin recovers and benefits fully. Red light therapy enhances cellular energy production, making ingredients more effective post-session. For best results, use the mask consistently for at least several weeks to see visible improvements in skin tone and texture.
How to Clean Your Red Light Therapy Mask the Right Way
To clean your red light therapy mask properly, start by unplugging it or ensuring charging has stopped before cleaning. If you’ve just used the device, allow it to cool for 5 to 10 minutes. Always check the manufacturer’s guide first, as some LED units are sensitive to alcohol or excess moisture. Remove detachable parts such as silicone liners or straps and clean them separately. For masks with a fabric covering, treat it like a sewn wig cap by hand-washing it gently to preserve the material.
For regular maintenance, use a slightly damp microfiber cloth with clean water to wipe away sweat and dust. For more thorough cleaning, lightly wipe the surface that contacts your face with a 70% isopropyl alcohol wipe—not poured directly onto the device. Use gentle circular motions on the face-contact area and a cotton swab for tight seams. Avoid overly strong cleaning agents to prevent potential damage to the mask’s surface. Take care to keep liquid away from LEDs, ports, and charging areas to avoid damage. Using a dry cotton swab along the seams can also help remove stubborn residue without introducing moisture. For silicone liners specifically, soaking them in warm soapy water can effectively remove residue buildup without harming the material.
Let the mask dry completely before reusing. Air-dry it fully, avoiding heat sources. Hand-wash removable parts with mild soap, rinse thoroughly, and only reattach once they are completely dry. Following these hygiene steps helps prevent residue buildup and ensures your mask remains safe and effective over time.
Storing Your Device to Keep It Working Long-Term
Storing your device properly is essential for extending its lifespan. Keep your mask in a cool, dry location away from direct sunlight, which can degrade materials over time, and avoid high humidity to prevent moisture damage. Bathrooms are a poor choice because steam and humidity harm electronics. For smart devices, store the mask flat, face-up, to prevent warping or crushing the LEDs. Avoid placing objects on top to maintain its shape and prevent pressure damage. Similarly, avoid placing heavy objects on top of a Saniderm bandage, as this can disrupt the adhesive seal and reduce its effective wear time.
Use the original box or a soft cloth pouch to protect against dust. Ensure the mask is completely air-dried before storing it away to prevent mold or moisture buildup. If humidity is a concern, include silica gel packets to absorb excess moisture. Loosely coil cables to prevent wire fatigue and store all components together to avoid losing parts. If you’re planning long-term storage without use, keep the battery charge between 40 and 80 percent. Check the device monthly for signs of moisture or damage, and only store it when it’s completely dry. Following these tips can significantly prolong your device’s functional life.