Wondering how long you should keep your Saniderm tattoo bandage on?
Keeping it in place for the right amount of time is key to proper healing and infection prevention.
Typically, you should wear it for 8 to 24 hours initially and avoid leaving it longer than a day.
This guide will help you understand the best schedule to support your healing process.
How Long Should the First Saniderm Bandage Stay On?
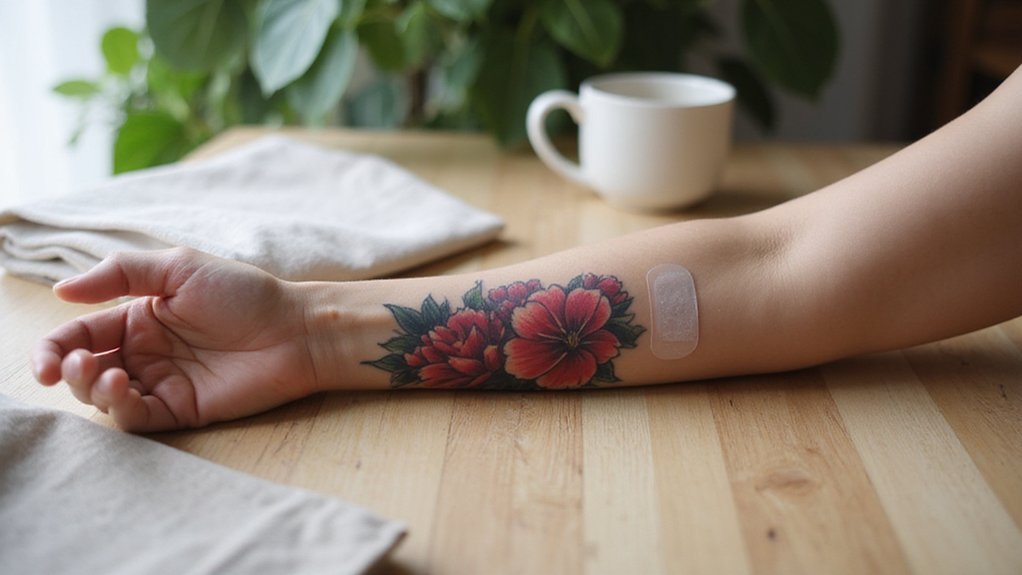
You should remove the Saniderm bandage after 8 to 24 hours. This timeframe allows the film to trap blood, plasma, and excess ink during the initial healing phase, which supports your tattoo’s recovery. While some artists may suggest shorter times like 3 hours or longer ones up to 5 days, sticking to the 8 to 24-hour window aligns with Saniderm’s guidelines and helps minimize risks. Leaving it on beyond 24 hours increases the chance of infection, as trapped fluids can promote bacterial growth. It can also cause skin irritation from prolonged adhesive contact. If you notice excessive weeping, that the seal lifts prematurely, or you experience irritation, remove the bandage sooner. The process is similar to how a derma roller creates controlled micro-injuries to stimulate the skin’s natural healing response. The manufacturing process for tattoo ink involves grinding down pigment powder to ensure it is fine enough for safe skin application. Prioritize removing and replacing it within this 8 to 24-hour period to promote safe healing. To maintain hygiene, always clean your hands thoroughly before touching the bandage.
When Should You Replace the Second Saniderm Bandage?
You should replace the second Saniderm bandage within 6 days if it remains sealed and shows minimal fluid buildup. It’s important to do so sooner if you notice significant weeping—plasma or ink pooling under the film—which indicates that the healing process isn’t being contained properly. When this happens, remove the bandage at the 24-hour mark. For those with sensitive skin, a lace glue alternative may offer gentler adhesion if irritation persists. Similarly, just as an LED mask can be used twice a day if the skin tolerates it, your Saniderm schedule can be adjusted based on how your skin responds to the adhesive.
Additionally, change the bandage if the edges lift or lose adhesion, or if you experience skin sensitivity such as redness or irritation. Avoid pushing past a total of 7 days across all bandages. When applying a new bandage, wash the tattoo thoroughly, dry it completely, and place the fresh piece within 30 minutes. If a third bandage is needed, it can stay on for about 5 days, but only during the early stages of healing—not once scabbing begins. Similar to how tape extensions offer realistic expectations for wear time, your Saniderm schedule depends on how well the seal holds and the level of fluid release.
What If Saniderm Leaks or Irritates Your Skin?
If your Saniderm bandage leaks or causes irritation, remove it immediately. A broken seal indicates that the barrier is compromised and no longer protects your tattoo from bacteria and contaminants. If fluid leaks outside the wrap, it’s a sign of seal failure. Gently wash the tattoo with mild soap and pat it dry before applying fresh aftercare.
Redness, itching, or burning skin suggests an allergic reaction to the adhesive. In this case, early removal is the best course of action. Carefully peel off the bandage, avoiding harsh pulling or ripping to minimize skin stress. Do not reuse the old wrap; replace it with normal aftercare if you do not have a new bandage ready. If irritation continues or you notice signs of infection such as swelling, pus, or increased redness, seek medical help promptly.
What’s the Maximum Total Days for Saniderm Wear?
The maximum total duration you should wear Saniderm is 7 days. Typically, a two-piece routine involves wearing the first bandage for about 24 hours, followed by a second piece for up to 6 days, totaling exactly 7 days. If you opt for a three-piece sequence, the third piece can stay on for up to 5 days, but the overall wear time still does not exceed 7 days. This limit helps ensure the skin remains healthy and reduces the risk of irritation or infection. Similar to how improper wear of extensions can cause hair follicle damage, exceeding Saniderm’s recommended duration may stress the skin. For those curious about the technical specifications of their equipment, matching Saniderm use with the appropriate tattoo needle types can further optimize healing and ink retention.
What’s a Full 7-Day Saniderm Healing Schedule?
A full 7-day Saniderm healing schedule involves applying two bandages within the first week to support proper tattoo healing. Immediately after your tattoo session, leave your first Saniderm bandage on for up to 24 hours. This initial period helps to catch excess fluid and ink that may seep out right after getting tattooed. The bandage works by creating a sterile barrier that locks in moisture and keeps out bacteria, which is key to how tattoo machines and aftercare work together. Experts advise that leaving the bandage on too long can trap excess fluid and lead to skin maceration. For a similar protective approach, many people explore DIY henna tattoo kits as a temporary alternative that also requires careful barrier management.
On Day 1, carefully remove this first bandage, wash the tattoo gently with mild antibacterial soap, and gently pat dry. After cleaning, apply the second Saniderm bandage, which you should wear for up to six more days, covering the main healing timeline. If you notice leakage, redness, irritation, or the bandage becomes uncomfortable, change the bandage sooner to prevent infection or damage. Removing the sheet at 24 hours is recommended because blood and plasma inside start to break down, which can cause irritation.