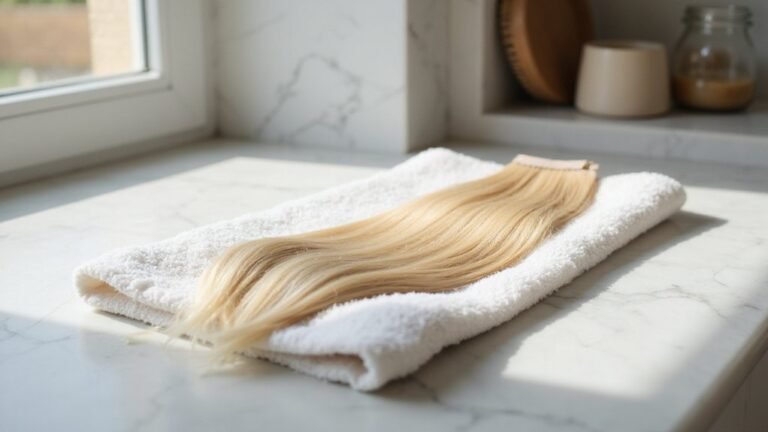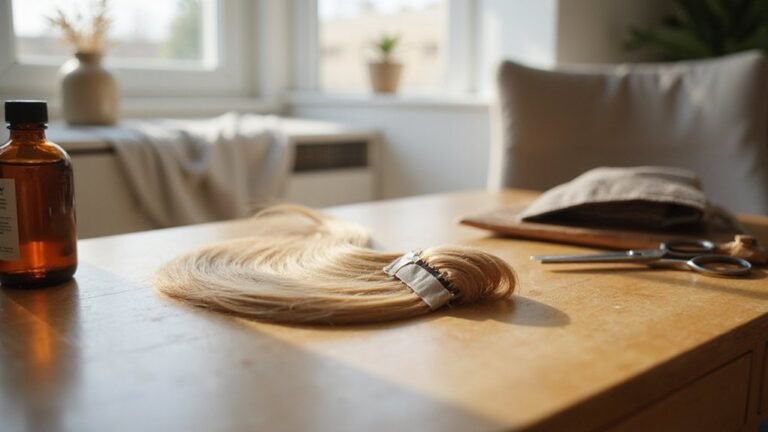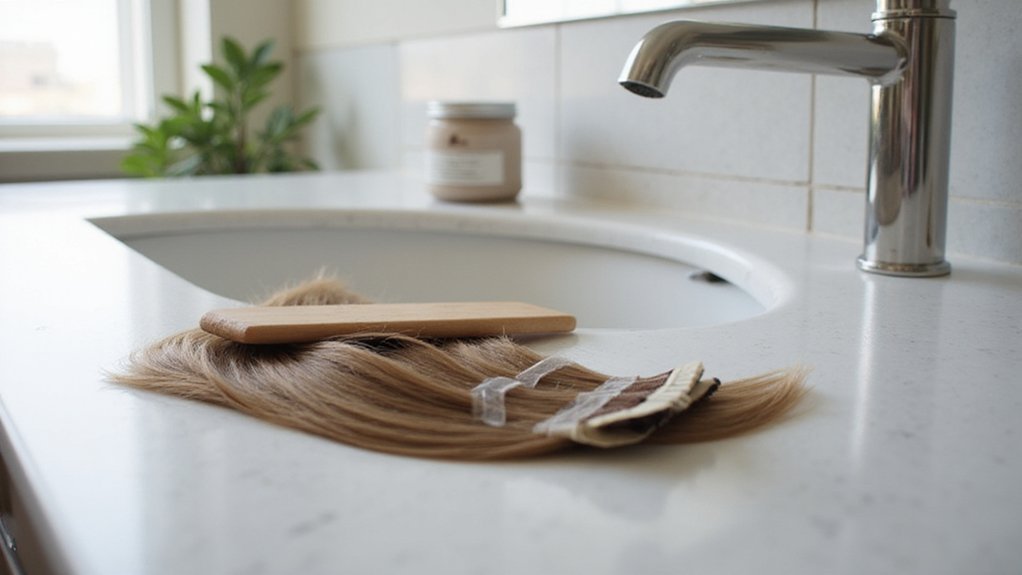
Thinking about adding tape-in hair extensions but unsure how they actually work? These extensions involve attaching thin sections of your natural hair between two adhesive wefts, creating a flat, secure bond.
They can add length and volume without causing damage, making them a popular choice for a quick style upgrade.
Keep reading to learn all about how to get the best results from tape-in extensions.
What Exactly Are Tape-In Hair Extensions?
Las tape-in hair extensions son mechones de cabello que se fijan con una cinta adhesiva delgada, diseñada para adherirse a tu cabello natural. También son conocidas como extensiones de cinta o tape-on. Estas extensiones sirven para agregar longitud y volumen, colocando las tiras en un proceso que forma un “sándwich” al atrapar mechones finos de tu cabello entre dos tiras de cinta. Son extremadamente ligeras, lo que las hace ideales si tienes el cabello fino, ya que no aportan peso ni dañan la textura natural. Puedes optar por cabello humano o sintético, y la clave para conseguir un acabado invisible es la selección de un tono que combine perfectamente con tu color natural. Cada tira tiene un adhesivo de grado médico e hipoalergénico, que se coloca cerca del cuero cabelludo, logrando un resultado discreto y natural. Este método añade densidad y volumen sin que se note que son extensiones, permitiendo un estilo natural y cómodo. Para asegurar la máxima duración, es importante elegir la mejor cinta para tape in extensions, ya que la calidad del adhesivo influye directamente en su fijación y tiempo de uso. Similar al principio de cómo un derma roller crea microcanales en la piel para mejorar la absorción, el adhesivo de estas extensiones se fija aprovechando la textura fina del cabello para una sujeción segura. Entender cómo funciona el proceso de aplicación garantiza que las tiras queden planas y sin bultos visibles.
How Long Do Tape-In Extensions Last Before a Move-Up?
Tape-in extensions generally need a move-up every 6 to 8 weeks. This timeframe allows for optimal blend and stability, accommodating your hair’s natural growth. Some stylists extend this window to 10 or even 12 weeks if your hair grows slowly, but waiting too long can cause visible roots, loose bonds, and increased tangling near the attachment points. As your natural hair pushes the tape downward, it can compromise the seamless look and create tension on both your extensions and scalp.
Proper hair maintenance makes a significant difference in how long your extensions last between move-ups. Avoid oils and heavy products near the tapes, as they can weaken the adhesive. Regular, gentle brushing helps prevent tangling and keeps the bonds secure. It’s important not to wait until the bonds lift or the extensions fall out, because that’s a sign you’ve gone beyond the ideal interval. While the high-quality hair itself can often be reused for several months, each move-up requires fresh tape strips to ensure they stay firmly attached. Sticking to a consistent schedule helps your extensions stay natural-looking, comfortable, and long-lasting. Proper hair maintenance also involves using a derma roller carefully to stimulate the scalp without disturbing the adhesive bonds.
Are Tape-In Extensions Actually Comfortable?
Tape-in extensions are generally quite comfortable when installed correctly. Their flat, lightweight design minimizes bulk and tension at your scalp, making them feel natural and unobtrusive. This allows you to experiment with different hair colors and styles without feeling weighed down or restricted. For damage-free removal, you will need specialized removal solution to dissolve the adhesive without pulling your natural hair.
There is typically a short adjustment period, similar to getting used to wearing a hat. This feeling usually fades within a few days as your scalp adjusts. Proper placement is crucial—if the tape tabs are set too close to your scalp, you might experience irritation. Having a professional apply the extensions helps ensure the tabs are positioned correctly, reducing the risk of pulling or damage. Gentle removal techniques are also key to preserving both your natural strands and the integrity of the extension wefts.
Some users notice itchiness or a sticky sensation as the tape ages, but regular maintenance and proper care can minimize discomfort. Overall, many find tape-in extensions lightweight and non-restrictive, especially if they have fine or sensitive hair. For maximum comfort and longevity, it is essential to leave appropriate space between tapes to prevent premature lifting or plying. When maintained well, they offer a comfortable, low-maintenance way to enjoy versatile hairstyles.
How Are Tape-In Extensions Installed Step by Step?
To install tape-in extensions, follow these steps carefully. Start by prepping your hair with a clarifying shampoo, avoiding conditioner near the roots, and make sure your hair is completely dry. Color matching is crucial; select wefts that blend naturally with your hair shade for a seamless look. Thoroughly brush your hair to detangle and smooth it out.
Next, section your hair at the nape using a fine-tooth comb, clipping away the top layers to work easily. Keep each section thin to ensure the adhesive bonds securely. Place the first weft close to the scalp beneath a small strand of natural hair, but without touching the skin. Carefully remove the adhesive backing from the tape weft. Choosing a best wig cap can help secure your natural hair underneath for a smoother base. With proper aftercare, including regular brushing and sulfate-free shampoo, you can extend the lifespan of the extensions.
Press the tape weft on top of your natural hair, creating a sandwich effect. Ensure tapes are aligned closely but not touching for desired fullness and natural movement. Make sure the ends align precisely for a flat, even bond, and press firmly to secure the extension. Avoid placing extensions too close to the hairline for a discreet look. Leave small gaps between individual wefts to allow for natural movement and avoid tangling or slumping.
Wait at least 24 hours before washing your hair to let the adhesive set properly. Refrain from cutting the extensions during installation—save trimming for after they are securely in place. Proper installation ensures longevity and a natural appearance. Additionally, always follow the manufacturer’s safety guidelines to avoid skin irritation or adhesive reactions.
Why Does the Sandwich Technique Create a Secure Bond?
Pressing the pieces together with firm compression creates a secure bond by evenly distributing pressure across the adhesive. This action helps spread the adhesive uniformly, which eliminates air gaps that could weaken the hold. Proper sectioning of the hair ensures tension is distributed evenly along each strand, preventing concentrated strain and increasing durability. To get the best hair extension bond, make sure your hair is clean and free of product residue, as leftover residues can interfere with adhesion. Using a brick lay pattern prevents gaps and creates optimal coverage for a seamless blend. This method results in a strong, long-lasting bond that provides comfortable wear for several weeks. Just as with tattoo needle depth, achieving the correct insertion angle and pressure is critical to preventing damage to the underlying layers. The sandwich technique relies on sandwiching a thin section of natural hair between two adhesive strips. Choosing a high-quality adhesive is also essential for maintaining the integrity of the bond over time.
How to Remove and Reuse Tape-In Extensions
To remove and reuse tape-in extensions, start by saturating the adhesive bond with an oil-based or alcohol-based remover. This helps break down the tape so the weft can slide off without damaging your hair. Use a rat-tail comb to gently lift the sandwich of the extension and apply more remover if you feel resistance—never pull. Once the tape loosens, carefully slide the weft away from your scalp. To reuse the extensions, peel off the old adhesive strip and clean the weft thoroughly. Replace the used tape with new adhesive tabs or replacement tape strips to prepare for reinstallation. Similar to mixing pigments for DIY Tattoo Ink, precise ratios of remover are needed to avoid residue buildup. Store the cleaned wefts flat in a bag to prevent any warping or damage. Work slowly and carefully, one section at a time, to avoid tension or tearing. Finish the process with a clarifying shampoo to remove any leftover residue, ensuring your hair stays healthy and ready for new extensions. Applying more remover and taking your time can help prevent hair breakage during removal. When choosing new tape, look for adhesive quality that ensures a strong bond without damaging natural hair. As with skincare devices, understanding the controlled light exposure limits helps prevent overuse and irritation.
Which Products and Habits Shorten Tape-In Lifespan?
Heat damage is a major factor that shortens the lifespan of tape-in extensions. Avoid applying hot tools directly to the tape bonds, as high heat can melt the adhesive. If you do need to style, keep your curling iron or flat iron at or below 150°C (302°F). Additionally, washing your extensions more than two to three times a week can weaken the bonds over time, as can sleeping with wet extensions. Brushing aggressively at the roots also puts unnecessary stress on the hair joints, leading to quicker loosening. Just as high heat can compromise adhesive in other applications, ink or die tattoos rely on consistent aftercare to prevent premature fading. Using a derma roller can also help promote scalp health, which indirectly supports the longevity of your extensions. These habits accelerate wear and require more frequent maintenance appointments. Using stencil paper as a protective barrier can help shield the tape bonds from direct heat when styling.
How Long Does a Full-Head Tape-In Application Take?
A full-head tape-in application typically takes at least an hour. The process is quicker than sew-in or fusion methods because it involves applying double-sided tape to individual wefts and attaching them to your natural hair. This allows for a faster installation, including finishing touches like blending and styling to achieve a seamless look. Scheduling at least an hour ensures you have enough time for a comfortable appointment without rushing. After installation, follow maintenance routines such as avoiding oil-based products near the bonds and waiting 48 hours before washing your hair. For daily care, gentle brushing and sleeping with a loose braid can help prevent tangling. Overall, the quick process makes tape-ins an efficient choice for full-head transformations. To avoid common issues during installation, refer to a guide on mistakes to avoid for tips on preventing slippage and visible bonds.