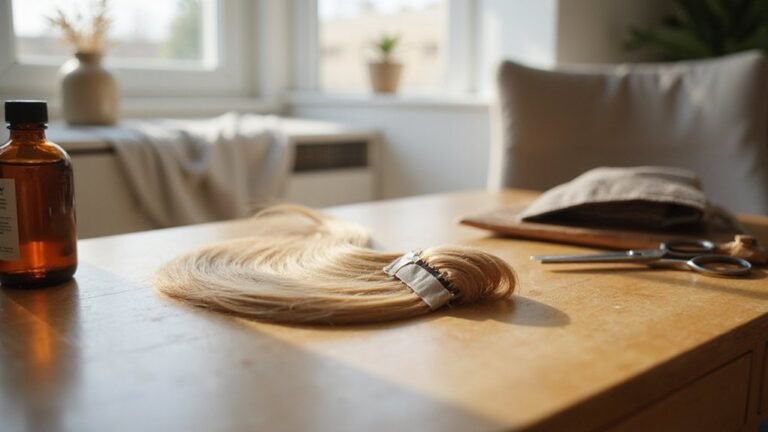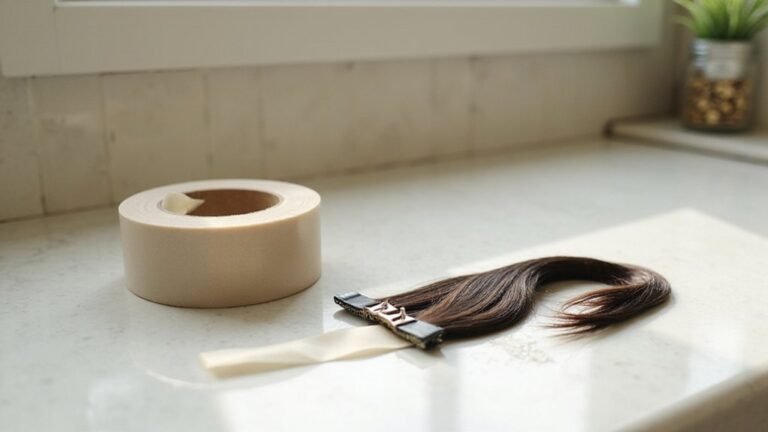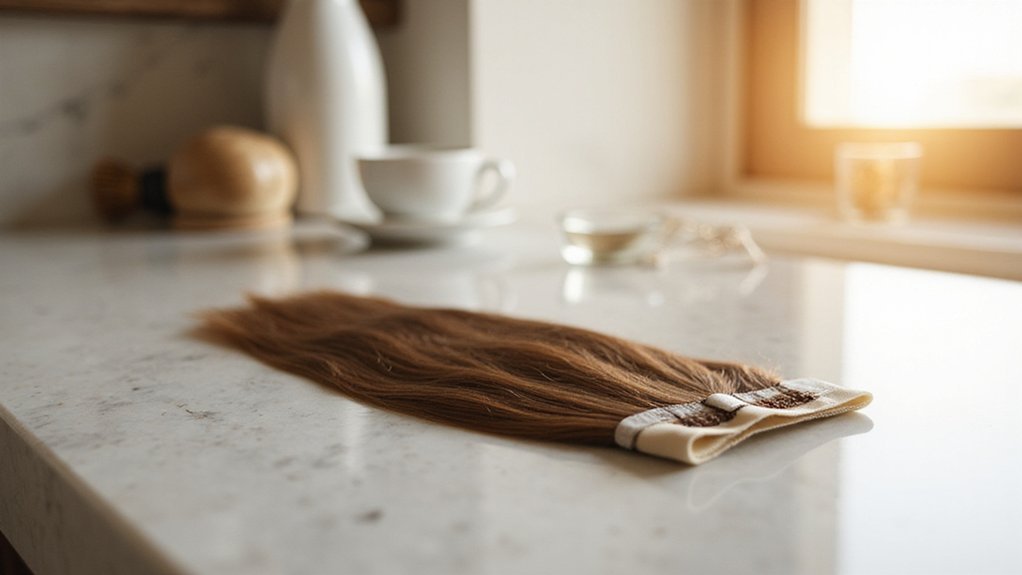
Wondering if you can reuse tape-in extensions? The good news is, with proper care, they can often be worn two to three times, sometimes up to four with high-quality hair.
You’ll know they’re still good when the wefts feel soft, stay tangle-free, and the tape stays clean.
Keep reading to learn how to extend their lifespan and when to know it’s time to replace them.
How Many Times Can You Reuse Tape-In Extensions?
You can typically reuse tape-in extensions 2 to 3 times. Premium high-quality sets may last through four or more installations if properly maintained. Most people wear them for 6 to 8 weeks before removing and applying fresh adhesive for the next set. The key to reusing tape-in extensions is using high-quality Remy human hair, which retains its vibrancy and softness over multiple wears. However, lower-quality blends often only withstand one reuse. The lifespan depends on your hair’s texture and how carefully you handle the extensions during removal and reapplication. Proper, gentle removal and cleaning help extend their time in use. Always check the adhesive’s condition before reapplying; worn or degraded tape tabs reduce security. Understanding the basic cap wig construction can help you better appreciate how different extension types are applied. This process works by micro-needling the scalp, which can stimulate blood flow and support healthier hair growth over time. With proper care and maintenance, your extensions can give you many style options over several months without losing their natural look. Using a specialized adhesive remover is crucial to avoid pulling or damaging the hair during the removal process.
Signs Your Tape-Ins Are Worth Reusing
Your tape-in extensions are worth reusing if they still meet certain key criteria. First, they should feel soft, look shiny, and be tangle-free, indicating the hair quality remains high. High-quality Remy human hair that keeps its smooth texture and natural appearance is essential. Color matching should still be flawless—dull or faded hair will not blend seamlessly with your natural hair. Minimal shedding and breakage are signs that the wefts are still in good condition; they should stay full and consistent. The hair’s strength matters as well: extensions that feel flexible, hydrated, and free from dryness or brittleness can handle another installation. Proper timing for each session helps you avoid over-processing the hair during reinstallation. Lastly, check the tape area itself. It should be clean and free of major matting, splitting, or fraying, and you should be able to apply fresh tape easily. Safe removal is crucial to preserving the tape and hair, so always use solvent-based remover and gentle techniques to avoid damage. A red light mask may boost scalp health and hair quality during the reuse phase. If your extensions pass all these checks, they are still suitable for reuse.
Does Maintenance Timing Extend Tape-In Lifespan?
Timely maintenance extends the lifespan of your tape-in extensions by ensuring the adhesive stays strong and the wefts remain intact. Typically, the adhesive weakens around week six to eight as your hair growth pushes the tapes downward. Sticking to this schedule helps prevent root twisting and tangling, both of which can damage your natural hair and the extensions themselves. If you wait too long to retape, stress on your natural strands and the weft increases, reducing the overall lifespan of your set. Proper timing allows you to replace only the adhesive, not the entire weft, which can extend the usability of your hair extensions across two to four refits. Similar to how tattoo machine types differ in wear time and damage risk, waiting too long between retapes increases stress on your natural hair. This stress can be compounded by solvent residues left on the weft from improper cleaning, which break down the adhesive bond faster than normal. For best results, choose a lace wig cap that offers a secure fit without irritating your scalp. When you maintain your tape-ins on schedule, high-quality Remy hair can last up to a year, protecting your investment and preserving the look and health of your hair.
How to Remove Tape-In Extensions Without Damaging the Hair
To remove tape-in extensions without damaging your hair, the key is to gently loosen the adhesive rather than pulling the wefts apart. Start by saturating the tape sandwich thoroughly with an oil-based or alcohol-based remover. Allow it to sit for a few minutes to soften the adhesive. Use a rat-tail comb to lift one edge of the tape, then apply more remover directly into the seam. Don’t rush the process—if you feel resistance, stop and add more solution. Forcing the bond open before it’s ready can lead to hair breakage and adhesive residue left behind. It is also best to remove the extensions before washing your hair to keep the natural hair dry and the adhesive more accessible. Work from the nape upward, sectioning your hair with clips to keep things organized. Once the adhesive softens, the weft should slide apart smoothly with gentle pressure. Tape-in extensions rely on a strong medical-grade adhesive that bonds the weft to your natural hair, and this bond must be fully dissolved before removal. After removing the extensions, carefully work out any remaining residue with additional remover and a light comb. Avoid scraping or pulling to minimize damage. Before treating the hair further, allow the natural hair to air dry to prevent heat damage while the cuticle is stressed. Finish by rinsing your hair with a clarifying shampoo to remove residual oil or adhesive. This careful method helps protect your natural hair and allows the extensions to be reused if desired. A mix of alcohol and mineral oil works well for this process, as it dissolves the bond with less fuss and mess than other oils.
How to Clean Tape-In Extensions Before Retaping
To clean tape-in extensions before retaping, start by removing the old tape and thoroughly cleaning the weft base. Use a chemical solvent or oil-based remover to loosen any stubborn residue. Remove large tape chunks but do not worry about every tiny leftover—small traces are fine. Handle the extensions gently with your fingertips or a comb to protect the base, working slowly and carefully. You may need to go over the area multiple times to clear tough spots. For top microneedling pens, thoroughly cleaning tools before reuse is similarly essential to maintain performance and prevent buildup. To prevent damage to the hair, apply gentle pressure rather than pulling aggressively when loosening residue. A high-quality mannequin with head is helpful for practicing this process, as it mimics natural hair placement to refine your technique.
Next, wash the extensions with a clarifying shampoo twice to eliminate oils, residue from the remover, and buildup. Avoid applying conditioner near the adhesive area; focus on the mid-lengths and ends instead. Rinse thoroughly to remove any remaining product. Dry the extensions completely—air-drying overnight is ideal, or you can use a blow-dryer around the base area. Avoid towel rubbing, which can cause damage or loosen the bonds. Make sure the surface is clean, dry, and free of any residue before applying new tape.
Retape and Reinstall Your Extensions Correctly
Retaping on the same side every time is essential for a strong, lasting bond. Always apply fresh tape to the exact side where you removed the old tab. Flipping the weft or reusing the same tape side compromises adhesive durability and can cause open bonds, which may lead to slipping or damage. When reapplying, lay the extension flat and place the new tape tab directly over the original position. Keep the reverse liner intact until just before reinstalling to protect the adhesive from dust and oils. Using a tip applicator bottle filled with Christian Michael hair extension remover allows for precise application during tape removal, ensuring the adhesive is effectively broken down without damaging natural hair. Precise application minimizes mess and preserves extension integrity. Additionally, preparing your hair with a wig cap underneath can help create a smooth base and protect natural hair from adhesive stress. Before starting, always cleanse your scalp to remove excess oil and product buildup, which can interfere with a secure bond. The full method also includes brushing thoroughly after installation to blend extensions seamlessly.
Start with clean, sectioned hair for a secure application. Place the extension against a clean strand of natural hair, then sandwich it with the second tape piece. Press firmly to seal the bond; if you want extra security, a press-in tool can help. Ensure the weft stays flat and aligned, avoiding tape overhang that can cause discomfort or unevenness. For additional adhesion, a small amount of heat from a straightener can activate the tape’s adhesive, but manual pressure alone is often sufficient. After installation, brush thoroughly to blend and ensure a seamless look.
Signs Your Tape-Ins Are Done for Good
Visible lift, slip, or exposed tape are clear signs your tape-ins are done for good. When the adhesive shows or bonds loosen, their ability to stay secure diminishes drastically. Reusing extensions with compromised bonds can cause damage to your natural hair. Just as stencil paper requires careful handling to avoid tearing, improper removal techniques can ruin tape-in extensions by stretching the wefts.
Excessive tangling, matting, or persistent knots despite careful brushing indicates the hair structure has broken down. Shedding clumps in your brush, shower drain, or noticing thin areas means the wefts can no longer support another install. Uneven fading in hair color often isn’t about shade; it’s a sign of texture deterioration. When dry, frizzy strands that resist conditioning or lose all shine reveal the extensions have reached their end. Product buildup, frayed tapes, or scalp discomfort further signal it’s time for new extensions. Ignoring these signs risks damage and lowers the overall look and health of your hair. Just as failing hair bonds require removal, tattoo removal machines rely on specific laser technology to break down pigment safely.
Reusing vs. Replacing Tape-Ins: Which Saves More?
Reusing tape-ins can save you a significant amount upfront compared to replacing them entirely. Typically, you can reuse the same wefts 2 to 4 times by only purchasing new adhesive tabs each time. This approach greatly reduces your maintenance costs since you’re not buying new extensions each cycle. However, to maximize savings, you need to remove old glue carefully, wash, condition, and fully dry the hair before applying fresh tabs. During the removal process, comb through each weft to separate individual pieces so the adhesive tabs are easy to access and clean.
The longevity of your extensions depends largely on extension durability. High-quality hair tends to last longer and withstand multiple reuse cycles, while lower-grade or poorly maintained wefts dry out or tangle faster, limiting reuse potential. When the hair no longer holds a clean, secure install or shows signs of damage, replacing the entire set becomes the smarter financial choice. Proper removal, thorough cleaning, and careful storage between installs help ensure you get the most reuse out of each weft, ultimately delivering the best value.