Thinking about adding tape hair extensions but unsure how they stay in place? These extensions work by sandwiching small sections of your natural hair between two thin, adhesive strips that are gentle yet strong enough to hold.
They’re easy to style and can last several weeks with proper care.
Keep reading to learn exactly how these extensions work and how to make them last.
What Are Tape Hair Extensions Made Of?
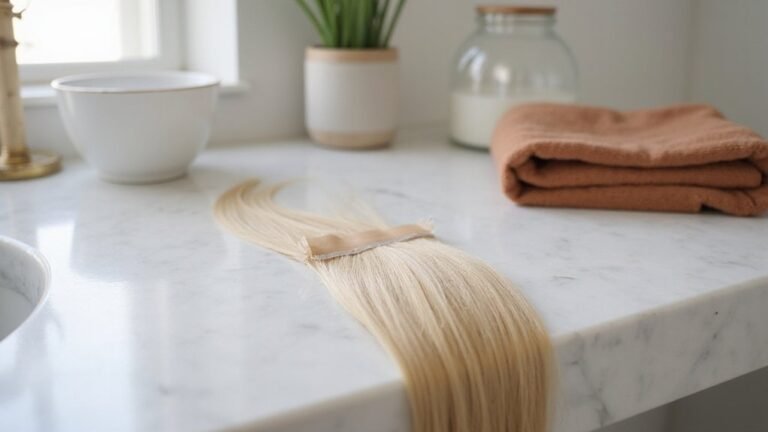
Tape hair extensions are made of three main components. The hair fiber is typically 100% Remy human hair with aligned cuticles, which prevents tangling and allows for a natural look. This type of hair can be colored, bleached, and styled with heat, just like your own hair. Cheaper options may use synthetic fibers, but these won’t move or appear as natural. Similar to how a derma roller uses microneedling to create tiny channels in the skin, these extensions rely on the adhesive to form a secure bond with the hair shaft. LED facial masks, by contrast, focus on improving skin health through light therapy rather than physical attachment. It is important to be aware that some tattoo inks, which are applied differently, contain heavy metals and other potentially harmful chemicals that raise safety concerns.
The second component is a thin polyurethane base that holds the hair securely while conforming to your scalp’s shape. This flexible layer keeps the extension flat and discreet, reducing the chance of visibility. Many traditional tape-ins feature a plastic polyurethane (PU) base with pre-applied sticky tabs for straightforward application.
Finally, a medical-grade, double-sided adhesive binds everything together. This hypoallergenic, latex-free glue ensures the extension stays in place, but it is sensitive to oil-based products. Regular application of oils or serums can weaken the bond over time. Overall, tape hair extensions create a lightweight, reusable system designed for comfortable, natural-looking wear.
How Do the Two Tape Pieces Hold Your Hair?
The two tape pieces hold your hair together by using a pressure-sensitive adhesive that bonds the sections into a flat “sandwich” around a thin, even layer of your natural hair. Your hair is placed in the center, with the tape on each side gripping it firmly from both angles for a secure hold. This design avoids the need for heat or clamps, creating a gentle yet effective connection. The wide, flat surface of the tape distributes tension evenly, reducing pulling and allowing the extensions to move naturally as you do. Similar to the precise pigment blending used in tattoo ink production, careful color matching helps the tape blend invisibly with your hair, and careful placement near the scalp, but slightly away from it, prevents stress and keeps the bond secure. This application technique shares similarities with the gentle exfoliation approach used in microdermabrasion, where even pressure and careful placement avoid irritation while maintaining effectiveness. When applied correctly, this system creates a discreet, water-resistant seal that stays in place during daily activities. Stylists can install this system on a full head in less than an hour, making it a highly profitable service with high profit margins. For beginners, choosing the right wig cap material can also affect how securely foundation pieces like tape extensions adhere to the scalp.
Step-by-Step: What Happens During a Tape Extension Application
During a tape extension application, your hair is prepared to ensure optimal adhesion. First, your hair is washed thoroughly with clarifying shampoo and dried completely. No conditioner or leave-in products are used, as they can interfere with the tape’s sticking power. Your stylist then sections your hair from the nape upward, clipping away the top layers to keep the area manageable. Using a clarifying shampoo is essential for removing oils and residue that might weaken the bond. To extend the lifespan of your extensions, you should avoid oily hair products and brush carefully, as proper aftercare can help maintain the bond for several weeks. Knowing the removal process ahead of time can also help you plan for maintenance, since the adhesive will eventually need to be dissolved with a specialized solvent.
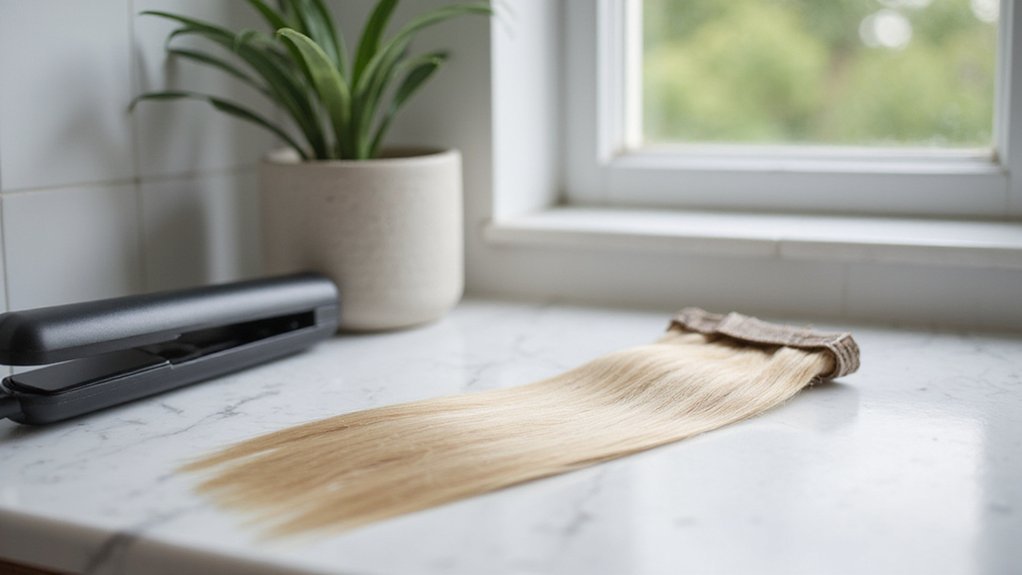
The process begins with peeling off the backing from the first tape piece. This tape is carefully placed on a small subsection of natural hair slightly below the parting line to avoid tension on your scalp. A second tape piece is then pressed onto the hair, creating a sandwich effect, and pressed firmly to secure the bond. Some stylists use a flat iron briefly to seal the adhesive, enhancing longevity. The choice of top first vs. bottom first placement is based on personal preference and hair density.
They then repeat this process, building rows that are evenly spaced to prevent crowding or damage. Throughout, attention is paid to avoid placing extensions directly on the scalp or too close to each other, which can cause discomfort or uneven wear. Once all the extensions are in place, your stylist releases your hair from the clips and brushes through the entire head gently. This blending step ensures the extensions integrate seamlessly with your natural hair, providing a natural look and feel.
Are the Adhesive Tabs Safe and Waterproof?
Adhesive tabs are generally safe and waterproof when used properly. Most tabs are made with medical-grade, latex-free, and hypoallergenic materials, which reduces the risk of irritation or allergic reactions. To maintain safety, ensure your hair and scalp are thoroughly cleaned before application. Oil, residue, or dirt on your scalp can weaken the adhesive’s grip and reduce its longevity. Avoid touching the sticky side with your fingers, as skin oils can interfere with adhesion. For a gentler removal process, it is recommended to use a specialized remover solution to dissolve the adhesive without damaging your natural hair. Experts advise following expert tips to minimize skin damage and ensure long-lasting results.
Many professional adhesive tabs are designed to be water and heat resistant, allowing you to wash and style your hair without losing their hold. Proper application is key—clean, dry roots are essential for good adhesion. However, waterproof does not mean invincible; improper prep, contamination, or neglecting to use a professional remover can lead to slippage or strand breakage. Single-sided tabs use less adhesive and are suitable for finer hair, while double-sided tabs offer a stronger hold for fuller sets. Always ensure your hair and scalp are dry and free from oils for the best and safest results. For those seeking a more natural-looking alternative, lace wig caps can provide a seamless base that enhances comfort and security.
How Long Do Tape Extensions Last?
Tape extensions generally last between 6 to 12 months when reused properly, with high-quality Remy sets reaching up to 3 years. Each set can be reapplied multiple times by replacing the adhesive tape, allowing you to extend their lifespan without needing new hair each time. The longevity depends on factors such as your natural hair health, washing frequency, and how well you maintain the extensions. Reusing the same hair is cost-effective and offers consistent color matching, but the adhesive tabs need to be swapped out during each refit to ensure a secure hold. Typically, a professional reapplication every 6 to 8 weeks is recommended as your natural hair grows, pushing the extensions away from your scalp. For discreet roots, early reapplication around 5 weeks can work better. Habits that cut lifespan short include using oily products near the bonds and excessive heat styling. Overall, proper maintenance and timely refits can keep your tape-in extensions looking fresh and durable for nearly two years or more. Proper aftercare, such as avoiding tattoo needle depth issues with scalp irritation, can also help prevent damage to the bonds. For example, always brush gently from mid-lengths to ends to minimize tension on the bonds.
How Do You Maintain Tape Extensions Daily?
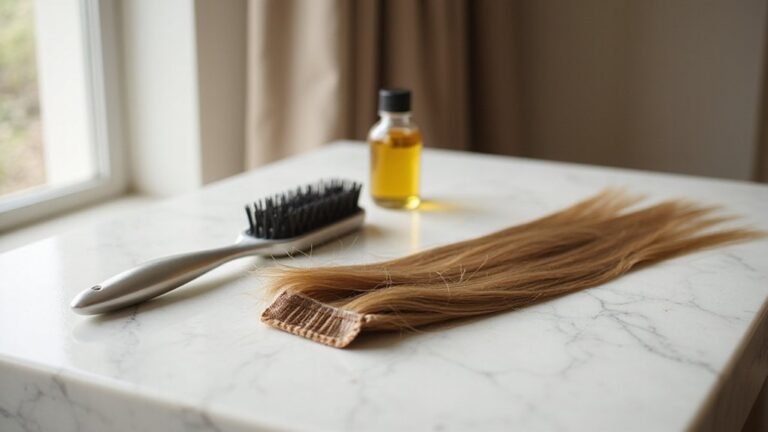
To maintain tape extensions daily, brush them two to three times a day with a soft-bristle or loop brush. Start at the ends and work up toward the roots, gently holding the hair near your scalp to avoid pulling on the adhesive. This helps prevent tangles and keeps the extensions looking smooth.
For cleansing, wait 24 to 48 hours after installation before washing your hair. Use a sulfate-free shampoo and wash 2 to 3 times a week. Focus the suds on your scalp, avoiding the bonds to prevent weakening the adhesive. Rinse thoroughly with cool water to protect the extension bonds.
When applying products, condition only mid-lengths to ends and steer clear of the tape bonds. Avoid oils and heavy serums near the tabs, as they can compromise the bonds. After washing, pat your hair dry with a microfiber towel and blow-dry on low heat. Hold the dryer nozzle away from the adhesive to prevent heat damage.
At night, braid your hair loosely or sleep on a silk pillowcase. These practices reduce friction and tangling, helping your tape extensions stay neat and last longer. To maximize their lifespan of 6 to 8 weeks with proper care, you can also schedule timely maintenance appointments for re-taping.
What’s the Best Way to Remove Tape Extensions?
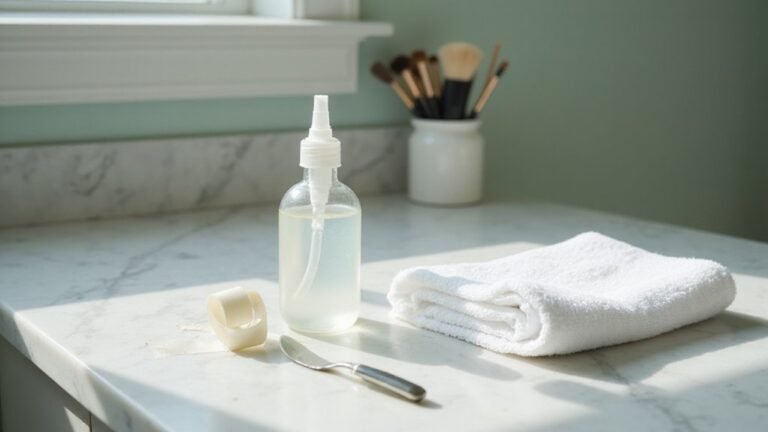
The safest method to remove tape-in extensions is to use a dedicated tape-in remover or solvent. Apply the remover directly to the tape bond to break down the adhesive before sliding out the extension. Start with clean, dry hair and section it into manageable parts. Work slowly, removing one extension at a time—never rip or tug, as this can damage your natural hair. Dab the remover onto the tape seam, wait for it to penetrate, then gently lift the extension with a rat-tail comb or your fingers. If you feel resistance, apply more solvent. Forcing the extension off can cause breakage, regardless of the fiber type. Different adhesives may require variations in removal technique, but patience is key to avoiding damage. Once the extension is free, immediately comb through any sticky residue. Stop if you experience pain; a smooth, gentle release indicates successful removal. Expect some hair to be trapped inside the bond, which is normal shedding from the process. To prevent future adhesive buildup, use a gentle, sulfate-free shampoo during your regular washing routine. For optimal care, it is also important to follow your stylist’s instructions for maintaining the bond lifespan. Regular scalp exfoliation can also help prevent buildup around the bond area.
Can You Reuse Tape Extensions After Removal?
You can generally reuse tape-in extensions if the wefts are still intact, not tangled, and have not shed excessively. The key factors are whether the hair remains clean, dry, and free from damage. Once removed, the adhesive’s stickiness is lost, so you cannot reuse the old tape itself. Instead, you need to remove all residual adhesive and apply new double-sided tape or replacement tabs for a secure reapplication. Proper maintenance extends the lifespan of your extensions. Most sets can be reused 2 to 3 times, with premium hair sometimes lasting up to four uses. Always inspect the wefts carefully before reusing—damage or excessive shedding means you’re better off investing in new extensions to avoid damage to your natural hair. To maximize reusability, proper maintenance is essential for preserving the hair quality between applications.
What Are the Main Benefits of Tape Extensions?
Tape extensions offer numerous benefits that make them a popular choice. Because they lie flat against your scalp, they blend invisibly with your natural hair, creating a seamless and undetectable look. This lightweight design reduces strain on your scalp, allowing you to wear them comfortably all day while achieving impressive volume and length. The application process is quick, taking under an hour, which saves you significant time compared to other extension methods.
Additionally, tape extensions are highly versatile for styling. They can handle heat styling tools like curling irons and straighteners without damage, giving you the freedom to curl, straighten, or blow-dry as desired. You can also customize the color to match your natural hair perfectly for an effortless blend. Their semi-permanent nature means you enjoy extended length and fullness without daily maintenance, and high-quality tapes are reusable when properly cared for, providing excellent value over time.
Are There Any Downsides or Risks to Tape Extensions?
Tape extensions can pose several risks, especially if not applied or maintained properly. One major concern is potential damage to your natural hair. When applied incorrectly, tape extensions can pull on your hair, leading to breakage and visible hair loss, particularly if you have fine or thinning hair. Repeated tension from the extensions over time may also cause traction alopecia, a form of hair loss caused by prolonged pulling.
Scalp irritation is another common issue. The adhesives used to attach tape extensions can trigger allergic reactions, resulting in itching, redness, and discomfort. After removal, sticky residue may remain on your scalp, causing ongoing irritation and requiring multiple shampoos to fully cleanse.
Maintenance presents its own challenges. You typically need professional removal every 6 to 8 weeks. This removal process often involves alcohol-based products that can dry out your hair and increase frizz. Additionally, oily hair products can weaken the adhesive bonds, leading to slippage and discomfort during wear.