How to Remove Tape in Extensions at Home
Thinking about taking out your tape-in extensions at home? It’s a common question, and the good news is that with the right approach, you can do it gently without damaging your hair.
The key is to loosen the adhesive softly and avoid yanking, which can cause hair breakage. Keep reading for simple steps to remove tape-in extensions safely and effectively.
Don’t Pull Tape-Ins : Here’s What Gets Damaged When You Rush
Yanking or peeling tape-in extensions instead of using remover spray causes damage to your natural hair. By forcing the extensions off, you bypass the step that loosens the adhesive, putting traction stress on your follicles. This immediate pulling can lead to tenderness, bumps, or a burning feeling around the attachment zone.
Repeated forceful removal often rips out strands before the tapes can release naturally, especially if your hair is fine or thin. The constant tension from pulling can damage the follicles over time, leading to traction alopecia, a type of hair loss caused by persistent tension. Early signs include widened part lines or short, broken hairs near the tapes. Ignoring these signs and rushing removal worsens the damage, turning what might be reversible thinning into lasting follicle injury. To protect your hair, always use the proper remover spray and perform a slow, controlled removal process. Over six weeks, adhesive can coat the hair shaft and trap buildup, which makes forced removal even more likely to damage the follicle. Derma rollers instead micro-injure the scalp to stimulate collagen and hair regrowth, highlighting how careful, controlled methods protect follicles.
91% Alcohol, Oil, and Rat-Tail Comb: The Safe Toolkit
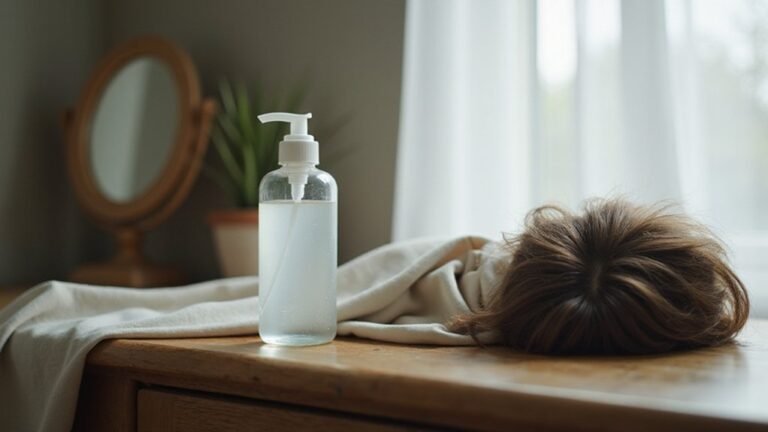
Using the right removal method prevents damage and keeps your hair safe. You’ll need 91% isopropyl alcohol for effective adhesive breakdown because lower concentrations like 70% are less effective. Fully saturate the tape bond with a spray bottle or cotton ball, then wait one to three minutes. Never pull or yank; just let the alcohol soften the glue. This gentle approach minimizes stress on your scalp and hair strands, making removal safer and easier. Following this, apply a nourishing hair mask to restore moisture lost during the removal process. For those with very long hair, securing long hair in a wig cap before starting can help keep strands contained and tape bonds accessible.
Oil is your next tool. Coconut, olive, or almond oil can lift remaining residue without drying out your scalp. Apply a generous amount of oil and let it sit for ten to fifteen minutes. This slower process is kinder to your hair and helps loosen stubborn glue without harsh chemicals.
Finally, use a rat-tail comb. Its pointed tip is designed to work into the softened seam without yanking or pulling your natural strands. Move the comb slowly and delicately, applying gentle pressure. If you encounter resistance, add more remover or oil—never force the comb through. This toolkit approach helps you remove tape and adhesive safely, protecting both your hair and your scalp. Consistent use of this method mirrors the reported benefits seen in other self-care routines, where patience and the right tools yield safer outcomes over time.
How to Prep Your Hair for Removal Without Extra Tangling
Use the right detangling technique to prep your hair for removal. Start with a wide-tooth comb, gently working from the ends upward. This helps prevent small knots from tightening as the adhesive loosens. Section your hair with clips, keeping untaped strands separate from the bonds. This makes it easier to identify whether resistance comes from glue or tangles. Make sure your hair is clean and dry before detangling, as wet or oily hair is more prone to tugging and breakage. Detangling thoroughly beforehand ensures your hair stays smooth during removal, so you’re only fighting the adhesive, not stubborn knots. Applying a gentle microneedling motion along the scalp can stimulate circulation and ease tension before removal. Always keep the tape bonds aligned with the scalp during removal to avoid pulling on the hair from an awkward angle. Alternative removal methods like rubbing alcohol or a remover from Amazon can be applied to the bonds to help dissolve the adhesive. Understanding the chemical composition of the adhesive helps you choose a remover that effectively breaks down the bonds without harming the hair.
Loosen and Separate Each Tape Sandwich, Step by Step
To loosen and separate each tape sandwich, start by focusing on a visible area and isolate one bond at a time. Clip away surrounding hair to prevent pulling on other extensions. Saturate the adhesive line thoroughly with remover or 91% isopropyl alcohol, making sure to target both the top and underside of the tape. Allow the solution to sit for 30 seconds to 15 minutes—reapplying if the bond remains stubbornly firm. Use a 91% alcohol spray bottle to break glue bonds, targeting the adhesive line to ensure saturation. Use a tail comb or your fingers to gently pry open the seam at the middle of the bond, avoiding pulling straight down. Carefully lift the top tape layer off slowly, then treat the bottom segment separately with controlled motions. Keep the extension close to the root to minimize breakage. It is also critical to avoid tugging on the hair as this can lead to traction alopecia. Because the skin and scalp are sensitive during this process, it is important to avoid applying excessive heat or force which can cause irritation or damage. Following the step-by-step instructions ensures each bond releases cleanly without damaging your natural hair. Proper technique during removal is essential for safety, ensuring the bond releases cleanly. Repeat this process for each tape sandwich until all extensions are removed, working methodically from one section to the next.
Remove Tape-In Adhesive Residue From Natural Hair Safely
To remove tape-in adhesive residue from natural hair safely, start by applying natural oils such as coconut, olive, or almond oil generously to the sticky areas. Allow the oil to soak in for at least 30 minutes. This gentle softening helps break down the residue without irritating your scalp or damaging freshly dyed hair. Multiple applications may be needed over several sessions to fully dissolve stubborn residue. For particularly persistent patches, a diamond microdermabrasion tool should never be used on the hair itself, as it is designed solely for skin exfoliation.
After soaking, use a fine-tooth comb to carefully lift the softened adhesive—never pull or force it, as this can cause hair breakage. For quicker removal, dab 70% isopropyl alcohol onto a cotton swab and gently apply it to the residue. Avoid pouring alcohol directly onto your hair, as it can dry out strands. Always use a comb to gently work through any remaining matted adhesive instead of pulling. This process requires patience, and you should wait at least a full week between attempts to allow your scalp time to recover from any minor irritation caused by the alcohol or oil treatments.
Once the adhesive is removed, wash your hair thoroughly with a clarifying shampoo to eliminate any remaining oil and residue. Follow with a conditioner to restore moisture and smoothness. Keep the application of any product confined to the residue area to prevent unnecessary contact with healthy hair.
Handle Stubborn Tape With More Remover, Not More Force
To handle stubborn tape effectively, never rely on force to separate it. Instead, add more alcohol-based remover and wait for it to soften the adhesive. Your goal is to let the solvent work first, making the tape slide apart with minimal traction. Pulling hard only increases the risk of breakage and damage. Keep handling low-force, and if resistance persists, reapply the remover and wait a bit longer. Repeated saturation helps weaken the bond gradually, making removal safer and easier. Applying alcohol and oil together can enhance removal effectiveness by targeting both quick evaporation and gentle loosening of stubborn patches.
Remove Old Adhesive From Extension Wefts After Detachment
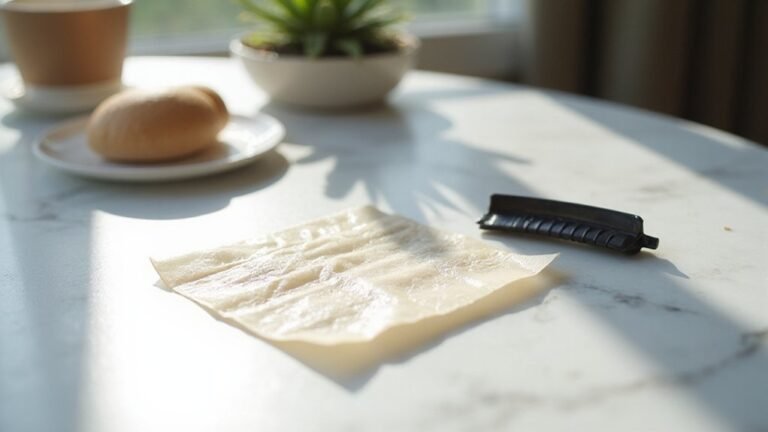
To remove old adhesive from extension wefts after detachment, start by laying the wefts flat with the sticky side up. Spray a tape remover directly onto the adhesive and let it sit for a few minutes. Avoid scraping aggressively; instead, gently peel or rub away the softened glue. This method is similar to using a bonding remover to create an air pocket and work the product into the bond for easier separation. The process relies on solvent penetration to break the adhesive’s molecular structure, much like how pigments are suspended in a carrier solution for even distribution. For a secure fit during reapplication, ensure the cap is smooth and seamless against your scalp. Beginners should also prioritize breathable materials for comfort and reduced scalp irritation during wear.
If stubborn residue remains, reapply the tape remover and repeat the process. You can also use heat from a flat iron to loosen the adhesive. Sandwich the weft in a thin towel or T-shirt, then apply heat in sections. This causes the glue to transfer onto the fabric, making it easier to remove by rubbing gently. Heat works by altering the adhesive’s viscosity, similar to how temperature controls the flow of ink during manufacturing.
For final cleanup, wash the wefts with clarifying shampoo. Adding a small amount of baking soda can help break down any remaining residue. Ensure the wefts are completely dry before re-taping or storing them to prevent mold or damage.
Restore Your Natural Hair and Salvage Your Extensions After Removal
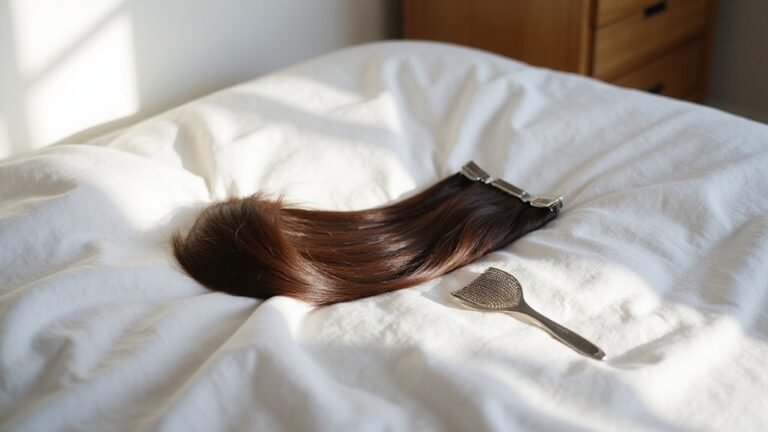
After removing your tape-in extensions, start by gently detangling your natural hair with a rat-tail comb while the bonds are still soft. This helps prevent damage and makes the removal process smoother. Applying a hair oil or serum at this stage can loosen any tackiness, reducing pulling and minimizing breakage. Next, hydrate your hair thoroughly using a deep conditioner to restore moisture lost during the extension removal. Tape-in extensions offer a semi-permanent solution that requires careful removal to protect your natural hair.
To stimulate your scalp, massage in small circular motions. This boosts circulation and helps loosen any remaining adhesive residue. For your extensions, use a solvent to carefully peel them apart, working slowly to avoid fraying the wefts. Residual adhesive can be cleaned with 91% isopropyl alcohol, then an oil-based remover to lift stubborn glue without damaging the extensions. Once clean, lay the extensions flat with the sticky side protected for potential reuse. Similar to LED masks, overuse of treatments can lead to skin or hair sensitivity, so follow product instructions carefully. Choosing the gentlest removal method reduces the risk of breakage during this process. Following these steps helps maintain healthy natural hair and preserves the quality of your extensions for future use.