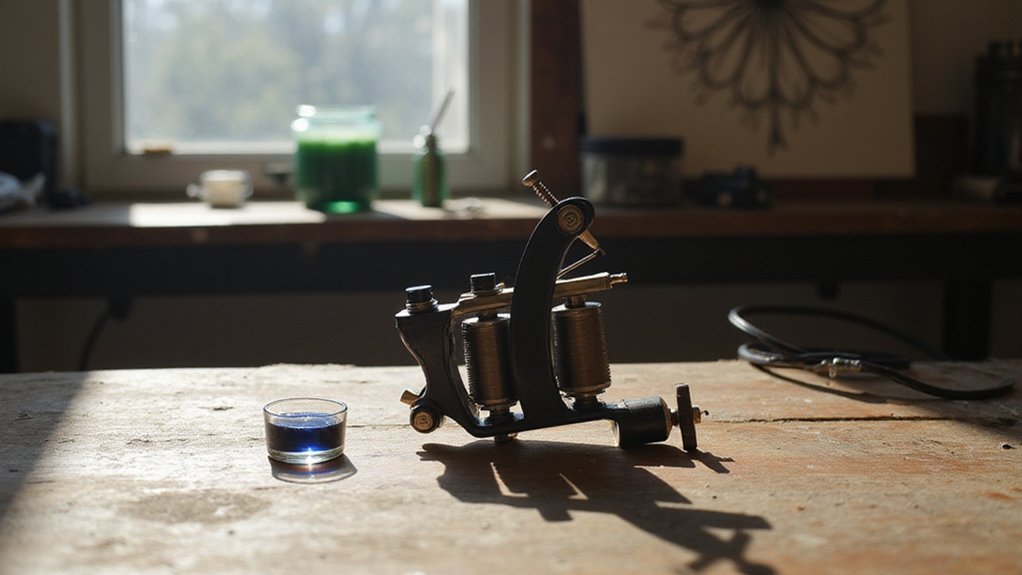
Wondering how many needles a tattoo machine uses? The answer varies widely depending on the design—anywhere from one to over 50 needles.
Your choice impacts everything from detail and line sharpness to how quickly your skin heals. Keep reading to learn how to match the right needle count to your tattoo project.
The Simple Answer: Tattoo Machines Use 1 to 50+ Needles
Tattoo machines typically use between 1 to over 50 needles, depending on the type of work you’re doing. For fine detail work, a single needle or a small group of 3 to 5 needles is suitable, offering precision for delicate lines. When tackling larger areas or shading, you might use 11 to 18 needles for smooth gradation or to fill in larger spaces efficiently. For bold lines or heavy shading, 19 to 30 needles are common, providing more coverage without sacrificing control. When working on backgrounds or large color blocks, setups with 30 to over 50 needles allow you to cover extensive areas quickly. The number of needles affects not only coverage and speed but also ergonomics — higher counts can increase vibration, potentially making control more difficult. Proper maintenance of your machine ensures consistent needle depth and prevents dragging, keeping your work both smooth and precise. For clients wanting reliable results, choosing a studio with sterilized single-use needles is essential for safety. Understanding how derma rollers use similar needle arrays can provide insight into how skin reacts to controlled punctures during tattooing. Knowing the ink production process helps artists understand how pigment viscosity can affect needle performance and flow.
What “Needle Count” Really Means in Tattooing
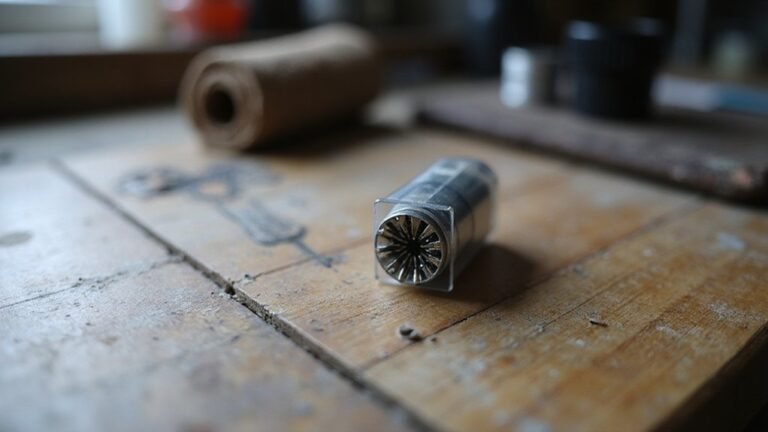
“Needle count” refers to the total number of individual sharps bundled on the needle bar or inside the cartridge tip. It’s indicated by the second number in a product code, such as 9 in 09RL or 13 in 13CM. This count represents how many pins are grouped together, not their thickness or specific arrangement. A higher needle count generally covers a wider area on the skin and deposits more pigment with each pass, making it suitable for larger areas or filling in color more efficiently. However, larger groupings also require stricter safety and sterilization procedures since they contact more tissue at once. For example, the total number of sharps in a configuration can exceed 100 in extreme liner setups, which are used for very broad coverage in specialized applications. Needle count is simply a number indicating how many sharps you’re working with – from a single needle to a configuration with up to 100 sharps in specialized setups. For example, a 14 mag configuration uses fourteen individual sharps to pack ink rapidly into larger fields. Just as with any tool that contacts living tissue, proper sterilization protocols are essential to prevent infection and ensure client safety. The needle type and grouping also influence the precision of line work, as fine liner needles allow for crisp details while larger configurations are better suited for shading.

Dragonhawk Tattoo Needles: High-quality tattoo needles, manufactured under the trusted Dragonhawk brand, are perfect for all-purpose work. With a polished, long taper design, these needles ensure reliable performance and excellent control.

30/13RL, 30 means diameter: #10. 30/13RL means 1013RL.

Poseidon cartridge adopt a one-time joint design hygienic standard The material is stainless steel and easy to color,and has better ink flow
How Many Needles for Lining, Shading, and Fills?
For lining, shading, and filling, the number of needles you choose directly impacts the line width, shading smoothness, and ink saturation. For lining, a round liner with 3 to 5 needles is ideal for fine details, while 7 to 9 needles create bolder outlines. When shading, 5 to 9 needles are effective, but switching to a magnum needle produces smoother coverage. Curved magnums are especially good for soft gradients and seamless color blending. For solid fills, you need 14 or more needles in a magnum configuration. Using larger needle counts in a magnum arrangement allows for faster work and more saturated, even color application. Avoid round liners for fills, as they are less efficient at packing in ink. For large areas, 18 or more needles are recommended to ensure quick, consistent coverage; just make sure to control your hand speed to prevent oversaturation or patchiness. Understanding the different needle types helps you match the configuration to the specific task at hand. Removing tape extensions safely requires proper removal solvent to fully dissolve the adhesive before gently separating the tape from the skin. The overall quality of your work also depends on the ink’s pigment composition and how it interacts with your chosen needle grouping.

Complete Packaging: 50pcs mixed size tattoo cartridge needles set, includes 5pcs each of 1205RL 1207RL 1209RL 1205RS 1207RS 1209RS 1207RM 1207M1 1215M1 1215RM. The unique design of the needle can store more ink, and the sharp needle thread better completes tattoo activities, suitable for both professional tattoo artists and beginners.

[Package]: 50pcs Assorted tattoo cartridge needles, includes 10pcs each of 1207RM, 1209RM, 1211RM, 1213RM, 1215RM.
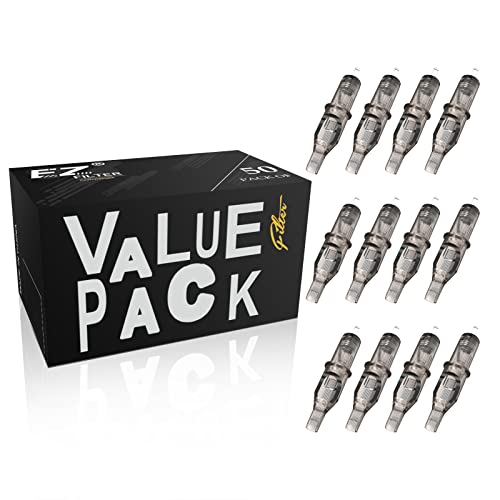
EZTAT2 50Pcs mixed tattoo cartridge needles round magnum or round liner or shaders, flat mag. One step choose 5 sizes assorted kit and help us save more time.
The Most Common Needle Groupings by Type
Needle groupings are categorized by shape and configuration, and mastering these helps you select the right needle for each task. Round liners (RL), such as 3RL, 5RL, and 9RL, are designed for crisp outlines and detailed work, providing fine lines with precision. Round shaders (RS) create a softer, looser circle perfect for blending and soft shading effects. Magnum groupings, like weaved (M1) or stacked (M2), are broad and efficient for shading large areas and color packing because they cover more skin with fewer strokes. Curved magnums (RM) help produce smooth transitions between shades and reduce track marks, making them ideal for realism. Tattoo artists often rely on sterile single-use configurations to prevent cross-contamination and ensure client safety. Flat and double-stack configurations excel at geometric fills and sharp shading, giving you precise, clean results on bold lines or structured designs. Always prioritize needle safety by using sterile, single-use configurations to prevent infection. Understanding these common groupings equips you to match the right needle to every project, enhancing your skill and consistency as a tattoo artist. Just as a beginner in tattooing should consider the best wig cap for comfort and fit, selecting the correct needle grouping is similarly foundational to achieving consistent, professional results. Evaluating needle choices against your machine’s stroke length and voltage can further refine your cap selection for optimal performance.

1.PACKING:Tattoo needles 3rl are pre-sterilized/individually blister packaged,stamped with sterilization expiration date

Mast Pro purple tattoo cartridges needles have been providing with high density clear plastic body.
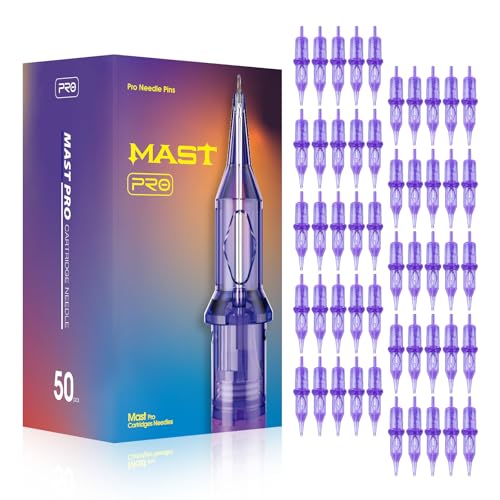
Mast Pro purple tattoo cartridges needles have been providing with high density clear plastic body.
Why Your Machine Type Determines Your Needle Count
Your machine type directly determines your needle count because each system uses a unique needle format. Coil machines typically rely on traditional needle bars, which lock you into fixed needle groupings. This setup usually limits you to specific configurations, often between 3 to 14 needles, depending on the project. Rotary and pen machines use cartridges, offering greater flexibility by allowing you to swap from a single needle to more than 30 without adjusting the machine itself.
Cartridge systems simplify maintenance because you can discard the entire cartridge after use, making cleaning quicker and easier. Coil setups, on the other hand, require more careful attention to the needle bar area, as you need to clean and maintain the bars regularly to prevent buildup or damage.
Your artistic preferences also influence your choice. If you favor the traditional feel for precise lines, a coil machine with a fixed needle setup might be suitable. For shading and versatility, a rotary system with adjustable needle counts through cartridges could be more appealing. Ultimately, the design of your machine determines compatible needle formats, making your needle count selection a matter of matching your needs with what your machine can handle.
How Needle Count Affects Line Precision and Ink Saturation
Needle count significantly influences line precision and ink saturation. Fewer needles, such as a 3RL, produce very fine, sharp lines ideal for detailed work. Each pass deposits less ink, requiring you to make multiple passes or maintain a steady hand to achieve the desired darkness. This can lead to increased skin trauma if overdone. Conversely, a higher needle count like a 7RL creates thicker, more stable lines that are easier to control. These groupings deposit more pigment per stroke, resulting in faster saturation and more consistent coverage. Larger groupings like magnums are best for color blending or filling broad areas, as they quickly deposit large amounts of ink. Smaller groupings deposit less pigment, which can slow your process and increase the risk of lighter or uneven results. Mastering tattoo machine technique helps you adjust your hand speed and depth to prevent skin trauma when using fewer needles. Choosing your needle count depends on whether you prioritize precise details or quick, bold coverage. Proper wig cap application is a separate essential skill for positioning and securing the canvas before any needle touches the skin. To avoid damage to natural hair, always ensure tape extensions are applied correctly to prevent breakage.
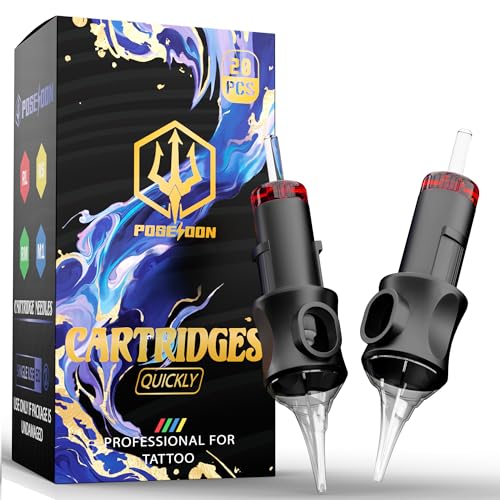
Complete Packaging: 20pcs tattoo cartridge needles set. The unique design of the needle can store more ink, and the sharp needle thread better completes tattoo activities, suitable for both professional tattoo artists and beginners

JimKing Tattoo needles and tips are packaged in a disposable sterilization box to prevent secondary infections.

Package: 50pcs mixed tattoo cartridge needles, includes 10pcs each of 1203RL, 1205RL, 1207RL, 1209RL, 1211RL.
How to Decode a Needle Code Like 1207RL-LT
Decoding a needle code like 1207RL-LT is straightforward once you understand each part. The first number, 12, indicates the needle gauge, meaning each needle is 0.35 mm thick. This size balances precision and ink flow, making it suitable for detailed work. The next two digits, 07, specify the number of needles in the group, so there are seven needles used together for consistent shading or lining. This number directly reflects the grouping size that determines the overall stroke width and coverage of the machine.
The letters RL stand for Round Liner, which describes the configuration of the needles arranged in a tight, circular pattern. This setup is ideal for creating clean, crisp lines. The suffix LT means Long Taper, referring to the longer, more tapered needle point. A long taper delivers ink more gradually, offering better control and softer shading—perfect for subtle gradients and fine color blending without over-saturating the skin. Understanding needle tapers helps artists choose the right taper length for various techniques like lining or shading. For artists seeking similar gentle results, tape extensions offer a gradual buildup of length and volume without over-saturating natural hair.
Knowing this breakdown helps you choose the right needle for your specific project. When you see 1207RL-LT, you know it is a 0.35 mm, seven-needle round liner with a long taper, designed for precise, gentle work. No guesswork needed—just the exact information to match your task.
How to Choose the Right Needle Count for Your Project
Choosing the right needle count depends on the specific task and detail level of your project. For fine-line work, a low-count round liner, typically 3 to 5 needles, provides precision without damaging the skin. When creating bold outlines, a higher needle count, such as 7 or more, delivers thicker lines and ensures a more consistent ink flow. For shading, larger magnums—often 9 or more needles—lay down broader gradients smoothly, while smaller groupings—like 5 or fewer—are ideal for detailed, compact spots. Color packing usually benefits from high counts, such as 9 or above, to deposit more pigment efficiently in fewer passes. Remember that needle count also determines the configuration type, as a label like “1207 RL” specifies that 7 needles are arranged in a round liner pattern for precise outlines. Following proper derma roller aftercare can also help minimize skin irritation and promote healing. Understanding how to fix common issues with homemade ink can be crucial if you are experimenting with DIY tattooing at home.
Always consider the ink consistency. Thicker inks may require larger needle groupings to flow properly. Equally important is needle sterilization; regardless of count, sterile needles are non-negotiable for safety and hygiene. Matching your needle count to the size and style of your project ensures you achieve optimal results without overworking the skin or sacrificing detail.
Mast Pro purple tattoo cartridges needles have been providing with high density clear plastic body.
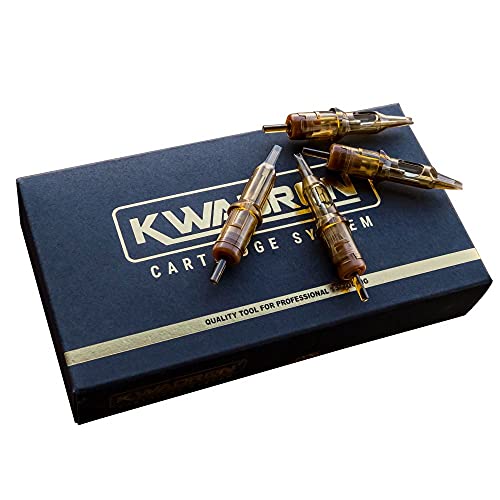
OPTIMAL PERFORMANCE: Kwadron tattoo needle cartridges is precisely made with high-quality materials for optimal performance so that you can achieve beautiful results

Dragonhawk Tattoo Needles: High-quality tattoo needles, manufactured under the trusted Dragonhawk brand, are perfect for all-purpose work. With a polished, long taper design, these needles ensure reliable performance and excellent control.