If you’re curious about how to build a basic tattoo machine at home, you’re in the right place. A homemade setup typically involves a few simple parts like a small frame, a motor, and a needle, all assembled carefully for safe use.
With some basic tools and attention to sterilization, you can create a functional device to practice with.
Keep reading to see the step-by-step process.
Gather Materials for a Homemade Tattoo Machine
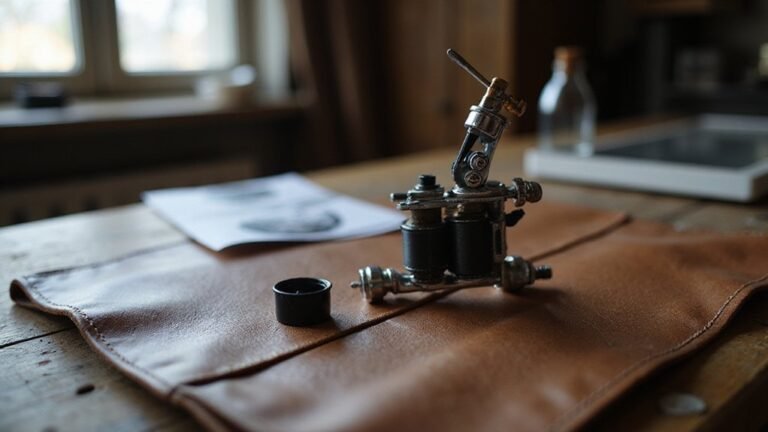
To gather materials for a homemade tattoo machine, start with safety first. You’ll need sterile, disposable tattoo needles to reduce the risk of infection; never reuse needles. For metal parts that contact skin, ensure they are properly sterilized, typically using an autoclave. Find a slim housing, like a pen body or a mechanical pencil, to serve as your main shell. You’ll also need a grommet to hold the needle securely in place, and as a substitute, a sterilized low E guitar string can work. Secure everything with hose clamps or hot glue to keep components stable during operation. For power, use a 9V battery connected with electrical wire. When assembling, don’t forget protective gloves to maintain a sterile environment. Keep some clean-up materials, like paper towels, on hand to assist during ink handling and assembly. A used gel pen casing can be cut in half to provide a blank housing for the needle and armature. This approach mimics the principle of micro-needling, which uses tiny needles to create controlled micro-injuries in the skin. Always research proper hygiene protocols before attempting any procedure. Before starting assembly, you should cleanse the skin thoroughly to remove oils and debris.
Pick a Simple DC Motor and a Recycled Frame
Choose a sturdy, narrow plastic casing, such as a small cylindrical or rectangular container, that can be comfortably held in your hand. This frame should offer a firm grip and ample surface area to securely attach the motor. Avoid using flexible or flimsy materials, as they tend to amplify vibrations and hinder precise control. The DC motor’s mechanical motion will convert electrical energy into the movement needed for operation. Understanding the correct needle depth is crucial to avoid skin damage during application. Once you’ve selected the right motor and frame, you’ll have established the core structure of your machine, ready for the next steps like adding the guide tube or assembling other components. For beginners, choosing a frame with a comfortable fit ensures steady handling, much like selecting a well-suited wig cap reduces slippage during wear. Homemade inks often require sterile pigment powders to prevent infection, as commercial tattoo ink undergoes rigorous sterilization during its production process.
Prepare the Guide Tube and Frame for Assembly
To prepare the guide tube and frame for assembly, first mount the guide tube so the needle bar moves smoothly and in a straight line. Lightly clamp the tube in a vise and adjust its position until the needle tip aligns with the tube opening at rest, ensuring it travels straight and friction-free. Proper positioning demands a centered, low-drag path to minimize side loading; loosen and retighten until you find this optimal alignment. For stability, verify that the support body holds the handle firmly and that the holes are chamfered to prevent wear. Aim for 1.5 to 2 millimeters of needle extension beyond the tip when at rest, as excess extension can cause wobble. Tighten the tube just enough to avoid warping but not so tight as to deform it. To stabilize the needle bar, secure rubber bands behind the frame. Manually check movement; if the needle binds or feels rough, recalibrate the alignment. Finally, tighten all fasteners to lock the setup in place. Using a fine point round liner, bend the needle slightly to reduce jumping and improve performance.
Make the Needle From a Guitar String
To make a needle from a guitar string, thread the string through your guide tube and then bend the top end into an L or U shape. Hook this bend directly onto the motor’s cam or lever, ensuring there is enough slack for smooth rotation. Avoid excess slack that could cause snagging or interfere with movement. Before use, sterilize the needle with alcohol to prevent contamination. After mounting, test the movement—if it wobbles or binds, re-crimp the hook to secure a stable, centered connection. For a secure hold, apply removal solution to loosen the adhesive before adjusting the hook. When properly assembled, your needle will be ready for precise operation. A common cause of needle wobble is an incorrectly adjusted needle depth, which can be fixed by checking the machine’s needle bar alignment and tightening the set screw. The red light therapy used in masks for skin rejuvenation works on a similar principle of delivering targeted energy for tissue repair.
Wire the Motor to a Battery Pack
Wire the motor to a battery pack, start by preparing the power source. You can use a 9V battery or a small pack from a device like a beard trimmer, which often includes a built-in switch. Split the battery clip leads so you can insert a switch into the circuit. Strip a short section of insulation from each wire to expose the conductive core.
Connect the bare end of one wire to one terminal of the switch and tighten the connection securely. Connect the switch’s output to one terminal of the motor. On the other side, connect the remaining wire from the battery to the other motor terminal, completing the circuit. When the switch is closed, power flows from the battery, through the switch, into the motor, and back, making the motor run. For consistent performance, ensure the battery provides a stable voltage output to avoid erratic motor speeds.
Before making any permanent connections, test the motor briefly by touching the wires to the battery terminals to ensure it spins properly. Use tape to cover any exposed wires and avoid loose or frayed connections. Position the switch close to the frame for easy operation and keep wires away from moving parts to prevent snagging or damage. For proper needle alignment, adjust the motor position on the bent spoon after securing the battery pack with tape. To prevent contamination, always clean the derma roller with isopropyl alcohol before and after each use. Unlike skincare devices that rely on light therapy penetration to stimulate collagen, this homemade machine depends solely on mechanical action, so maintaining a sterile environment is even more critical to avoid skin infections.
Attach the Motor to the Needle With a Button Drive
To attach the motor to the needle with a button drive, you need to convert the motor’s rotation into a controlled reciprocating motion that drives the needle bar. Start by fixing a small button, cam, or contact piece to the motor shaft using a washer-and-screw stack. This coupling must transfer rotation smoothly into linear up-and-down movement. Precise alignment is crucial—align the drive component directly with the needle path to minimize wobble and binding. A digital servo motor with a needle positioner ensures the needle always ends in a desired position, improving accuracy for this type of setup. For best results, use a fine-grit sanding tool to smooth any rough edges on the drive contact piece, as recommended in derma roller maintenance guides. Choosing the correct needle type is essential for achieving the desired linework and shading effects. Regular cleaning of the drive mechanism, similar to tape hair extensions care, prevents buildup that can shorten component lifespan.
Once aligned, tighten the set screws and bracket fasteners firmly, but avoid over-tightening, as slight play can affect needle timing. Always disconnect power before making adjustments. Check that the linkage moves freely; early interference can cause damage to the needle path. Using a rigid mechanical link prevents skipped motions and ensures consistent needle travel. Proper setup of this button-drive mechanism guarantees that motor motion synchronizes accurately with the needle stroke, leading to reliable sewing performance.
Test Needle Depth and Motion Before You Ink
Test needle depth and motion on practice skin before you ink anyone. Start with a 1–2 mm needle protrusion baseline, then adjust in 0.5 mm increments based on how the skin reacts. This helps you calibrate your machine to deposit ink evenly and safely. If the ink wipes away easily, your needle is too shallow. If you notice heavy bleeding or the skin looks chewed up, you’re too deep—reduce the needle depth. The right depth feels like the skin bounces back, and the lines stay sharp and solid. This step is crucial to avoid unnecessary trauma and ensure consistent results. Always practice on synthetic skin first; it’s a low-risk way to build confidence before working on actual skin. For similar safety reasons, tape-in extensions require precise application techniques to avoid damaging natural hair. Skipping this could lead to uneven work or injury. Maintaining a short but effective needle hang promotes a cleaner workflow and supports developing skill and technique. Understanding machine calibration basics helps you diagnose vibration or noise issues early, saving time during practice sessions. Choosing top temporary tattoo inks for initial practice can help you compare how different pigments behave on synthetic skin.
Fix Common Tattoo Machine Problems
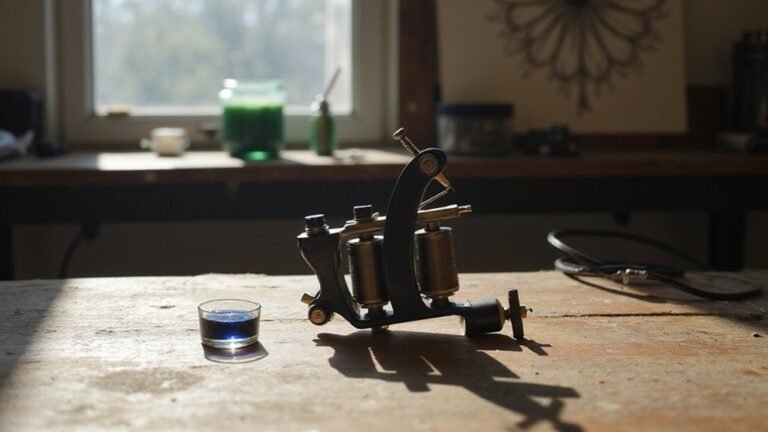
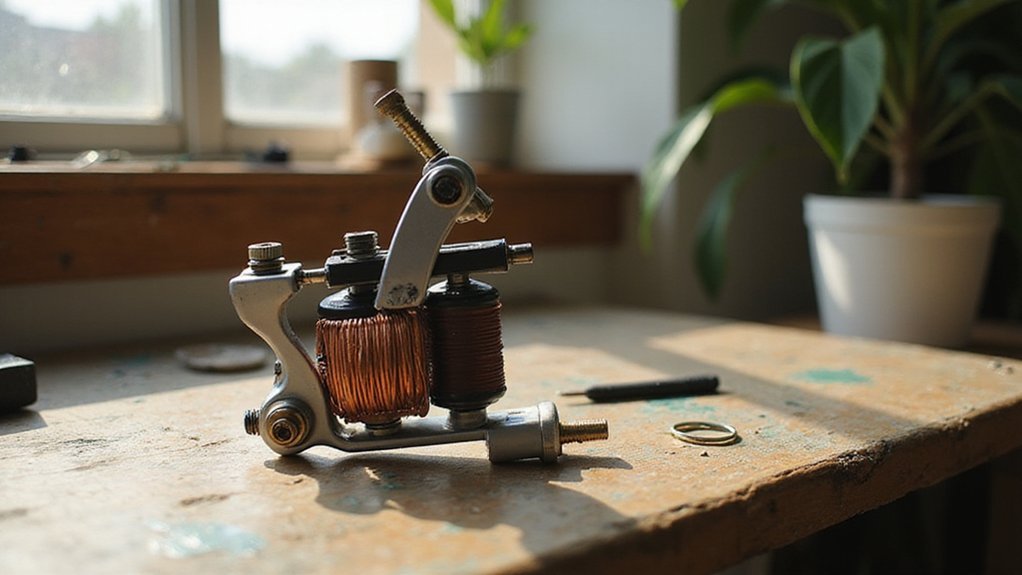
Troubleshooting common tattoo machine problems involves systematically checking each component to identify issues that can disrupt your work. Begin with electrical problems by inspecting the power supply and cable for voltage fluctuations, ensuring they are properly connected and functioning. Clean oxidized contact points to maintain consistent electrical flow. If you notice the machine has a weak or inconsistent hit, focus on adjusting the motor tension: increase spring tension or realign the armature bar if it hits unevenly. Poor ink flow can often be fixed by clearing blockages in the needle or tube and confirming your ink is properly loaded and fresh. Excess heat can cause damage to both your machine and skin, so monitor for early warning signs such as unusual warmth or burning smells to prevent complications. Excessive noise might mean tightening loose screws or cleaning debris from moving parts to ensure smooth operation. Overheating episodes can be prevented by lowering the voltage, which reduces heat buildup and prolongs machine life. Lastly, check the capacitor if power remains unstable, as a faulty capacitor can cause voltage drops or surges. Understanding how electromagnetic coils create a rapid up-and-down motion of the armature bar is key to diagnosing mechanical issues. Regular maintenance and these troubleshooting steps will keep your homemade tattoo machine performing reliably.