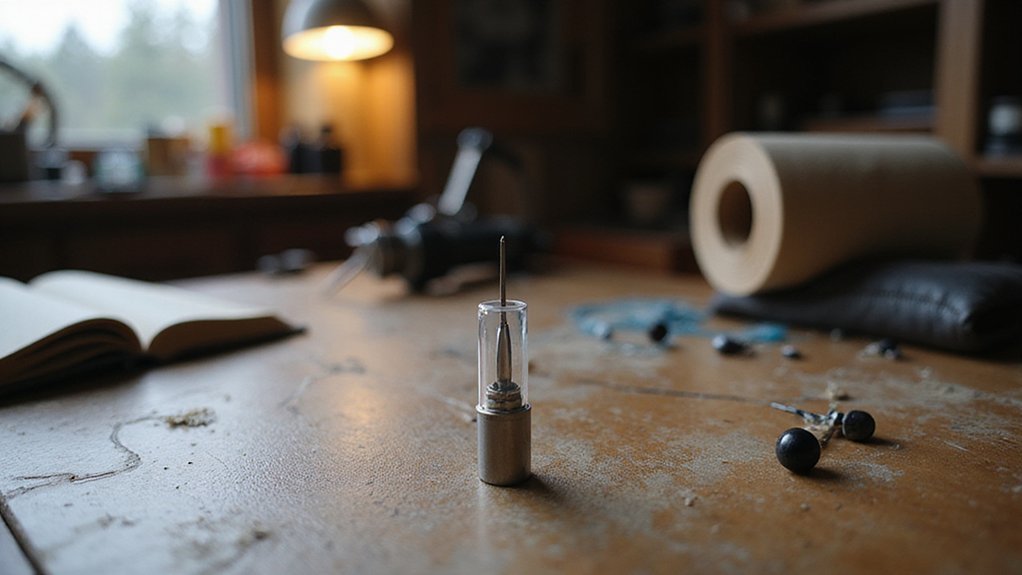
Choosing the right tattoo needle can feel overwhelming because there are so many options, each suited for different effects.
Whether you want sharp outlines, smooth shading, or bold color blocks, your choice of needle impacts how your tattoo heals and looks over time.
By understanding the different types of needles and how they’re used, you’ll be able to select the right setup for any design.
Keep reading to discover how each needle type works and how to get the best results.
How Tattoo Needles Are Sized and Measured?
Needle size is primarily determined by two measurements: gauge and count. Gauge refers to the thickness of the needle, with lower numbers indicating thicker needles. Common gauges include #8 (0.25 mm), #10 (0.30 mm), and #12 (0.35 mm), each affecting how deeply the ink is deposited into the skin. Count describes how many individual needles are grouped together, such as the “05” in 1205RL. A higher count means a broader coverage area with each pass, making it ideal for shading and filling larger sections efficiently. Understanding the interplay between gauge and count is essential for selecting the right tool, as a thicker needle deposits ink at a different depth than a thinner one, which directly impacts both the ink’s stability and the healing process. The consistency of the ink itself is also vital, as pigment grinding techniques determine how evenly color is suspended in the carrier solution. Prioritizing proper sterilization techniques before every use is essential to prevent infections and cross-contamination. Discard used needles immediately into a sharps container to ensure safe disposal. These practices are critical regardless of whether you are using a thin, precise needle or a thicker, more aggressive one. Similarly, using a derma roller relies on microneedling principles to create controlled micro-injuries that stimulate collagen production and improve product absorption. Mastering the correct needle size and handling procedures allows you to achieve the desired detail and coverage while maintaining safety standards.
Match Needles to Tattoo Techniques First
Matching the tattoo to the technique is essential because it directly influences the quality and precision of your work. For crisp outlines, a round liner in a size that matches your desired line weight—such as 3 or 5 round liner—is ideal. Shading techniques require different needle groupings: round shaders handle small shaded areas effectively, while magnum needles are better for smooth gradients and larger coverage. When packing color, stacked magnums deliver solid saturation more efficiently, reducing trauma and the number of passes needed. For detail work like stippling or fine script, small round liners provide the accuracy you need. Always prioritize sterilization of your needles to prevent infections. Remember, modern precision tools make it easier than ever to match needles precisely to your technique, guiding you toward consistent, professional results. Ultimately, the technique you choose should influence your needle selection, not the other way around. For example, when selecting a needle for bold outlines, a thicker 12 gauge is standard for most tattooing and provides the necessary line weight. Some artists also use red light therapy to aid in skin healing after tattooing, though results can vary. Additionally, selecting the correct needle configuration ensures optimal ink flow and skin trauma management. Proper wig cap application technique includes thoroughly cleaning the scalp to create a smooth base for adhesion.
Round Liners vs. Round Shaders: Spot the Difference
The difference between a round liner and a round shader truly impacts your work on skin. The key factor is the needle configuration: a round liner (RL) packs its needles tightly, creating crisp, sharp lines ideal for detailed outlines or lettering. Meanwhile, a round shader (RS) uses a looser circle of needles, which disperses ink more evenly for softer lines and basic shading. Common needle grouping sizes for round liners include tight clusters of 3, 5, or 7 needles for precision work.
Because of this setup, RL needles deposit thin, controlled ink lines that provide precise results. This makes them perfect when you need fine detail, like in scripts or dot work. RS needles, on the other hand, spread ink over a wider area, resulting in bolder, softer edges that are great for shading or filling. Understanding that RS needles are also often preferred for blending color transitions helps artists achieve smooth gradients.
Choosing between them depends on your goal. If you require sharpness and accuracy, the RL is your best bet. If you’re after smooth shading or filling in tight spots without harsh lines, the RS will give you the desired softer effect. Both tools can line, but they bring distinct qualities—one emphasizes precision and fine detail, the other versatility and subtle shading. Mistakes are more visible with round liners due to the tighter grouping, making shaders more forgiving of wobbling or shakiness. When removing tape extensions, you should apply a removal solution to gently dissolve the adhesive without damaging your natural hair.
Use Magnum Needles for Large Shading Areas
Magnum needles are ideal for large shading areas because they deposit more ink per pass than round groupings. This allows you to cover broad spaces quickly and efficiently. Flat or woven magnum rows spread ink more evenly, helping you achieve smooth gradients and solid fills without overworking the skin. Always choose the needle size based on the area you’re shading: larger magnums are suited for back pieces or blackout work, while smaller ones work better for tighter or detailed zones. For optimal results, ensure you use a sterile needle configuration that matches the specific shading technique you plan to employ. Using the right magnum size ensures consistent shading and promotes healthier skin for your client. This is possible because the machine’s reciprocating mechanism drives the needle group into the skin at a consistent depth and speed, allowing for even ink distribution across large areas. Similarly, tape-in extensions require selecting the appropriate width and weight to match the client’s hair density and avoid unnecessary stress on the natural hair.
Choose Curved Magnums for Smoother Skin Follow-Through
Curved magnums are ideal for achieving smoother skin follow-through because their gentle arc closely follows the body’s natural contours. This design allows your needle to glide effortlessly over curved areas like ribs or shoulders, reducing the chance of catching corners and promoting uniform pressure distribution. As a result, you can produce seamless gradients and soft color packing with fewer passes, making the tattooing process gentler on the skin. The rounded edge minimizes trauma, helping to lower the risk of blowouts or overworked areas. For optimal results, use small oval or pendulum motions and keep your machine angle slight to control needle depth precisely. Regular cleaning and lubrication of the needle maintain the arc’s integrity, ensuring consistent performance. While curved magnums excel at soft transitions and shading, avoid using them for sharp lines; reserve liners for those needs. Curved Magnums follow the body’s natural contours to reduce trauma. For best results, choose high-quality tattoo ink to ensure vivid and long-lasting color saturation. A beginner should also learn to adjust the machine’s needle depth for precise control over ink deposition. Beginners may also benefit from selecting a breathable wig cap to practice maintaining steady hand positioning without overheating.
Select Flat Shaders for Geometric Lines and Bold Packing
Flat shaders are your best choice for geometric lines and bold packing because they produce a uniform, single-tone look that emphasizes sharp edges and clear boundaries. They prevent gradients or soft shading from softening your shapes, ensuring each line or polygon remains crisp and well-defined. This is especially useful for hard-surface visuals where strong silhouettes and precise geometric forms matter. For a tattoo application, you can replicate this crisp linework by adjusting line width within a shader’s decimate and layer controls to achieve bold, consistent packing.
Using flat shaders isolates each primitive to one solid color, avoiding interpolation and blending that can dilute the visual impact. For bold packing, this results in solid blocks of color with distinct borders, making your design look more graphic and intentional. The lack of tonal variation ensures colors stay bold and consistent across the entire shape, which enhances visual clarity and simplifies complex visual arrangements.
Pick the Right Needle Gauge for Line Thickness
The needle gauge directly influences line thickness, with larger gauges producing bolder lines. For example, #12 (0.35 mm) needles create thicker, more saturated lines, making them ideal for bold outlines and heavy shading. In contrast, #10 (0.30 mm) and #8 (0.25 mm) gauges offer finer control, suited for delicate details or micro-work where precision is paramount. Understanding these differences helps you choose the right needle for your desired line weight—larger gauges for impactful, bold strokes and smaller gauges for crisp, intricate details. Keep in mind that needle gauge is just one factor; needle configuration (like the number of needles) also affects line thickness and consistency. Matching your gauge to the line weight you aim for ensures your work maintains clarity while avoiding unnecessary trauma to the skin. Additionally, the second number of needles in the pack directly determines the final line thickness, with more needles producing bolder strokes.
Know When to Use Bugpins, Long Tapers, or Textured Needles
Bugpins, long tapers, and textured needles each serve different purposes based on the effect you want to achieve. Use bugpins when precision and delicate shading are your goals. Their small diameter, around 0.20 to 0.25 millimeters, limits ink flow, resulting in crisp lines and smooth tonal transitions. They are perfect for rendering fine details in realism and portraits but are not suitable for heavy saturation or bold outlines because they lack the ink flow needed for fast, dense packing. Using bugpins with a compatible tube reduces wiggle room and ensures precision and fit. For those exploring different ink qualities, reviewing the top ink picks for temporary tattoos can help you choose products that mimic these effects safely. Understanding how needle grouping influences ink delivery helps artists avoid common mistakes in saturation.
Long tapers are your go-to for soft shading and gradual transitions. Their extended, slender tips deliver pigment slowly and controlled, making them ideal for subtle gradations and smooth value buildup. Combining long tapers with bugpins can produce even softer, more refined shading. On the other hand, shorter or fatter tapers deposit more pigment quickly due to their larger, more aggressive tips. Choose these when you need solid saturation and faster coverage, especially for bold outlines or intense color fills. Similar to how red light therapy stimulates cellular repair in the skin, using the correct needle taper ensures the pigment is deposited at the optimal depth for healing and retention.