Getting started with tattooing can feel overwhelming, but mastering some basics will set you on the right path.
Knowing the right needle depth and voltage, and practicing control, are key steps before moving to real skin.
With patience and practice, you’ll build the skills needed to create clean lines and even shading.
Here’s how to begin.
What You’ll Need Before You Touch a Tattoo Machine
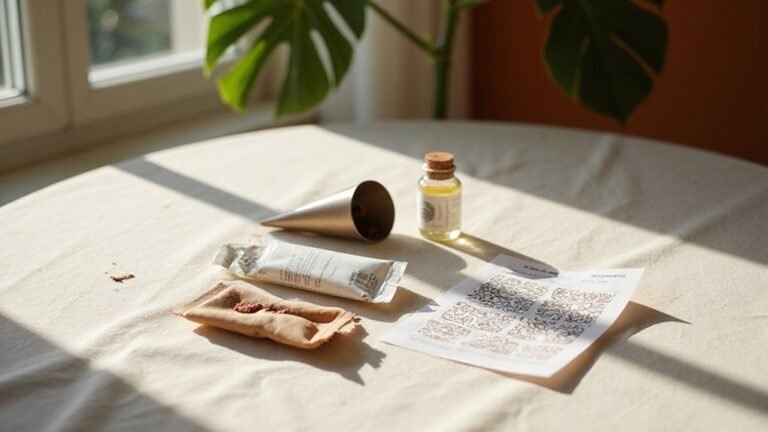
Before you touch a tattoo machine, you need to have the right PPE and studio setup. Start with fresh disposable gloves to prevent cross-contamination and antibacterial soap for thorough handwashing. A face mask is essential to minimize the risk of breathing in airborne particles and to protect your client. Disinfect your station using medical-grade solutions like CaviCide to create a sterile environment. Cover the machine with single-use machine bags, clip cord covers, and barrier film on touchpoints such as the grip and power supply. Secure these barriers with barrier tape to prevent any contamination during the session. Ensure hands are clean before starting, even with gloves, as a primary hygiene step.
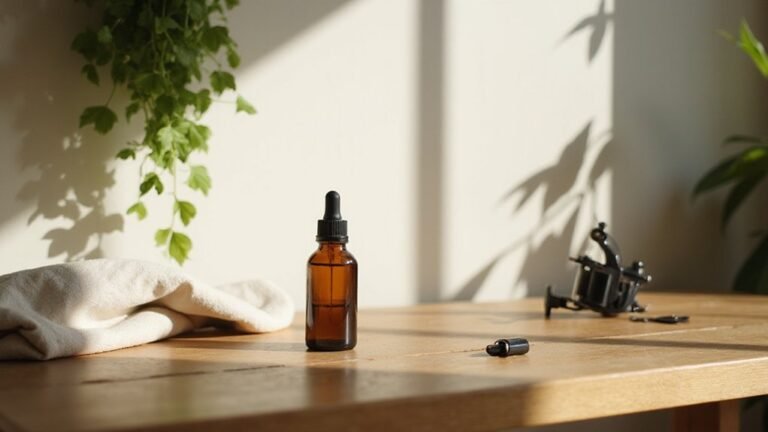
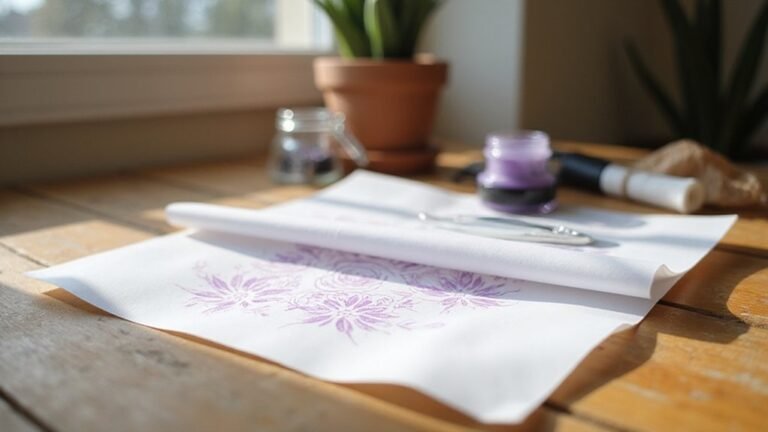
Gather the core components needed to operate your tattoo machine effectively. Ensure you have your coil, rotary, or pen-style machine, along with compatible needles suited for your intended work. Use a disposable grip for added safety, and connect the machine to a power supply via a clip cord or wireless battery, depending on your setup. Stock ink caps ready for different colors, along with distilled water and green soap in squeeze bottles for rinsing during the tattoo process. Understanding the source of your materials can also help you avoid issues, as poorly made tattoo ink may contain impurities that cause reactions or inconsistent results. Similar to how a derma roller uses micro-needling action to stimulate skin repair, a tattoo machine relies on precise needle penetration to deposit ink effectively. Don’t forget practice skin and stencil paper for designing, plus paper towels and a razor for prep work. Your ink selection, whether bold lines or soft shading, should match your style and the shades you plan to use for the design.

New Designed Pen Machine Bags with Sealed Closure: We've increased the length and width of the tattoo machine sleeves and added a sealing strip at the opening. This ensures that your pen-type machine remains in a safe and clean working environment at all times.
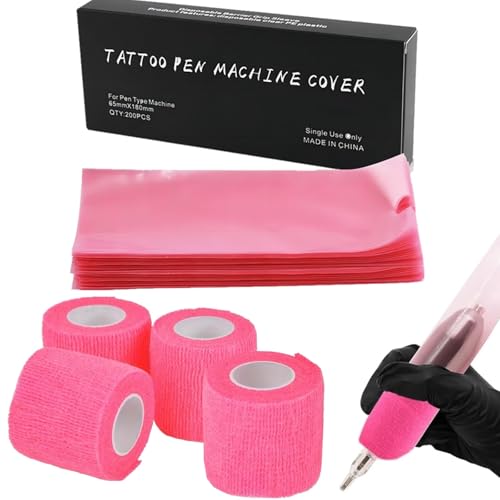
🎁 Premium Combo Value : Get 200 individually tattoo machine pen covers (7.1"x2.5") + 4 rolls of tattoo grip tape (2"x5yds). Economical bundle meets all session needs – no extra purchases! Upgraded larger size fits most pens.

New Designed Pen Machine Bags with Sealed Closure: We've increased the length and width of the tattoo machine sleeves and added a sealing strip at the opening. This ensures that your pen-type machine remains in a safe and clean working environment at all times.
How to Set Up Your Tattoo Machine
To set up your tattoo machine, start by assembling the main components securely. Attach the grip and tube to the frame, using your Allen key set to tighten them firmly. If your coil machine isn’t preassembled, install the springs and armature-bar hardware, making sure the rear spring sits underneath the front spring for proper tension. When choosing needles, select the appropriate needle bar or cartridge based on your design, and insert it carefully through the tube. Adjust the needle so only about 1 to 2 millimeters extends past the tip, allowing for precise ink placement. Test the needle movement to ensure it travels smoothly; resistance indicates a need for adjustment, as it can interfere with ink delivery during tattooing. For machines with a magnetic base attachment, secure the removable component to ensure proper connection before charging. Always inspect the needle bar or cartridge for any damage or bending before insertion to prevent skin trauma and ink blowout.
Keep the power supply turned off during assembly. Connect the clip cord to both the machine and the power supply, then attach the foot pedal. Once everything is securely connected, turn on the power supply and adjust the voltage to achieve the correct machine calibration. Proper calibration ensures consistent needle movement and ink flow. After setup, wash your hands thoroughly, glove up, and place a barrier cover over the machine to maintain a hygienic workspace.
What Needle Depth to Use for Lines vs. Shading
For lines, set your needle depth around 1.5 mm to ensure crisp, precise results without causing blowouts or excessive trauma. For shading and color packing, a slightly deeper setting, about 2 to 2.5 mm, allows pigment to be deposited evenly across larger areas. Always aim for the dermis regardless of technique, but adjust the depth based on skin sensitivity and location. Tighter, thicker skin might need more depth, while thin or sensitive areas require a lighter touch. Start conservatively and increase depth only if necessary. Remember, needle depth is crucial, but your hand pressure and angle also control penetration depth effectively. Similar to microneedling tools, the key is to achieve controlled skin trauma that promotes proper healing and pigment retention without damaging underlying tissue. Shallow penetration results in color fading because ink stays in the epidermis only, compromising longevity and aesthetic quality. Understanding the needle count and grouping is also important, as configurations like 3RL, 5RL, or 7M1 each serve different purposes for lines, shading, and texture. Choosing the right setup starts with a secure and comfortable base, much like selecting a wig cap that stays in place during application.

Poseidon cartridge adopt a one-time joint design hygienic standard The material is stainless steel and easy to color,and has better ink flow

Cartridge Needles Sizes: 20 pcs tattoo cartridge needles include 3RL 5RL 5RM 7RM, each size has 5pcs. Those tattoo needles can be used for lining and shading, which can assist you with the entire tattoo work

【Universal Compatibility & RGB Color Coding】Fits all standard tattoo machine. The two-color coding system (yellow-green for RL/RS, grape color for RM) ensures immediate visual distinction and a more efficient workflow.
Tattoo Machine Voltage: Where to Start
Adjust your machine’s voltage to find the optimal setting for each task. Start with a conservative range—about 7.5V to 8V—for most standard work. For lining, aim for 7.5V to 9V, listening for a steady, even sound. Shading usually requires a softer touch at 6V to 8V, while color packing benefits from 7V to 9V to ensure solid saturation. Always remember that improper needle depth or voltage can increase the risk of skin damage, but ink poisoning is extremely rare with modern tattoo supplies. The machine’s up-and-down needle motion is driven by electromagnetic coils that rapidly cycle to puncture the skin and deposit ink.
Calibration is crucial—increment the voltage in small steps, around 0.2V to 0.5V. Larger jumps can cause inconsistent lines or damage the skin. You’ll know you’re close when the machine runs smoothly, without spluttering or strain. If the voltage is too high, the needle moves aggressively, risking skin damage. Too low, and shading can become patchy or underpowered. Adjusting voltage relies on changing electrical input rather than hand motion for consistent results.
Practice on fake skin to refine your settings. Repeat the same design at different voltages and note how each outcome varies. Tracking these results helps you develop a consistent approach, ensuring your passes are controlled and clean each time. Proper calibration guarantees a stable power output, essential for quality work. Similar to high-frequency wand therapy, maintaining the correct energy level prevents unnecessary tissue trauma.

★ 2 Optional Modes: Press Once: The red indicator is on, the power supply enters the Working Mode, you do not need to control the foot pedal all the time. Twice Press: The red indicator is off, you need to control the foot pedal all the time to use the tattoo machine.

Introduction: The Dragonhawk Airfoil Tattoo Power Supply is an essential tool for professional tattoo artists. Designed with efficiency and convenience in mind, this power supply boasts a maximum output voltage of 16V and a 2A current, ensuring optimal performance for your tattoo machine.

CLEAR PRODUCT PURPOSE — This tattoo power supply is intended for managing voltage and machine connections at a fixed tattoo workstation. The variation shown here is T700, 3-18V, touchscreen. Those details make the intended task visible at a glance and help buyers choose the correct option for their workflow. The wording keeps the product identity, variation, and intended workflow clear so artists can compare it with nearby options without relying on vague claims.
How to Hold a Tattoo Machine for Steady Lines
To hold a tattoo machine steady for crisp lines, position your hand with precision. Rest your middle finger against the cartridge to enhance control and stability. Wrap your thumb around the grip to secure your hold, and use your index finger to guide the machine’s movement smoothly. Keep your wrist relaxed and move primarily from your arm and elbow, avoiding excessive wrist motion that can cause wobble. Practice holding the machine in different angles for versatility, as changing grip orientation helps access different line angles. Similar to how improper installation can strain natural hair, an incorrect grip can strain your hand muscles and reduce control. Just as tape-in extensions require consistent aftercare to maximize their lifespan, regular maintenance of your grip technique prevents muscle fatigue during long sessions. Understanding the proper removal method for tape extensions also highlights the importance of correct technique in preventing damage.
Tucking your elbows close to your body improves stability by reducing unnecessary movement. Establish three points of contact: for example, resting a finger on the cartridge, bracing your hand against the skin, and your grip on the machine. This setup minimizes wobbling and ensures even line work. Grip the machine firmly but flexibly; over-gripping leads to hand fatigue and makes fluid motion difficult.
Using a thicker grip can provide better control during lining. Angle the machine slightly in the direction of your line to maintain consistent contact and reduce uneven ink distribution. Keep your finger anchored near the cartridge tip to control needle depth, which is crucial for crisp, clean lines. Practicing this hold helps develop precision and confidence in your tattoo work. Just as tape extensions require careful technique to avoid breakage, this grip technique prevents common tattooing errors.

[Premium Food-grade Silicone] Crafted from high-quality food-grade silicone, these tattoo machine grip covers feature an inner diameter of 32mm, outer diameter of 54mm, and height of 42mm. Weight is 48.5g
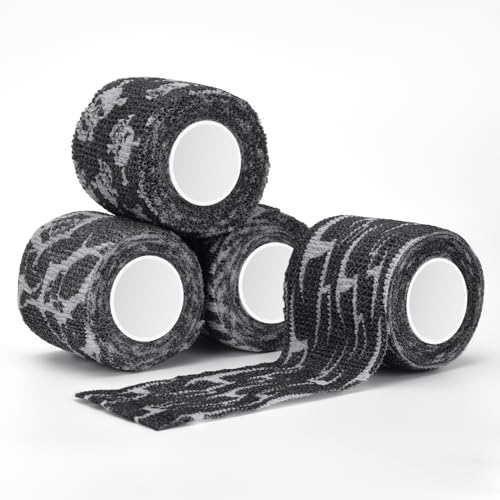
The elastic self-adhesive bandage can be used to wrap the handle of the tattoo pen, which can absorb sweat and prevent the tattoo color from staining the machine.
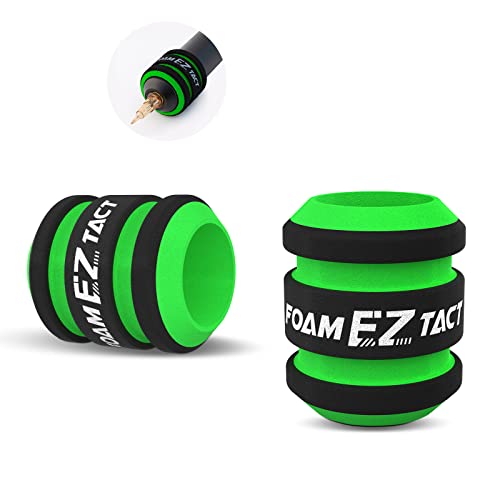
【Material】EZ TACT Disposable Foam Cartridge Grip Covers PLUS size made of high quality sponge, Non-Forced Ergonomics allows hand to naturally conform to grip.
Why Stretching the Skin Matters (And How to Do It)
Proper skin stretching is essential for consistent lines and proper healing during a tattoo. Maintaining tension creates a stable, flat surface that allows your needle to penetrate evenly instead of pushing the skin down. This reduces bounce, prevents blowouts, and results in better pigment saturation. Just as with tape-in extensions, proper tension prevents shifting and ensures even results during application. Regular use of a derma roller can similarly improve the skin’s texture and preparation for pigment retention. However, unlike a tattoo needle, a derma roller’s microneedles only reach the upper dermis, so its effects on pigment retention are limited to enhancing topical absorption rather than deep deposition.
Use several stretching techniques to optimize your work. A three-point stretch involves pulling the skin in multiple directions, forming a trampoline-like surface that supports smooth needle movement. For tighter areas, apply opposing-direction stretch by pulling the skin away from the needle’s path to create slack. Your machine-holding hand can also help with lateral tension, while your free hand stabilizes the area.
Consistently maintaining skin tension before and during each pass is crucial. Loose skin causes needle pushback, uneven depth, and patchy lines. Adjust your approach based on body zones, as looser skin areas need deliberate stabilization. Poor stretching leads to weak lines and unnecessary trauma, so prioritize steady tension from all angles for the best results. Without adequate tension, the needle strokes may only superficially tint the epidermis rather than deposit pigment into the dermis for permanence. Combine this with realistic expectations about roller derma results, which often take multiple sessions to show subtle improvements in texture rather than dramatic changes.
Tattoo Techniques Every Beginner Should Practice
Mastering line control, needle depth, shading, and ink packing on fake skin is essential before working on real skin. Focus on straight-line drills, moving your entire arm from your elbow to improve accuracy and needle control. Keep your hand speed consistent and taper your needle entry and exit points to ensure clean starts and finishes. Practice maintaining a depth of about 1 to 2 millimeters for lines, using a stroke length of approximately 4 to 5 millimeters. For shading, try whip and pendulum motions to achieve smooth gradations. Use small circular or figure-eight patterns for even fills and seamless color blending. When packing ink, employ oval motions with a tilted needle to prevent cutting the same track repeatedly. Concentrate on edge control and perform small, repeated passes to produce solid fills without overworking the skin. Remember that you should rotate your arm during curves and support it with your guiding hand to maintain a steady machine angle. Always prioritize proper hygiene and sterilization to prevent infection and ensure client safety.
5 Beginner Mistakes That Ruin a Tattoo
Rushing through a tattoo session is one of the most common beginner mistakes that can ruin your work. When you move too quickly, it’s easy to end up with crooked stencils and uneven lines, which compromise the overall design. Taking your time ensures accuracy and helps you maintain control over your hand. Rushing also increases the risk of shaky lines, as excessive voltage combined with fast hand speed diminishes control and causes wobbling.
Technique errors are another frequent issue. Using the wrong machine settings or applying the needle at the wrong depth can cause blowouts—where the ink spreads outside the intended lines—and lead to faded or uneven ink. It’s crucial to set up your equipment properly and target the correct layer of skin. Overworking the skin by making too many passes can cause scarring and slow healing. Be patient and precise with each pass to avoid damaging the tissue.
Using cheap or mismatched equipment also increases the risk of mistakes. Incompatible needle groupings produce patchy shading and unreliable lines, creating a less polished look. Invest in quality tools suited for your specific design needs. Finally, failing to stretch the skin properly can make line work sloppy. A taut, steady surface allows for cleaner, more controlled lines. Always keep the skin stretched tight to improve your accuracy and overall results.
Sanitation Steps Every Beginner Must Follow
To ensure proper sanitation, follow these essential steps. Start with hand hygiene: wash your hands thoroughly before putting on gloves. Change gloves immediately if they become contaminated. Wrap your machine, cords, and station surfaces in barrier film to prevent contamination. Disassemble your machine and mechanically clean each part, removing ink and debris before applying any disinfectant. Spray all cleaned surfaces with a disinfectant and allow it to dry for about 10 minutes. For small parts, use an ultrasonic cleaner, then seal them in sterilization pouches. Run an autoclave cycle at 121°C for 15 to 20 minutes to sterilize these components. After sterilization, air-dry all parts on a sterile surface and store pouches in a clean, dry area. Always handle sterilized equipment with fresh gloves to prevent recontamination. Note that many skin care devices, including LED facial masks, rely on consistent use over several weeks to show visible results. Remember that only items already clean should be disinfected, as mechanical cleaning removes visible contaminants first. For effective routine maintenance, refer to a beginner’s step-by-step guide to ensure no sanitation step is missed. It is critical to avoid common mistakes like reusing barrier film or skipping the mechanical cleaning phase.

LA MIERE sterilization pouches feature internal and external indicators that change color to provide clear sterilization verification per. Consistent color change indicates sterilization completion, giving you confidence in your process before instrument use. Each pouch delivers consistent indicator performance cycle after cycle.

Professional Organized Storage: This Tattoo Travel Bag features multiple dedicated compartments to store tattoo machines, needles, inks, and sanitizing supplies. The clean, well-organized layout helps tattoo artists quickly find the tools they need, saving valuable time during setup and work. Accessory compartment includes dry & wet separation pockets and mesh pockets, keeping tools neatly separated and stored for faster, more efficient access

Sanitize Your Tools - Keep dental, medical, and personal care tools clean with our pouch bags. They’re available in 7 sizes to fit your instruments and get them ready for autoclave sterilizers.
Aftercare Basics for a Clean Healing Tattoo
Once the bandage or film is removed—usually within a few hours up to 24 hours depending on your artist’s instructions—you should begin your cleaning routine. First, wash your hands thoroughly to prevent bacteria from entering the wound. Use lukewarm water and a fragrance-free soap. Gently rinse the area with your hands, avoiding any scrubbing or abrasive motions. Pat the tattoo dry with a clean paper towel; do not rub. Once the tattoo stops weeping, typically after 24 to 48 hours, apply a thin layer of fragrance-free moisturizer to keep the skin hydrated. In the first two weeks, your tattoo ink may appear dull due to peeling and flaking. Resist the urge to pick or scratch, as doing so can disturb the healing process and impact ink retention. Clean the tattoo one to three times daily, then twice daily for the following two weeks. Avoid direct sun exposure, soaking the area, and heavy sweating until complete healing to maintain your tattoo’s clarity and vibrancy. If you need to adjust the design before application, creating tattoo stencils without transfer paper can provide an alternative solution. Proper aftercare helps ensure your tattoo heals well and stays looking sharp.