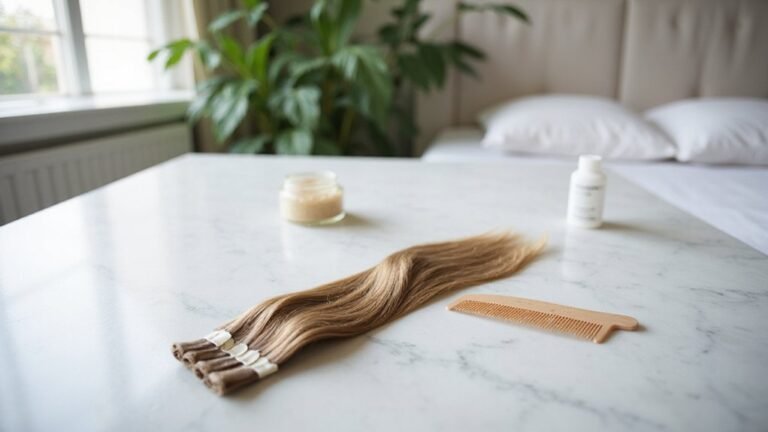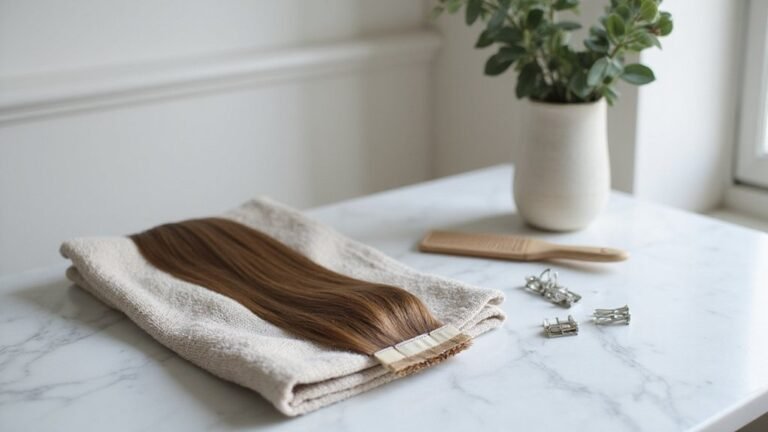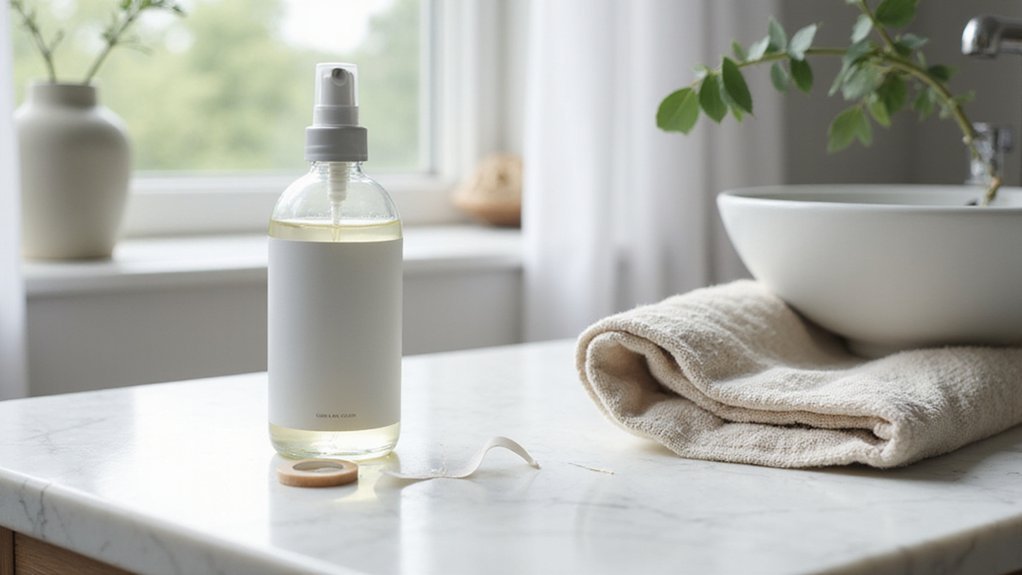
Removing tape-in hair extensions without damage can be tricky, but it’s definitely doable if you know the right steps. The key is to soften the adhesive first, then gently pry the tape apart without yanking or pulling your natural hair.
This guide will walk you through the safest method to remove your extensions, helping you avoid breakage and residue buildup.
Keep reading to learn how to do it properly and preserve your hair’s health.
Step 1: Section Hair and Gather Your Supplies
To effectively remove tape hair extensions, start by sectioning your hair into small, manageable parts. This ensures each bond is isolated, preventing unnecessary pulling on surrounding strands. Begin with the top layers and work downward for clearer visibility and a more organized removal process. Use hair clips to keep untreated hair out of the way, maintaining a clean parting line around each tape-in extension. Gather your removal tools: a rat-tail comb to create narrow openings at each bond and additional clips to secure loose sections. This approach reduces tangling and minimizes the chance of missing any extension. Keep your adhesive remover, hair oil, and clarifying shampoo nearby for quick access. Work in a well-lit area and take one section at a time, systematically accessing each bond for a smooth removal process. Understanding the process of micro-needling the skin helps explain why the adhesive remover can better penetrate the tape bond when edges are lifted. Use a rat-tail comb to gently lift the edge of the tape before applying the remover. Saturate the bond with the remover using the tip of the bottle. For best results, always work with clean, dry hands to avoid contaminating the adhesive.
How to Loosen the Tape Extension Bond With Alcohol?
To loosen the tape extension bond with alcohol, use 91% isopropyl alcohol, which is strong enough to break down the adhesive effectively. Start by spraying the alcohol generously over the tape seam using a spray bottle to ensure thorough wetting. Gently work the alcohol between both layers with your fingers or a tail comb, so the solvent can soften the glue without pulling on the extensions. Allow the alcohol to sit for 30 seconds to 1 minute. If the bond remains resistant, reapply alcohol and wait another minute. Avoid dripping alcohol onto your scalp or eyes; work in a well-ventilated area for safety. Never pull or force the tape apart; instead, add more alcohol as needed until the bond weakens and the tape starts to separate easily. This method ensures you soften the adhesive safely without damaging your extensions or scalp. Maintaining a steady hand position during the process prevents accidental tugging, similar to how mastering a tool requires proper grip and timing. Careful cleaning is crucial for removing residue that can cling for 4-6 weeks. Similar to how red light therapy uses specific wavelengths for tissue repair, consistently using the correct alcohol concentration ensures the adhesive breaks down without harming the hair. Following these steps prevents tape residue from building up on natural strands.


Versatile Industrial Solvent: Our 91% IPA is a reliable solvent for diverse applications. Perfect as a degreaser, it effortlessly cleans mechanical parts and aids in manufacturing processes requiring a high-purity solvent. Tackle tough grease and grime with this trusted solution
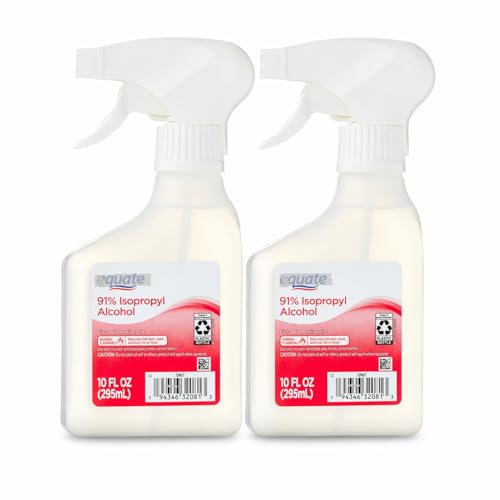
HIGH PURITY 91% ALCOHOL FORMULA – Fast-acting solution effectively cleans and disinfects surfaces by removing dirt, oil, and residue
Pry Open the Tape Extension Without Damaging Hair
To pry open the tape extension without damaging your hair, focus on softening the adhesive first. Once the alcohol has effectively loosened the tape bond, gently insert a rat-tail comb tip at the seam, avoiding your scalp. Use a small, controlled motion to lift the tape—don’t force it apart. Work in small sections by clipping away the rest of the hair to improve visibility. Create a tiny opening at the edge of the tape, then slide the weft sideways to separate the bonds. If resistance persists, stop and reapply more alcohol to soften the adhesive further. Always slide rather than yank to prevent hair snagging or breakage. When one side lifts, moisten the bottom tape and continue sliding gently until fully separated. The use of a hollow tattoo needle ensures precise application of concentrated adhesive remover to the seam. The tattoo needle’s fine point allows it to target the tape bond without spreading remover to surrounding hair. Repeat section by section for a clean removal with minimal hair damage. Use an oil-based remover to clean residual adhesive and strengthen the removal process after the tape is detached. Avoiding harsh tugging and using gentle techniques are key to preserving the lace and hair integrity during removal.

Perfect for Tape-in Hair Extensions Removal: Specifically designed to effectively remove tape-in hair extension glue while being gentle on your hair and skin, ensuring a safe and easy removal experience

FAST-ACTING HAIR EXTENSION REMOVER: our hair tape in extension remover solvent is specifically designed to quickly and easily remove hair extension glue while being gentle on your skin and hair. Our oil-based rapid remover is suitable for sensitive scalps and will get your hair extensions to tape out without any pulling or damage. our adhesive tape in remover is formulated using citrus oils and extracts that will work on any style of tape in extensions or soft bonds

Say goodbye to sticky fingers and hair! Our Tape-in Remover is specially designed to easily remove Tape in Adhesive with little to no residue.
What to Do If a Tape Tab Won’t Release (Without Pulling)?
If a tape tab won’t release after prying, don’t pull—reach for your remover instead. Spray an extension-safe remover, like 91% alcohol, directly onto the tab’s top and let it seep between the adhesive surfaces. Wait at least 30 seconds before testing whether the tab can be separated. If it feels tight, reapply the remover rather than forcing it, as this helps avoid damage through force. Use a rat-tail comb’s tip to create a tiny opening, pushing upward toward the root rather than ripping sideways. This technique allows the remover to reach the bond’s center more effectively. Allow the tab to loosen naturally and keep spraying until it should easily come free. Repeated saturation and patience ensure the adhesive softens without risking tearing. Consistent gentle pressure on the hair and scalp is also important, similar to how derma rollers minimize skin trauma during stretch mark treatment. If resistance persists, add more solvent and wait again. Only when the adhesive is sufficiently broken down should you ease the tab apart with minimal tension, preventing damage. A tip applicator bottle provides precise application for the remover. Proper aftercare of your wig cap can also help prevent future adhesive issues. Always check the manufacturer’s instructions for your specific brand of tape-in extensions before beginning removal.
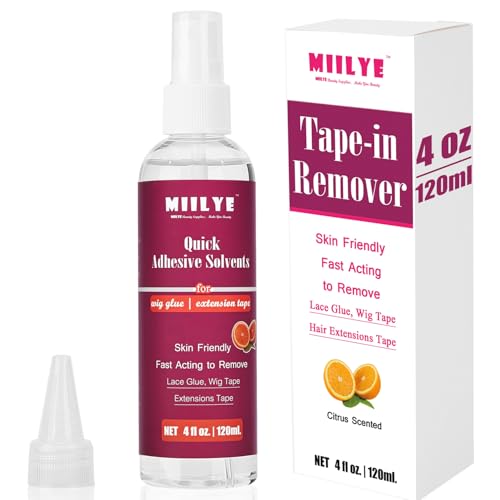
[Fast Acting Tape in Extension Remover] MIILYE tape in remover is designed for damage-free removal of lace front wigs and painless taking off tape in hair extensions, our upgraded tape in extension remover formula facilitates fast removing wig glue adhesive in 60 seconds and tape in extensions as little as 3 minutes;

TEAMWORK: Remover 1 works best when followed by Remover 2 to get rid of that pesky residue and for the extra sticky, Remover 3.

FAST-ACTING BOND REMOVER: Dissolves wig tape, extension tape, and adhesive residue for lace systems and tape in hair extensions human hair; ideal for daily wearers needing quick cleanup.
How to Remove Adhesive Residue From Your Natural Hair
To remove adhesive residue from your natural hair safely, start by applying natural oils like coconut or olive oil directly onto the sticky spots. Let the oil sit for 10 to 15 minutes to loosen the bond. After this, gently rub the area in a circular motion to break down the adhesive. Choosing the right base layer for your installation can also prevent future buildup, and best wig caps offer a protective barrier that keeps adhesives off your strands. Interestingly, similar red light therapy principles used in skin treatments can also support scalp health during residue removal. Using a derma roller on the scalp can stimulate blood flow and encourage healthier hair growth during the recovery process, though consistent use over months is typically needed to see visible results. Citrus extracts, found in many commercial adhesive removers, work faster but should be used sparingly to prevent over-saturating your hair. Once the residue softens, use a fine-tooth comb to lift and gather the loosened bits, wiping them onto a paper towel. Avoid pulling or scrubbing back and forth, as this can damage your hair. If some residue remains, repeat the process. When all traces are gone, rinse your hair with lukewarm water and follow with a thorough shampoo and conditioner to cleanse and restore moisture. This method helps protect your hair and scalp from breakage and irritation. For nearly complete residue elimination, allowing the oil to sit for 30-60 minutes can leave the hair soft and clean.
Clean the Extension Tabs for Reuse After Removal
Next, rub a small amount of dish soap into the tabs to remove any oily cleaner residue. Rinse the tabs thoroughly with water, ensuring they are pointed downward to prevent water from getting into the hair. Before reapplying new double-sided tape, make sure the tabs are completely dry, as moisture can ruin adhesion. The process of ensuring clean surfaces is similar to how pigment dispersion during ink manufacturing requires careful removal of unwanted particles.
Inspect each tab for leftover adhesive fragments, and only re-tape once they are clean and dry to ensure secure reusability. Proper cleaning not only preserves the tabs but also maintains the integrity of your extensions for future use.

STRONG, SHINE-FREE HOLD: Provides durable, no-shine adhesion for tape in hair extensions human hair; supports natural-looking installs with stable grip during daily wear and styling.
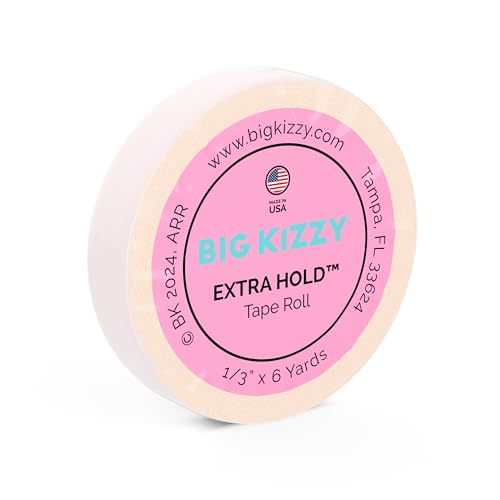
PROFESSIONAL QUALITY DOUBLE SIDED TAPE ROLL: Big Kizzy Extra Hold Tape Rolls for Tape in Weft Extensions is a natural hold and residue free replacement tape for tape weft hair extensions. Made in USA!

【Super Sticky】Hair tape for extensions has super sticky adhesive on both sides and strong stickiness. It is not easy to fall off and can be firmly attached to your hair. The double-sided hair extension tape is suitable for long-term use and can be used for 6–8 weeks.
Wash Your Hair After Removal With Clarifying Shampoo
Once your extensions are fully removed, wash your hair with a clarifying shampoo. Use two to three washes to remove leftover adhesive and product buildup from your scalp and strands. Gently work the shampoo through your roots and hair, avoiding aggressive scrubbing. This helps clear all residual sticky substances, preventing potential scalp irritation. A clean scalp and hair also create an ideal base for future color treatments or styling. After the first wash, check if any residue remains. If you still feel stickiness, repeat the process.
Avoid harsh rubbing or over-scrubbing, as multiple gentle passes break down adhesive more effectively and minimize scalp irritation. Once all residue is removed, your scalp and hair are ready for the next steps in your aftercare routine. Since your extensions were due for reapplication at the 4-6 week mark, this thorough cleanse is especially important to reset the scalp before any new tape is applied. For best results, follow the same gentle washing techniques used for maintaining the extensions themselves, which focus on soft, downward motions to avoid tangling or disturbing the bonds.
Condition Lightly to Restore Softness After Cleansing
Since cleansing can strip natural oils, you should apply conditioner mainly to your mid-lengths and ends to restore softness without re-coating the tape tabs or scalp. Use only a small amount—excess product can create buildup that weakens adhesion. Adjust the amount depending on your hair porosity: low-porosity hair requires lightweight, sulfate-free formulas, while higher porosity hair may benefit from a nourishing mask for better absorption.
Focus the conditioner on your lengths and ends, working it in gently with your fingers. Avoid applying directly to your scalp or tape tabs. Rinse thoroughly to ensure no residue remains, which can cause product buildup or slippery tape. After rinsing, squeeze out excess water using a microfiber towel to minimize frizz and breakage. You can then air-dry or blow-dry on low heat to maintain softness while keeping your hair healthy. This method restores moisture without compromising the integrity of your hair or the remaining adhesive.
When to Let a Professional Handle the Removal?
If you notice matting, tangling, or scalp tenderness around the bonds, it’s time to have a professional remove your extensions. These signs indicate that your natural hair health may be at risk, and attempting removal yourself can cause unnecessary breakage. A stylist uses specialized adhesive remover to safely loosen the bonds without pulling or stressing your strands. This careful process helps preserve your hair’s integrity and allows for clean reinstallation during the usual 6 to 8 week cycle. For extended wear, following the proper refit timing prevents the bonds from hardening and becoming more difficult to remove. Just as a beginner must learn proper machine setup to avoid damaging tattoo equipment, trusting a professional prevents harm to your hair. A professional will also check for any residual adhesive left on the hair to ensure a clean foundation for future applications.
Visible root growth that makes brushing difficult is another sign to seek professional help. If you encounter resistance when separating tapes, stop immediately. A stylist has the right tools and technique to remove extensions properly, avoiding damage and tangling. They will also clean away residue, preparing your hair for a fresh set. Trust a professional when mats, tenderness, or stubborn bonds develop to protect your hair health and extend the lifespan of your extensions.