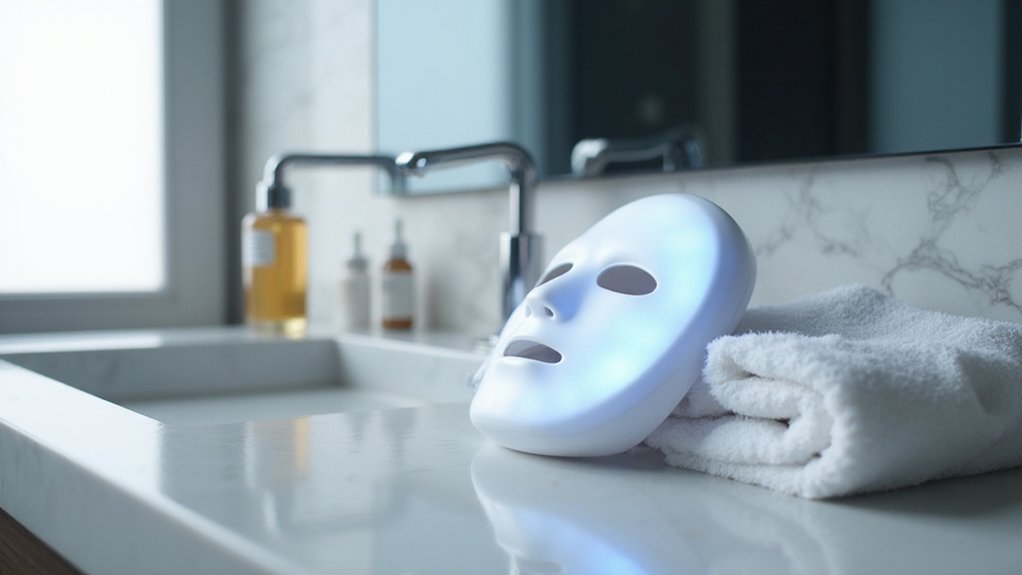
Wondering how to get the most out of your LED facial mask? It’s simpler than you might think, and a few easy steps can help you see real results. Whether you’re aiming to clear up acne, reduce wrinkles, or calm redness, knowing the right way to use the mask makes all the difference.
In this quick intro, you’ll learn the key basics for safe and effective use, so you can start your skincare routine with confidence.
Keep reading to find out everything you need to know to maximize your LED mask experience.
Prep Your Skin and Your LED Face Mask Before First Use
Before using your LED face mask for the first time, it’s essential to prepare your skin and the device properly. Start with a clean, makeup-free face by gently cleansing to remove dirt, oil, and any leftover products. Make sure to wash away sunscreen as well, since residue can block the light from penetrating your skin. Pat your face dry completely—bare skin provides the best surface for the light to work effectively.
Avoid applying moisturizers, oils, or serums before your session, as these create a barrier that can reduce light absorption. Check your product compatibility: steer clear of fragranced or tingling formulas since they might cause irritation. Never use the mask on sunburned or irritated skin to prevent further damage. For optimal hydration, plan to apply your usual moisturizers after your session. Just like a derma roller creates micro-channels to boost product absorption, prepping your skin without barriers allows the LED light to penetrate effectively.
Clean the mask surface according to the manufacturer’s instructions before use, and make sure to protect your eyes with the included guards or appropriate eye protection. Adjust the mask to fit comfortably but securely on your face. Just like a tattoo needle must penetrate to a precise depth for lasting results, proper skin preparation ensures the LED light reaches the optimal layer for effectiveness. Properly prepped skin and device help ensure comfort, safety, and maximum effectiveness during each session. Beginners should also consider a breathable wig cap for comfort when wearing the mask over other items.
How to Choose the Right LED Light Mode for Your Skin Goals
Choose the LED light mode based on your primary skin goal. For active acne, blue light (around 415 nm) is effective in targeting breakouts and reducing inflammation. If your focus is anti-aging or improving skin firmness, red light (630–660 nm) stimulates collagen and elastin, helping to diminish fine lines and wrinkles. For uneven skin tone or pigmentation issues, green light (520–560 nm) calms redness and brightens your complexion. If sensitivity or redness are concerns, yellow light (590–620 nm) can soothe and support skin recovery. Many devices combine wavelengths, such as red with near-infrared, to promote deeper skin improvements. High-frequency wand therapy offers similar benefits by using electrical currents to stimulate skin cells, though it operates differently from LED light. Prioritize your main goal—whether it is acne, wrinkles, pigmentation, or calming—and select the mode accordingly. For best results, focus on one primary skin concern per session to keep your treatment targeted. To further reduce risk, always follow the manufacturer’s instructions and use appropriate safety goggles to protect your eyes from intense light exposure. Understanding the tattoo machine types can help you appreciate how different devices use specific frequencies for precision work.
Start Slow: Set Your Timer and Intensity for the First Session
Start with 5 to 10 minutes at the lowest intensity setting on your device. Since your skin hasn’t been exposed to LED light therapy before, this gentle approach helps prevent irritation and allows you to assess how your skin reacts. A short, low-intensity session builds your skin’s tolerance gradually, reducing the risk of warmth or redness. The pigments in these devices are mixed with stable carriers, much like the suspension liquid used in tattoo ink, to ensure even light distribution and prevent hot spots. Research indicates that consistent red light therapy can stimulate collagen production and improve skin texture over time. Just as proper care extends the lifespan of tape extensions, consistent low-intensity sessions prevent overheating and prolong the device’s LED diodes.
After each session, carefully examine your skin. If you notice any signs of irritation, such as redness or discomfort, stop treatments until your skin calms down. This cautious start also makes device maintenance easier — shorter sessions produce less heat and sweat, keeping your mask cleaner between uses.
Consistent, gradual use at this level supports the skin’s ability to handle environmental stressors while reducing inflammation and redness over time.
Protect Your Eyes and Relax During Treatment
To protect your eyes without disrupting your relaxation during an LED facial mask session, it’s essential to follow specific safety steps. If you’re using a full-face mask, simply closing your eyes is often sufficient. However, for high-irradiance panels or blue-LED masks, you should wear opaque goggles or rely on built-in shields to ensure complete protection. Never rely solely on eyelid closure, especially when the light intensity is strong or if the device emits blue light, which can penetrate eyelids. Always avoid direct staring at the light source, even if it feels mild, and keep your eyes shut the entire session. Peeking increases the risk of unnecessary exposure and potential discomfort. While tattoo ink is not typically part of this treatment, it is important to note that tattoo ink toxicity varies by color and brand, so consult with a professional if you have concerns about light exposure over inked skin. However, research indicates that LED masks are generally considered safe when used according to manufacturer guidelines. Just as with hair extensions, where safer wear habits can minimize damage over time, consistent and cautious use of your device reduces cumulative risks.
A secure mask fit is also critical to prevent light leakage around the nose bridge or eye contours, which can inadvertently expose your eyes to intense light. Incorporate relaxation techniques by closing your eyes from the beginning—that signals your brain to unwind. Lie down or sit still in a calm, comfortable spot to reduce movement and make the session more enjoyable. If any dryness or discomfort occurs, stop immediately—protecting your eyes is more important than continuing the treatment. Keep your eyes shaded, remain still, and let the light do its work while you relax completely.
After Your Session: Clean the Mask, Moisturize, and Use Sunscreen
After your session, turn off the mask, unplug it, and wipe the face-contact surface with a soft, slightly damp cloth to prevent bacteria buildup. Check your manufacturer’s instructions for how often to clean your specific mask, as materials like silicone or plastic may need alcohol-free cleansers to avoid damage. Use a lint-free cloth instead of abrasive wipes for this step. Once the surface is clean, dry the mask thoroughly with a separate dry cloth before storing it. Following this, apply moisturizer to replenish your skin after treatment. Finish with a broad-spectrum sunscreen if it’s daytime to protect against UV damage. Incorporate this routine after every session to keep both your mask and skin in optimal condition. For a lasting fit, you can also follow a wig cap sewing guide to secure the mask’s head straps.
How Long Until You See Results? 6–8 Weeks of Consistent Use
Results typically become visible after 6 to 8 weeks of consistent use. You won’t see drastic changes overnight; instead, your skin gradually improves as collagen production increases. Within the first few weeks, you may notice a healthy glow and less redness, but more significant changes like smoother texture and reduced fine lines take longer to develop. Unlike derma rollers, LED masks use light to stimulate collagen without physically puncturing the skin. This non-invasive approach avoids the micro-injuries and downtime associated with roller derma treatments.
Sticking to 3 to 5 sessions weekly enhances results, as regular use supports collagen rebuilding. Be mindful that skin sensitivity might increase temporarily during the first few weeks, so adjust your routine if needed. By around week 5 or 6, you should see calmer, more even-toned skin with some softening of fine lines. For more noticeable, firmer results, expect to use the device consistently for 8 to 12 weeks. Keep in mind, patience and consistency are key—your skin rebuilds from within, and lasting results depend on ongoing use.