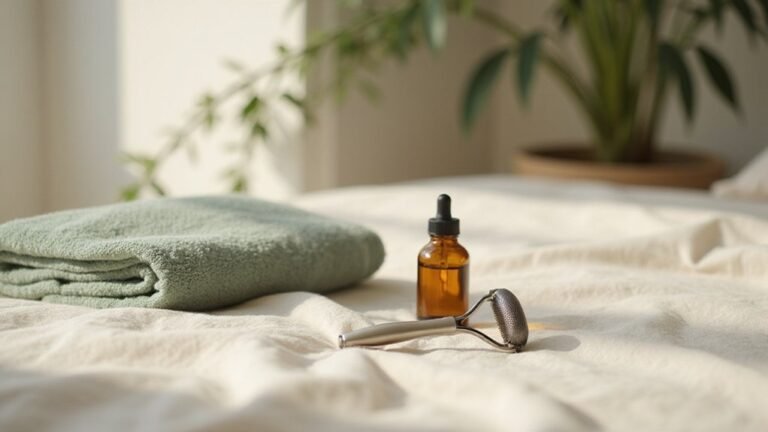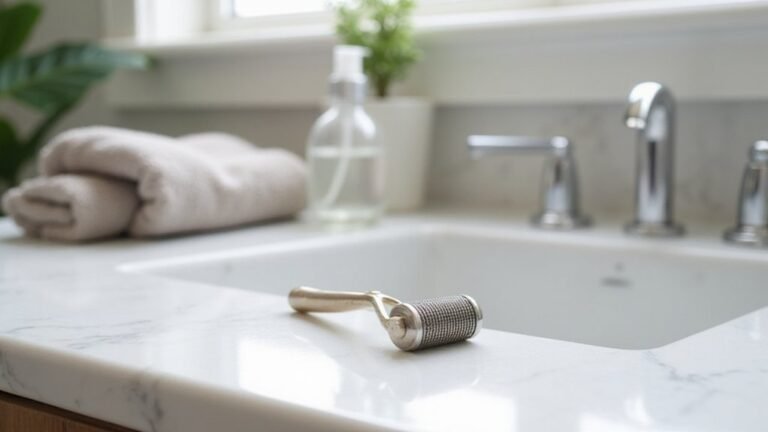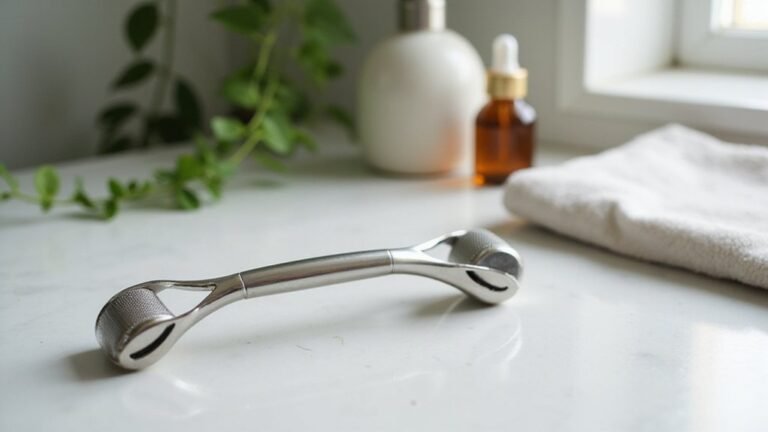
Wondering how to use a derma roller on your face safely and effectively? The key is in the technique—rolling gently to create tiny channels that boost product absorption and stimulate your skin’s renewal.
By the end, you’ll know the simple steps to incorporate derma rolling into your skincare routine, along with helpful tips for aftercare to keep your skin healthy.
Keep reading to learn how to do it right.
Why Prep Work Makes or Breaks Your Derma Roller Results
Proper skin prep is essential because it directly influences how well your skin tolerates derma rolling. A healthy, intact skin barrier heals faster, minimizes irritation, and reduces stinging during and after the procedure. Before rolling, you should remove excess oil, dead skin cells, and makeup to prevent contaminants from being pushed deeper into your skin through microchannels, which can cause breakouts and extended redness. For optimal results, use 0.5 mm needles as they are most effective for skin treatment. This process creates micro-injuries in the dermis that stimulate collagen production. Choosing the right wig cap for your scalp is irrelevant here, but ensuring your hair is secured away from the rolling area prevents tangling and keeps the skin fully accessible. With micro-needling, you must wait 4 to 6 weeks between sessions to allow full collagen remodeling and skin recovery.
To prepare effectively, stop using retinoids and exfoliants at least 5 to 7 days prior, as these can make your skin more reactive. Use a gentle, pH-balanced cleanser that respects your skin’s natural barrier. Proper pre-derma rolling skincare supports barrier stability, allowing your skin to recover quicker and reducing the risk of irritation or damage.
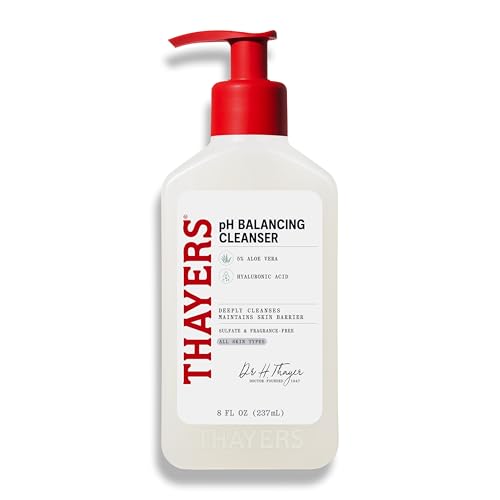
pH Balancing Cleanser: Clinically tested to help balance skin’s pH levels. Our gentle face wash removes dirt, oil, and impurities leaving skin feeling clean and not stripped. Skin looks balanced and feels softer after using this foaming facial cleanser

Low pH Good Morning Gel Cleanser: Cleanse daily with this gentle and effective gel type cleanser day and night, removing impurities while strengthening your skin barrier.

Deep Cleansing: This facial skin care product delves deep into your pores, exfoliating to clear pore congestion. Say goodbye to dullness and welcome a revitalized-looking, glowing complexion that reflects the true beauty of your skin.
Disinfect, Inspect, and Protect: Non-Negotiable Hygiene Rules
To ensure safety before rolling, you must disinfect your device with a 70% isopropyl alcohol soak for at least 5 to 10 minutes, inspect your face for open sores or active breakouts, and thoroughly wash your hands and skin with a gentle cleanser. Disinfecting guarantees that the needles are sterilized, reducing the risk of infection. Soaking the device ensures full coverage of every needle, while inspecting your skin helps you identify any compromised areas that could worsen with needling. Avoid eczema, psoriasis, or inflamed spots to prevent irritation or further infection. Understanding the ink manufacturing process supports better hygiene decisions.
After finishing, rinse the roller under warm water to remove residue, then soak it again in fresh alcohol. Allow it to air-dry completely on a clean surface—wiping with a towel can introduce fibers to the needles, which can bend or snag. Store your device in a protective case and keep it away from bathroom humidity to prevent contamination. Adhering to these steps prevents cross-contamination and keeps your roller safe for repeat use. Remember, clean hands, clean skin, and a clean tool are essential and non-negotiable.
How to Divide Your Face Into Treatment Zones That Make Sense
Dividing your face into clear zones helps make your treatment systematic and effective. Start with your forehead, then move to each cheek separately. This approach ensures that you address each area evenly and avoid overworking one side. Your nose forms a distinct zone because of its curvature, and the mouth-and-chin area is another. Avoid the delicate orbital area entirely to protect your eyes. Roll one section at a time, keeping boundary lines simple and straightforward. For a similar principle of careful removal, always follow safe removal steps when handling adhesive products. This structured sequence helps prevent missed spots and maintains balanced coverage from top to bottom, resulting in consistent results across all treated areas.

GENTLE 0.25MM TITANIUM ROLLER – Fitted with ultra-fine titanium microneedles at a cosmetic-grade 0.25mm depth for a light, comfortable, spa-like feel with no downtime — gentle enough for most skin types.

100% Durable Steel Face Roller: Introducing the original Sacheu 2-1 Face Roller massager, your new go-to in your skincare routine. Designed by and ethically produced by Sacheu, it helps to ease muscle tension, increase stimulation, and regulate chi

Revitalizes skin:Rolling helps promote a youthful-looking complexion. Boosts circulation for a natural, healthy glow. Helps reduce the appearance of fine lines and revitalizes skin..
The Derma Roller Technique: Pattern and Pressure for Even Coverage
When using a derma roller, focus on creating even coverage by following a specific pattern and applying consistent pressure. Start each facial zone with straight, horizontal passes, then switch to vertical passes. This pattern produces a uniform prick density that star patterns or back-and-forth dragging can’t achieve. Lift the roller after each pass—don’t drag it back—to prevent uneven trauma. Complete one zone entirely before moving to the next to ensure thorough and even treatment. This technique maximizes product penetration from 4-10% to 70% or more through the opened microchannels. Similar to red light masks used in dermatology, consistency in your routine leads to the best cumulative skin improvements.
Control your pressure by using a light to medium force. You should feel the needles gently prick your skin without any pain. Aim for mild redness and avoid bleeding. Be especially gentle around delicate areas like your temples. Limit each direction to 4–6 passes, then slightly reposition the roller to avoid repeatedly hitting the same channel. Following this technique ensures consistent results without causing unnecessary irritation.
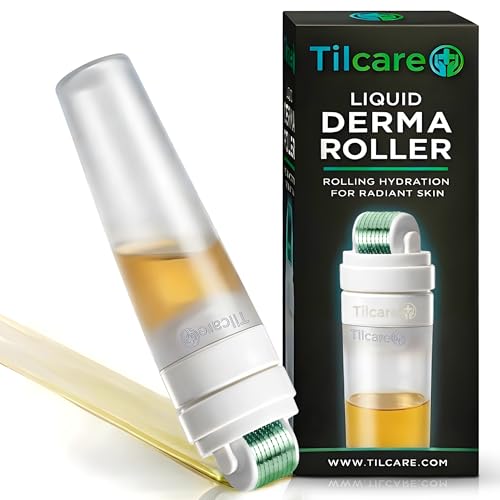
BUILT-IN SERUM DISPENSER FOR SMOOTH APPLICATION: This innovative micro needling roller features an integrated liquid reservoir that dispenses serum evenly as you roll, ensuring smoother coverage and enhanced comfort. Whether used as a microneedling pen, microneedling roller during skincare routines, or as a beard roller or scalp derma roller, the controlled flow helps elevate your results. Designed for versatility, this micro needle tool keeps each session clean, convenient, and efficient.

ESTHETICIAN-DESIGNED SKINCARE, MADE FOR HOME: Bring professional-inspired care into your routine with a 0.25 mm face roller created by Gin Amber, a licensed esthetician with over 10 years of hands-on skincare experience. Thoughtfully designed for at home microneedling, it is an easy-to-use addition to your collection of everyday skincare tools.

ALL-IN-ONE HOME SKIN CARE KIT This complete skin care kit includes 12 replacement roller heads and a detailed instruction manual, making it easy to start right away. Whether you're targeting fine lines on your face or supporting hair growth on the scalp, this roller set works with your favorite serums and creams for enhanced absorption.
Products to Use Before and After Rolling (And What to Avoid)
Before rolling, use a gentle, pH-balanced cleanser to remove dirt, oil, and makeup without irritating your skin. If your needles are longer than 0.5mm, disinfect your skin with 70% isopropyl alcohol. Avoid exfoliating or using harsh scrubs immediately before treatment, as this can increase irritation and sensitivity. This cleansing step aligns with the need for strict hygiene to prevent infections during the microchannel creation process. Similar to how LED masks require careful safety precautions to protect the eyes and skin from overexposure, derma rolling demands proper disinfection to avoid complications.
After rolling, prioritize hydrating serums like hyaluronic acid to replenish moisture. Follow with a calming moisturizer to soothe your skin. Check the stability of active ingredients before applying them post-treatment. Avoid vitamin C, retinol, AHAs, BHAs, and benzoyl peroxide right after rolling, as these can further irritate your microchannels. Wait 24 to 48 hours for redness to subside before reintroducing these actives. Also, skip makeup and alcohol-based products to prevent clogging and additional irritation. Stick to a minimal, gentle routine until your skin fully recovers for optimal results.

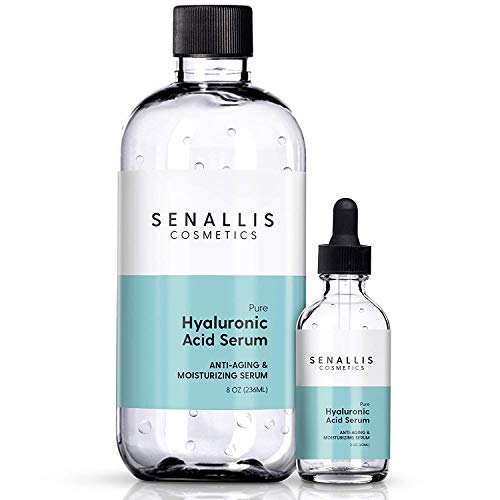
DEEP, LASTING HYDRATION: Hyaluronic acid serum that delivers deep hydration to plump the appearance of fine lines and leave skin looking smooth.
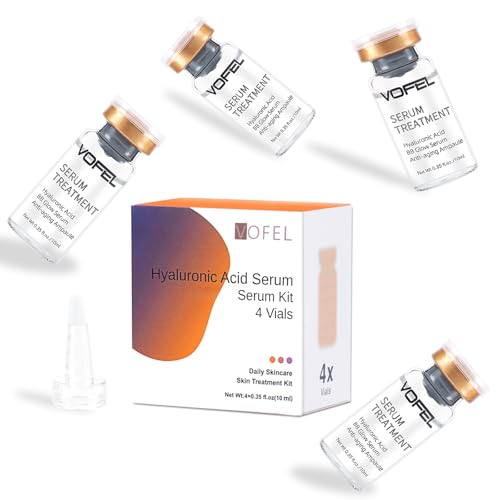
SERUM SOLUTION: Hyaluronic acid serum for face for professional is 10 times the effect than normal essence, only deep hydration can maintain skin elasticity and anti-aging. Professional stem cell solution extracts moisture and antiaging essence, enhances skin vitality, brightens skin
How Often to Roll Without Overdoing It
Start with once weekly sessions and only increase frequency if your skin remains calm. Recovery time is more important than sticking to a strict schedule; wait until redness and peeling completely resolve, which can take three weeks or longer. Using frequency limits helps prevent irritation—chasing faster results can backfire. For fine lines, shorter needles are sufficient, while deeper scars require further spacing between sessions. If you notice lingering redness or that your skin hasn’t fully healed, you’re likely overdoing it. Always let your skin’s natural healing cycle guide your next treatment instead of aiming for a set number of sessions per week. Following the same principle as tape in hair extensions, pausing between uses is crucial for allowing the adhesive or the skin to recover fully. For similar collagen-boosting benefits without physical trauma, consider using a red light mask between derma roller sessions to stimulate repair with LED wavelengths.
Redness After Rolling: What’s Expected vs. a Warning Sign
Redness after rolling is usually a normal part of healing, but it’s important to recognize when it’s a warning sign. Typically, mild, evenly distributed pink to light-red skin accompanied by a warm, tingling sensation appears and often fades within 24 hours. Your skin may feel tight, similar to a sunburn, and minor pinpoint bleeding can occur—both normal reactions. However, if redness persists beyond three days, intensifies, or if you experience burning or ongoing pain, you may have damaged your skin barrier. Severe swelling lasting more than 48 hours, blistering, oozing, or pus are clear indicators of infection. Pay particular attention to changes in facial pigmentation; dark patches following rolling could signal post-inflammatory hyperpigmentation. If you notice a worsening rash, increased skin sensitivity, spreading redness, fever, or scabbing, stop rolling immediately and seek medical advice. For example, evenly distributed redness that fades within a day is a healthy response to micro-injury. These signs signal your skin may need professional care to prevent further issues. Just as habits that cut lifespan short compromise tape-in extensions, overusing a derma roller or applying too much pressure can similarly damage your skin’s resilience. Choosing the correct needle configuration for your derma roller depth is also essential to avoid unnecessary trauma that triggers these same warning signs.
Protecting Your Skin for 3–5 Days After Treatment
The first 3 to 5 days after your derma rolling session are when your skin is actively repairing its barrier. Protecting your skin during this time is crucial. Avoid direct sun exposure altogether and apply a broad-spectrum SPF 30+ every 60 to 90 minutes when outdoors, even on cloudy days. Tanning beds and self-tanners are off-limits for at least 72 hours. Keep your skincare routine ultra-gentle by using only a mild cleanser and moisturizing with hyaluronic acid. Refrain from touching your face unless your hands are thoroughly clean. Avoid picking at tape extensions just as you would resist picking at peeling skin, since both actions can compromise healing.
Pause use of retinoids, AHAs, and vitamin C for at least 72 hours after treatment. Makeup should be avoided for the first 48 hours, and strenuous activities such as swimming, saunas, and heavy workouts should be skipped during this period. Watch for natural flaking, which is a normal part of the healing process. While diet restrictions are not necessary, hormonal influences can affect healing, so maintaining good hydration and resisting the urge to pick at peeling skin are important steps to support recovery.
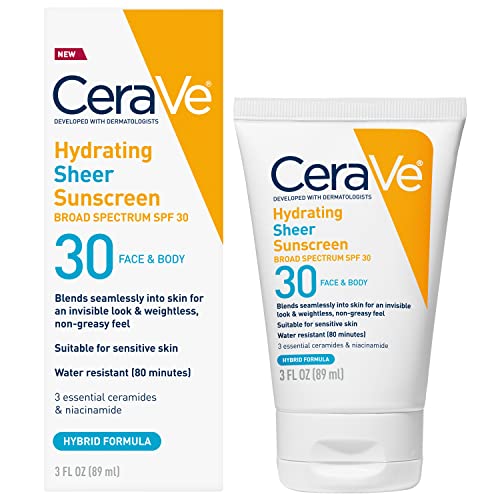
[ FACE SUNSCREEN & BODY SUNSCREEN WITH SPF 30 ] CeraVe sunblock helps protect your skin against harmful UVA and UVB rays while delivering all day hydration with a water resistant formula (up to 80 minutes). UVA rays cause aging. UVB rays cause burning.

INSTANTLY RUBS IN CLEAR — New & Improved ultra-lightweight sunscreen lotion SPF 30 instantly rubs in 100% clear across all skin tones

SUN PROTECTION - The key to anti-aging is protecting your skin from the sun. Our sunscreen is broad spectrum SPF30 to protect from UVA and UVB rays.