Have you ever wondered how to make tattoo ink at home safely? The key is using only medical-grade pigments and sterile carriers like distilled water or witch hazel.
Avoid household items like soot or pen ink, which can contain toxins and contaminants.
Getting the right consistency takes some practice, but with careful preparation, you can create safe, smooth ink.
The full method and safety tips are all below.
Why DIY Tattoo Ink Could Land You in the ER
Making your own tattoo ink at home is extremely risky and can send you straight to the ER. From the start, contamination is a major concern—using non-sterile water introduces bacteria that can cause serious infections. Even sealed inks are not guaranteed sterile, meaning your homemade batch could be contaminated right out of the box. This exposure increases the risk of cellulitis, which may require IV antibiotics, and bloodborne diseases like hepatitis, HIV, and tetanus. Unlike a derma roller, which creates micro-channels in the skin for topical absorption, homemade ink is injected into deeper tissue where bacteria thrive.
Toxic ingredients are another concern. Common DIY options include soot, pen ink, or charcoal, all of which can contain harmful heavy metals such as lead and arsenic. These substances can cause allergic reactions leading to swelling, fever, and chills. In the long run, you risk developing granulomas, chronic inflammation, or even systemic infections like sepsis. Without proper testing and sterilization procedures, you are effectively injecting dangerous contaminants directly into your skin, elevating the risk of severe health complications.
Can You Make Safe Ink Without Medical-Grade Pigments?
No, you cannot make safe tattoo ink without medical-grade pigments. Non-medical pigments such as art supply powders, ash, or graphite do not meet the necessary sterility or chemical standards for skin insertion. They may contain unpredictable contamination, increasing the risk of infection or adverse reactions. Even “natural” dyes are not guaranteed to be biocompatible and often fail safety tests. No reliable source approves these substitutes as safe for dermal application. The entire manufacturing process requires strict sterilization and particle size control to prevent common problems like ink spreading or fading.
While you can mix such pigments with sterile carriers like alcohol or witch hazel, this does not eliminate the core risks. Proper handling and sterilized equipment reduce bacteria but do not address the inherent dangers of unapproved pigments. The pigment itself may still cause infection, allergic reactions, or rejection. The FDA confirms that no pigments are approved for skin injection, making any homemade mixture unverified and unsafe. For safe tattooing, always use medical-grade pigments sourced from reputable tattoo suppliers — anything less is a risk you should avoid.
Pick Safe Ingredients, Not Household Junk
Choose safe ingredients, not household junk. Choose tattoo-specific pigments over household or art supplies because only medical-grade materials are formulated for skin contact and thoroughly tested for contaminants like heavy metals. Source dry pigments from reputable tattoo supply companies; avoid using car paints or ballpoint pen inks, which can contain unpredictable additives and toxins. For carrier liquids, stick to distilled water, witch hazel, glycerin, or 99% isopropyl alcohol—household dish soap, shampoo, or vodka are not proven safe. When selecting ingredients, ensure carbon black or titanium dioxide are purchased from trusted retailers, and avoid older white pigments that may contain lead. Reject substances like antifreeze, formaldehyde, or aldehyde-based carriers. Always prioritize medical-grade purity; contamination control is essential for safe tattoo ink. For example, you can check the non toxic ink for tattoo reviews to see which commercial brands meet safety standards. To ensure a secure application, follow the same principles of clean preparation and aftercare used when gluing lace wigs. Understanding why tattoo ink composition matters prevents the use of harmful substances that can cause allergic reactions or infections.

✅PREMIUM QUALITY – Professional medical grade pigment of excellent quality which gives perfect eyebrow microblading color.

✅PREMIUM QUALITY – Professional medical grade pigment of excellent quality which gives perfect eyebrow microblading color.
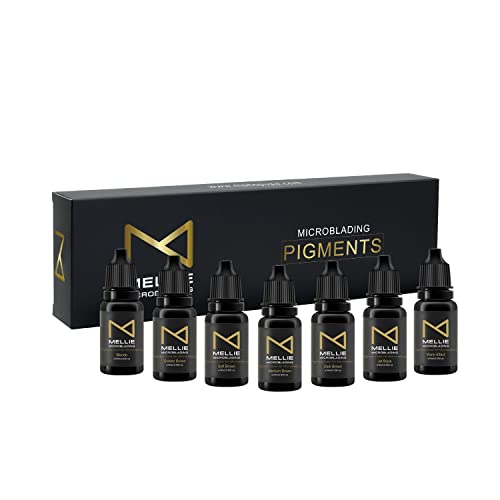
Seven Versatile Shades: This Mellie Microblading PMU Ink set includes seven versatile shades, Blonde, Warm Effect, Golden Brown, Soft Brown, Medium Brown, Dark Brown, and Jet Black, designed to suit every client. Your results won’t fade to different colors; only lighter versions of the original shade will remain
How to Sterilize Tools for Homemade Tattoo Ink
To sterilize tools for homemade tattoo ink, you must ensure every item touching the ink or your skin is completely free of microbes. Start by pre-cleaning all reusable metal tools with a 1% enzymatic detergent solution maintained below 55°C. Use a brush to manually scrub edges and threads, removing any residue or dried ink. Rinse thoroughly with water, then inspect each tool for visible debris; if it remains dirty, it’s not ready for sterilization. Consistent routines maintain sterilization standards and prevent equipment failure and contamination.
The most effective method is autoclaving, considered the gold standard for sterilization. Place your sterilization-ready instruments in sterilization pouches that allow steam penetration. Load the chamber according to the manufacturer’s instructions, leaving adequate space between items. Run a cycle at 121°C for 30 minutes—do not interrupt or remove items early. Use sterilization indicators on the pouches to confirm proper sterilization, and perform weekly spore tests to verify that your autoclave functions correctly. Proper sterilization prevents infections and keeps your practice safe.

Self-Sealing Bags: ForPro Self-Sealing Sterilization Pouches are single-use, latex-free pouches that are made to protect.

BULK SELF-STERILIZATION BAGS: PlastCare USA provides 1 box of 200 pouches. These sterilizing bags keep teeth cleaning instruments and other dental tools sterilized until their next use. Keep your dental office or lab clean and sterile with these pouches.

Keep Clean: Suitable for steam and EO sterilization, the color-changing arrows indicate when sterilization is complete, keeping the instruments sterilized until next use
Step-by-Step Guide to Mixing the Ink Base
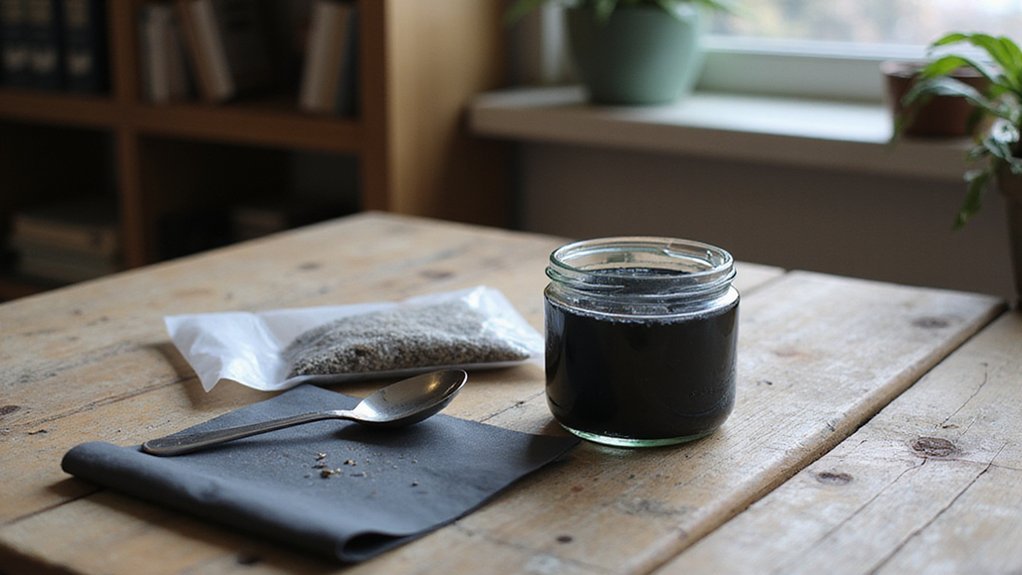
To mix the ink base, you’ll combine liquid carriers with your chosen pigment. Start by grinding your pigment—such as wood ash, soot, or charcoal—into as fine a powder as possible. For the liquid base, mix witch hazel with glycerin and propylene glycol; this helps the ink dry slowly and remain workable. A similar method uses graphite crushed from a number two pencil inside a paper envelope for a homemade ink paste. Understanding the carrier and pigment composition is crucial, as these elements affect both the ink’s safety and how it interacts with the skin. Professional inks are often sterilized using gamma radiation to ensure they are free of pathogens. For safe and effective results, always adhere to proper sterilization techniques between each step to prevent contamination.
Add your pigment gradually into the liquid mix while stirring continuously, not all at once. This slow incorporation prevents clumping and promotes even dispersion. Use a blender to achieve the right consistency: start at low speed, then increase to medium for 15 to 20 minutes. Your aim is to create a uniform slurry that is slightly thicker than water. If necessary, adjust the thickness by adding more liquid or pigment. These steps ensure the pigment stays suspended evenly throughout the ink.
Once mixed, transfer the ink base into a sterile, opaque container and store it away from sunlight to prevent degradation. Always check your ink’s consistency before using it. Don’t worry about perfect thickness yet—that’s the next step.
Is Your Ink Too Thick or Too Thin? Here’s How to Tell
Your ink’s consistency is just right when it flows smoothly without stalling or clumping. To determine if your ink is too thick, observe if it requires excessive pressure during application and if it clumps at the needle tip instead of coating evenly. Thick ink can cause needle clogging and overwork the skin, resulting in uneven lines. Proper preparation, including sterilizing the equipment, is just as important as achieving the right ink consistency.
If the ink is too thin, it will spread easily, making your design wash out or fade after a few passes. Thin ink also has weakened pigment concentration, which reduces opacity and control, especially for sharp lines. Performing a flow test—dragging the needle through the ink—is the best way to check. Good ink moves consistently and evenly without gaps or hesitation. Unlike tape hair extensions, which can last longer with proper maintenance, homemade tattoo ink requires careful viscosity management.
If your ink is too thick, add a small amount of diluent and mix thoroughly until it becomes more fluid. If it’s too thin, recognize that you’ve over-diluted and consider adding a thicker base to restore proper viscosity. White pigment particles are assumed to be larger and can increase overall ink thickness when included. If your ink has thickened over time from sitting open, a fresh cap helps restore its proper consistency. Your aim is a balanced viscosity that remains evenly suspended and predictable during tattooing, not the absolute thinnest or thickest mix. Adjusting the needle depth and speed also impacts how the ink sits on the skin, so pair your viscosity adjustments with the correct machine settings for optimal results.

MADE IN THE USA SINCE 1990 — For over 30 years Dynamic Color has produced professional tattoo supplies in the United States, an established American brand artists built their work on long before most imported labels existed.

Premium Ingredients: Tattoo Ink Mixing Solution uses Distilled Water and Hamamelis Water for safe and effective ink mixing
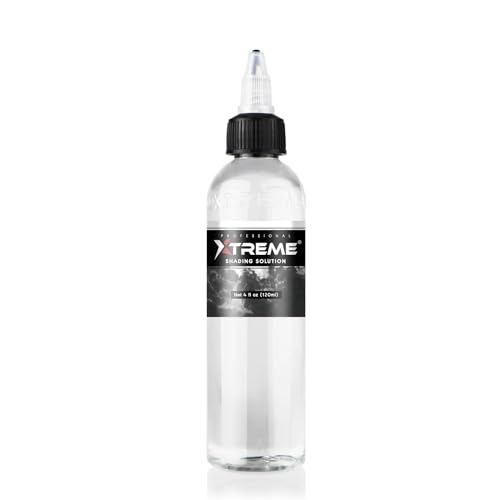
Elevate Your Shading Game: Xtreme Shading Solution takes your shading technique to the next level, delivering impeccable results for tattoo artists of all levels.
Grind and Strain for Lump-Free Homemade Tattoo Ink
Grinding your pigment into a fine, uniform powder is the most critical step for a lump-free tattoo ink. Particle fineness directly influences smooth ink flow, so aim for about 10 to 15 minutes of grinding using a mortar and pestle for graphite. Apply consistent pressure and use a slow, circular motion to prevent uneven chunks. Pre-wet the powder with a few drops of water to help break up clumps, forming a paste-like consistency. Afterward, strain the mixture through cheesecloth or a coffee filter to catch any remaining debris or larger particles. If grit persists, repeat the grind-and-strain process until the mixture becomes silky smooth. Take your time—precision here ensures high-quality ink. Maintain a gentle pressure throughout, as excessive force generates heat and friction that can introduce air bubbles, compromising the ink’s smoothness and uniformity. When removing the finished ink from grinding tools, using safe removal steps helps prevent contamination of the mixture. A beginner’s tattoo machine setup relies on smooth, consistent ink flow to avoid needle clogs during application.
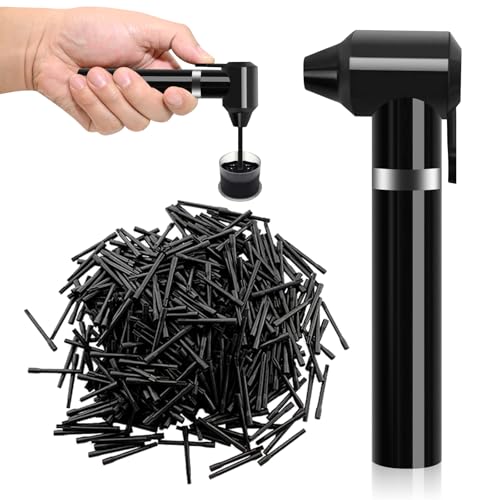
COMPLETE COMBINATION: Ink mixer kit includes 1pcs black electric ink mixer machine (1.8 x 5.1 inch) and 100pcs mixing sticks (1.3 inch). Mixing sticks All single use, clean and hygienic

1[MULTIPURPOSE]This electric tattoo ink mixer can be used for blending tattoo Eyebrow ink,watercolor Ink,nail polishes, liquid,painting pigment, microblading supply tool and other artistic applications.

DEEP-FORM MORTAR WITH POUR SPOUT: This pestle and mortar bowl is made from high-quality material, the 150mL mortar pestle set features a convenient pour spout for easy transfer of contents. Its deep design minimizes spills and improves grinding efficiency.
Proper Storage Extends Homemade Tattoo Ink Life
Proper storage extends the usability of your homemade tattoo ink by preventing spoilage and contamination. Keep the ink in a cool, dry place with temperatures between 60°F and 80°F, and avoid freezing or overheating it, as extreme temperatures can alter its consistency and effectiveness. Store bottles in a dark cabinet or box to shield them from sunlight and strong indoor lighting, which can degrade the ink’s quality over time. Maintaining a stable cool, dry place ensures the ink’s consistency remains unaffected by temperature fluctuations, as recommended for commercial inks. Shielding the ink from direct sunlight and heat is similarly critical to preventing premature degradation. Before storing ink, ensure you have a clean wig cap to cover the bottle opening as an extra barrier against dust. However, unlike LED masks which have been studied for skin safety under controlled light exposure, homemade tattoo ink lacks such regulatory oversight, so extra care is vital.
Always ensure containers are sealed tightly immediately after each use to keep the ink from drying out and to prevent exposure to air. To avoid contamination, never dip used needles or tools directly into the main storage bottle. Instead, pour ink into single-use sterile caps for each session. Handle bottles with clean hands or gloves to maintain hygiene. Never return leftover ink from a cap back into the main bottle, as this can introduce bacteria and spoilage.
Label each container with the date it was made to track freshness and prioritize older batches. Use the oldest ink first, to reduce waste and prevent spoilage. Regularly inspecting your stored ink for any changes in color, smell, or consistency can alert you to potential issues before using it for tattooing. Proper storage practices ensure your homemade tattoo ink remains safe and effective for months.
When Homemade Tattoo Ink Goes Bad: Discard Immediately
If your homemade tattoo ink shows signs of spoilage, discard it immediately. Look out for separation that won’t remix, clumping, thickening, or a color shift to murky. A foul, sour odor is a clear sign of bacterial growth. Visible mold also means it’s time to throw it away—don’t try to salvage or use it in any way. Using spoiled ink poses serious health risks such as infection, allergic reactions, and uneven healing. Once you notice any spoilage signs, do not attempt to fix or reuse the ink. Proper disposal is crucial: never pour it down the drain. Instead, seal it in a container and dispose of it with household waste. Remember, opened ink typically lasts between six to twelve months, but spoilage signs override this window. For beginners, choosing the right wig cap can help minimize skin irritation and make the tattooing process more comfortable. Proper disposal is crucial for preventing environmental contamination, as tattoo inks contain heavy metals and other chemicals that can be harmful to water sources and wildlife. For professional-grade results, high-quality cartridge needles ensure consistent pigment flow and reduce skin trauma. Your health should always come first over any leftover ink.