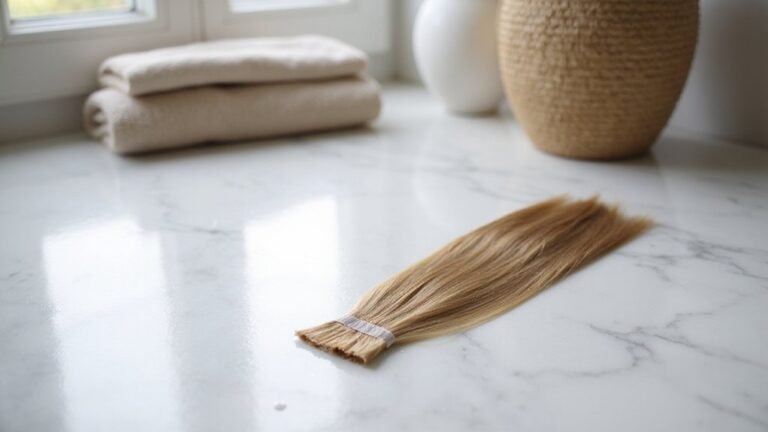
Removing tape-in extensions can feel tricky, especially if you want to do it safely without damaging your natural hair. The good news is, with a little patience and the right technique, you can remove them at home without yankin or breaking your hair.
In this guide, you’ll learn how to soften the adhesive and gently slide off the extensions.
Keep reading to discover the simple steps that make damage-free removal possible.
3 Must-Have Tools for Tape-In Removal
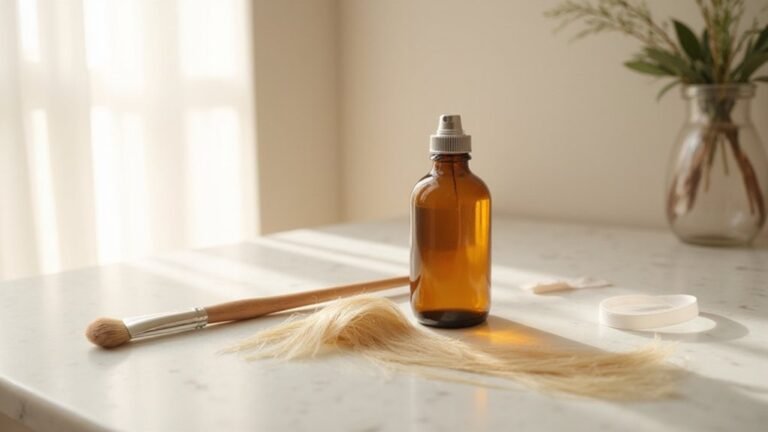
To remove tape-in hair extensions safely, you need three essential tools: an adhesive remover, a rat tail comb, and sectioning clips. The adhesive remover softens the glue bonds, making it easier to slide the extensions apart without pulling or damaging your natural hair. Keep the nozzle clean to avoid clogs, and apply it on both sides of the tape. Wait 30 to 60 seconds for the remover to work before gently sliding the weft apart. If resistance occurs, reapply the remover and try again—forcing it could cause damage. The rat tail comb is used to create a small opening in the tape, allowing the remover to seep in between layers for easier removal. Make sure the tip isn’t bent, as this helps maintain precision and avoid snagging your hair. Sectioning clips are invaluable for isolating areas of hair, keeping your workspace organized and preventing tangling. They also help control the removal process, reducing the risk of accidentally pulling on unintended strands. These three tools work together to make tape-in removal safer, smoother, and more controlled. Over 6 weeks, adhesive can coat the hair shaft, so timely removal with these tools prevents buildup complications. Following a damage-free removal guide ensures you avoid common mistakes like tugging on stubborn bonds. Using a gentle sliding motion prevents unnecessary stress on the hair, mirroring the careful technique recommended for tools like a derma roller. After removal, applying a moisturizing oil helps restore flexibility to the hair and scalp.
Set Up Your Hair and Workspace in 5 Minutes
To set up your hair and workspace efficiently, start by choosing dry or lightly damp hair—this gives you better control during removal. Detangle from the ends upward with a wide-tooth comb to prevent stressing the tape bonds; avoid tugging. Section the bottom layers first and pin away loose hair to keep your work area organized. Position a bright light and mirror so you can see each bond clearly, making accuracy easier. Keep a trash bag nearby for debris and gather your tools, like adhesive remover, rat tail comb, and sectioning clips, within reach. Sit on a stable chair to reduce head movement. Work bond by bond, applying remover to both sides of each tape and letting it sit briefly before gently loosening. Moving slowly helps prevent breakage and ensures a smooth removal. For tighter bonds, gently rub the remover into the bond to peel off the extension, and use a comb to remove any beads or glue balls left on the hair. Expect some hair to be trapped inside, which is normal shedding. This process is similar to how micro-needling promotes collagen production by stimulating the skin’s surface gently. Applying the remover generously and letting it penetrate fully keeps the adhesive from pulling on your natural strands, which reduces damage-free aftercare steps later.
Why 91% Alcohol Is Your Best Bet for Safe Removal
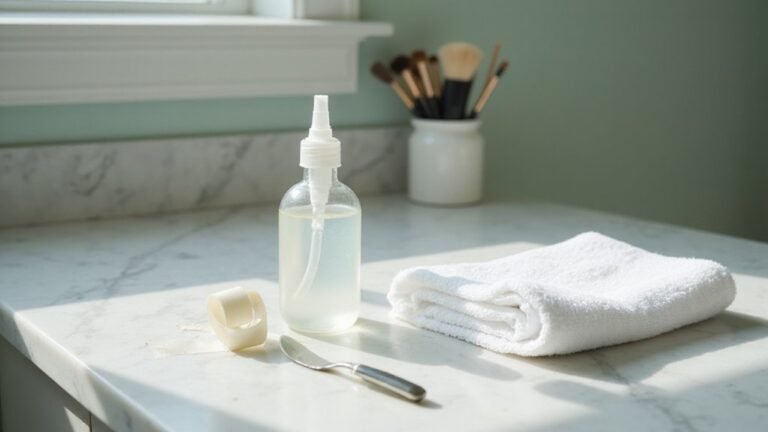
91% isopropyl alcohol is your best choice for safe, effective tape removal. Its higher concentration softens the adhesive quickly, reducing the need for harsh pulling and minimizing damage to your natural hair. Lower concentrations, like 70%, struggle to break the bond effectively, which can lead to more tugging and potential scalp irritation. Using the right concentration ensures a brief, targeted application that dissolves the glue in minutes rather than hours. A spray bottle makes it easy to apply the alcohol directly along the tape area to loosen the glue evenly. This process mimics how manufacturers use controlled heating and mixing to ensure the ink’s pigment binds evenly, though here the alcohol simply breaks the adhesive bond. Similar to how a derma roller’s needle size determines its safe usage frequency, using the correct alcohol concentration is crucial for effective results. The same principle applies in microdermabrasion, where diamond tip selection determines treatment depth and safety.
Avoid slower alternatives like heavy oils or unknown solvents—they often take longer and are less predictable. Generously spray both sides of the bond with 91% alcohol, wait a short moment for it to penetrate, then gently loosen the adhesive. If you encounter resistance, apply more alcohol instead of forcing the extension off. Residue can be easily removed with a little oil afterward, and deep conditioning restores moisture. Stick with 91% for a straightforward, damage-free removal process.
Know When to Quit DIY and Call Your Stylist
You should stop attempting DIY tape removal if the adhesive resists multiple saturation attempts or if you experience scalp soreness, tangling, or hair stress. Forcing a stubborn bond or pulling when the adhesive won’t budge increases the risk of hair breakage, thinning, and scalp irritation. Extensions that have been worn beyond 6 to 8 weeks tend to be more challenging to remove cleanly, making professional intervention advisable. If the tape isn’t releasing after repeated efforts or if you notice discomfort, it’s time to hand the task over to your stylist. They can handle stubborn adhesives safely, assess for any damage, and reposition or remove extensions without risking your natural hair. Prioritize scalp health and hair integrity over stubbornness; quitting DIY early prevents irreversible damage.
Loosen Tape Bonds Without Pulling or Tearing
To loosen tape bonds without pulling or tearing, apply an oil-based or alcohol-based remover directly onto the tape sandwich. Let it sit for 30 seconds to several minutes to allow the solvent to fully penetrate the adhesive. This dwell time is essential for the adhesive to weaken and loosen its grip. If you feel resistance when trying to slide the extension free, it means you haven’t waited long enough. Ensure the area is saturated with the remover, then use a rat-tail comb to gently create a small opening, allowing the solvent to reach the inner adhesive layer. Once the adhesive softens, hold your hair at the root and gently slide the extension away from your scalp. Never yank or pull forcefully, as this can tear your natural hair. If the extension resists sliding, apply more remover and wait a bit longer. Patience is key to minimizing damage, saving your hair’s length, and maintaining density. This slow, controlled approach mirrors the importance of patience required when using a derma roller to avoid skin trauma. Just like tattoo inks avoid degradation, properly formulated removers remain effective when stored away from extreme heat or direct sunlight. Always follow the remover’s instructions for safe removal steps to avoid over-saturating your scalp or compromising the bond prematurely.
Step-by-Step: Lift Each Tape-In Extension Tab
Once your hair is sectioned and the remover has had adequate time to work, lift each tape-in extension tab from the top edge using the tip of a rat-tail comb. Direct the upward motion toward the root rather than outward to protect your natural hair’s elasticity. If you encounter resistance, stop immediately; this indicates the adhesive hasn’t fully broken down. Forcing the tab open can damage your hair’s elasticity and irritate your scalp. Instead, apply more remover directly onto the bond and wait another 30 seconds before trying again. Only proceed once the tab lifts easily with minimal effort. Apply steady, low-tension pressure similar to how you would set up a tattoo machine for consistent results. Work on one bond at a time, maintaining low tension to avoid tangling or pulling on your natural hair. This careful approach ensures each extension separates cleanly without causing damage. Adopting a gentle rolling motion during removal mimics the controlled depth needed for even absorption.
Remove Sticky Residue Fast Without Damage
To remove sticky residue quickly and without damage, apply a specialized extension adhesive remover directly to the gum after lifting each tab. Allow it to sit for a few seconds up to several minutes to soften the bond. Gently work the residue loose with a fine-tooth comb or extension brush. Reapply the remover as needed, but avoid tugging or scraping which can cause breakage. Professional removal minimizes the risk of pulling out natural hair, making it the safest option for those without experience.
Chemical agents like adhesive removers break down the glue without force, speeding up the cleanup process. For stubborn spots, switch to oil-based solutions such as coconut or almond oil. Saturate the area and leave it for at least 30 minutes before gently combing out the residue. Alternatively, use diluted isopropyl alcohol on a cotton swab to turn the sticky spots chalky. Make sure to condition the hair immediately afterward to prevent dryness. Using a low-level red light therapy device can help reduce inflammation and promote healing if the scalp becomes irritated during removal.
Finish by washing the area with a clarifying shampoo. Repeat the shampooing 2 to 4 times to ensure all solvent and adhesive film are thoroughly removed, leaving your extensions clean and intact.
Wash and Care for Your Hair Post-Removal
After removing your tape extensions, washing with a clarifying shampoo is crucial to remove residual adhesive and buildup on your scalp and hair strands. Focus the shampoo on your roots, allowing the suds to gently cleanse the lengths without excessive scrubbing. Use lukewarm or cool water, as hot water can strip moisture and increase dryness. Follow up with a deep conditioning mask from mid-shaft to ends, leaving it on for 15 to 30 minutes to restore hydration and softness. During washing, gently massage your scalp to promote circulation and help remove lingering impurities. When detangling, use a wide-tooth comb and start from the ends, working upward carefully to minimize breakage. Allow your hair to air dry whenever possible and avoid heat styling tools for at least a week to prevent added stress and damage. Expect 2 to 3 washes to fully eliminate tape adhesive residue.
3 Mistakes That Rip Hair Instead of Release It
Ripping hair instead of releasing it usually happens because of three common mistakes. First, you pull before the adhesive has fully dissolved. Applying remover to saturate the tape and waiting patiently ensures the bond weakens without damaging hair strands. Never force resistance, as premature tugging especially risks ripping delicate fine hair. Second, yanking or snapping the extensions apart causes damage. Instead, gently slide them out while supporting the root area. Stop immediately if you feel resistance to prevent pulling out natural hair. Extensions typically only remain firmly attached for a wear window of 6 to 8 weeks before the bond begins to fail. Third, separating the tape without holding both sides leaves adhesive residue and tears hair. Carefully pry open the tabs before sliding the extensions out. Rushing through the process, using poor saturation, or gripping incorrectly, all increase the likelihood of ripping hair. Patience and proper technique are essential to remove extensions safely and avoid damage. Working systematically from the bottom to the top of the head prevents pulling on natural hair during removal. Be aware that some adhesives contain potentially toxic compounds that may irritate the scalp if not fully dissolved before removal. Similar to a derma roller, this removal method can stimulate improved hair growth by reducing trauma to the follicle.