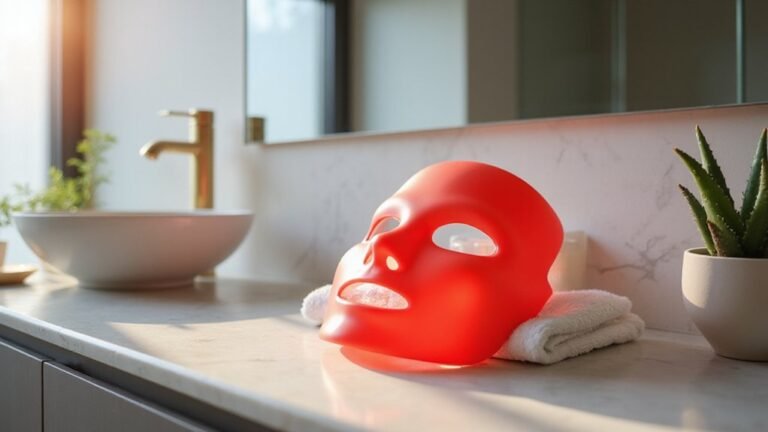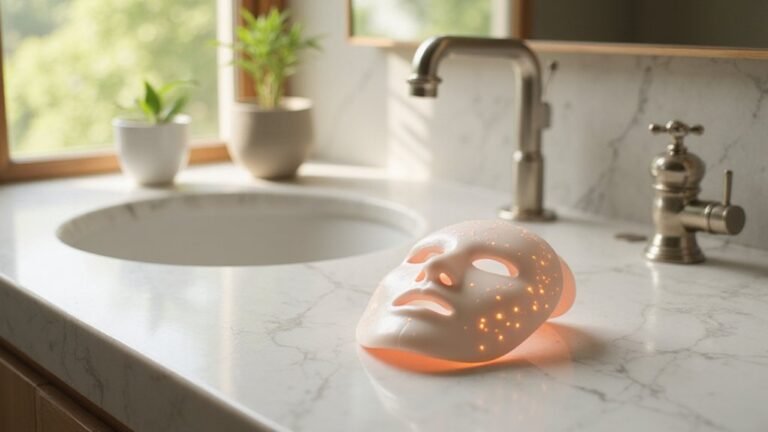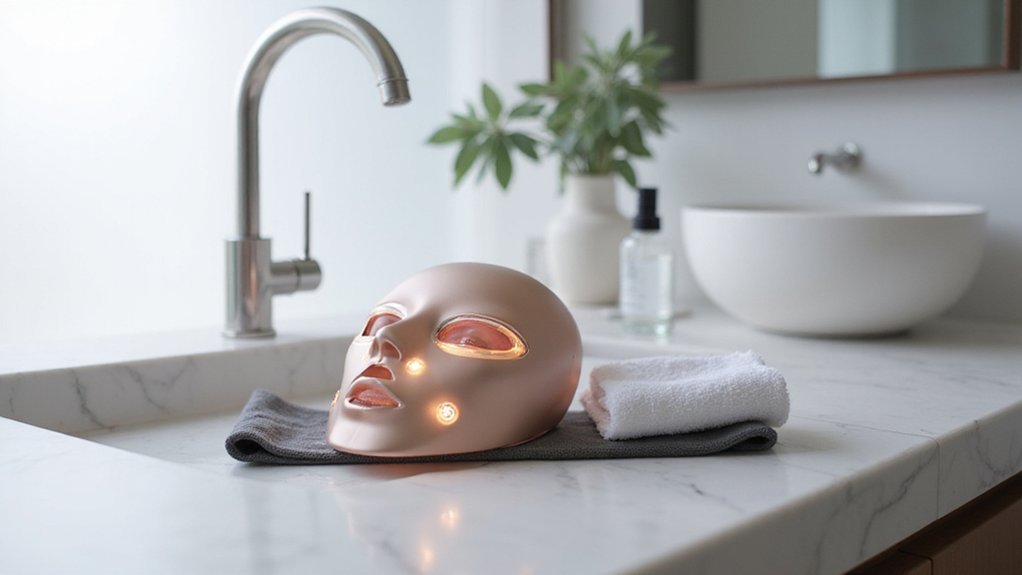
Using an LED face mask can seem tricky at first, but with the right approach, it becomes easy to see real benefits.
Selecting the correct color for your skin concerns and following proper prep and post-care steps makes a difference in how effective it is.
By understanding how to position the mask, how long to use it, and what to do afterwards, you can maximize its potential.
Keep reading for simple tips to get the best results from your LED treatment.
Step 1: Cleanse and Prep Your Skin Before the Session
To prepare your skin for an LED mask session, start with a thorough cleanse to ensure a completely bare surface. Remove all makeup and sunscreen using an oil-based cleanser or micellar water, which effectively dissolves these products without irritating your skin. Follow with a gentle water-based cleanser to eliminate any remaining residue, leaving your skin clean but not stripped or irritated. For optimal light absorption, consider securing your hair back with a wig cap to ensure the mask sits flush against your skin. Additionally, it is crucial to avoid any residual glue or adhesive on the skin, as leftover tackiness can interfere with the mask’s contact and light penetration.
It’s essential to protect your eyes during the session—keep them closed or wear the included goggles—since the mask’s bright light can cause discomfort or strain. Remember, the goal is a clean, dry surface with no lingering products or moisture, as this maximizes light penetration. For best results, avoid using the LED mask immediately after microneedling procedures that create micro-channels. Avoid harsh scrubs, strong acids, or exfoliants before use, since they can sensitize or irritate your skin. Gently pat your face dry with a soft towel—rubbing can cause unnecessary friction—so the mask can work optimally on a dry, bare surface.
The Right Way to Wash Your Face Without Irritating It
To wash your face properly without irritating your skin, always stick to lukewarm water—avoid hot water, which can strip moisture and worsen redness. Use gentle fingertips to wash your face, avoiding vigorous rubbing that can damage your skin barrier, especially around sensitive areas like your eyes, jawline, and nose. Choose a fragrance-free, pH-balanced cream cleanser that respects your natural oils. Rinse thoroughly with lukewarm water and pat dry with a clean towel. Keep your washing sessions brief—around 30 seconds to 2 minutes—to prevent over-drying. If your skin feels tight afterward, switch to simply rinsing with water in the morning. Wash your face after sweating but steer clear of hot water or aggressive tools. This gentle routine helps minimize irritation and prepares your skin for optimal LED mask results. Tattoo ink is made by mixing pigments with a carrier solution, but for skincare, you should avoid any contact with tattoo-grade pigments on your face.
Which Skincare Ingredients to Skip and Which to Keep
Avoid retinoids, AHAs, BHAs, and benzoyl peroxide before using an LED face mask. These ingredients photosensitize your skin and can cause increased irritation during treatment. Hydroquinone and medications like doxycycline that also increase photosensitivity should be paused too. Additionally, steer clear of fragranced products, essential oils, and alcohol-based formulas after your session, as they can inflame freshly treated skin. Individuals with certain conditions may also need to avoid treatment, as LED masks are generally safe for most people but pose risks for those on photosensitizing medications or with light-sensitive disorders. For a similar approach, a derma roller also requires careful product selection to avoid post-treatment irritation from aggressive actives. Beginners choosing light therapy tools should look for a reliable wig cap to protect the scalp if using an LED mask near the hairline.
Timing your application is crucial. Apply acids or retinol after your light therapy session, not before, to prevent sensitivity. For stronger active ingredients, wait 24 to 48 hours before reintroducing them. If you use milder products, a 20 to 30 minute buffer usually suffices.
Keep using sunscreen, barrier-repair moisturizers, and SPF-containing makeup around your treatments. However, never wear these during the session. Ingredient interactions can impact your results or cause irritation. Planning your routine carefully ensures you maximize benefits and avoid redness or discomfort.
Pick the Right LED Color and Intensity for Your Goal
Choose the LED color and intensity based on your specific skin goal. For acne, blue light in the 415–470 nm range is most effective because it targets bacteria responsible for breakouts. Start with low or medium intensity to see how your skin reacts; gradually increase if there’s no irritation. For anti-aging and collagen stimulation, red light between 630–660 nm can help tighten skin and promote cell repair. If you want deeper healing, include near-infrared light at 810–850 nm, but avoid it if your focus is on clearing acne. For redness or sensitive skin, yellow light around 590 nm can soothe irritation, while green light helps address uneven tone. NASA research in the 1990s laid the foundation for these applications. Always adhere to your device’s recommended intensity levels, beginning at the lowest setting and increasing slowly to prevent irritation. This method ensures your treatment matches your goal safely and effectively. For maintenance of your skincare tools, adopting proper refit timing can extend their effectiveness and prevent premature wear. However, be aware that visible results typically require consistent weekly sessions over several weeks, as the effects are gradual rather than immediate. Realistic expectations are important because not everyone experiences the same degree of improvement.
How to Position Your LED Mask and Protect Your Eyes
To properly position your LED mask and protect your eyes, always keep safety in mind. During each session, close your eyes to shield them from the intense light. If your mask has removable protective eye shields, seat them securely before starting to add an extra layer of protection. Avoid opening your eyes during treatment to prevent unnecessary exposure. Maintain a relaxed face and keep your body still while reclining; this ensures steady contact with the mask and even light exposure. Staying relaxed helps maximize your session’s effectiveness and reduces the risk of accidental misalignment. Adjust the straps on top and back of the head for a snug, comfortable fit to prevent movement during the session. Unlike concerns over tattoo ink and cancer, LED masks emit non-ionizing light that does not damage cellular DNA. For optimal safety, always follow the manufacturer’s recommended treatment duration to avoid overexposure. Understanding needle grouping configurations helps ensure even light distribution, similar to how precise spacing in tattoo machine setups allows for consistent ink flow.
Ideal Session Length and Frequency for Visible Results
Starting with three sessions per week, each lasting 10 to 15 minutes, is recommended for most users. Consistency in frequency matters more than session length when it comes to visible results. Typically, you’ll notice early improvements in skin tone and texture within four to six weeks. Avoid extending sessions to 20 or 30 minutes, as longer sessions won’t accelerate results and may cause dryness or redness. Similar to using a derma roller, preparing the skin thoroughly before treatment helps ensure even light penetration and consistent outcomes. Just as tape extensions can wear out from improper removal, overusing the LED mask can stress the skin and reduce its tolerance. Using a stencil without transfer paper requires a similar focus on methodical preparation to avoid common application errors.
Stick to the device’s recommended LED session duration because the therapeutic dose window—usually between 2 and 10 joules per square centimeter—is more important than simply increasing time. Once your skin adapts to the routine, increase the frequency to four or five sessions weekly for better results. When you start seeing improvement, reduce to two sessions per week for maintenance. Always follow the manufacturer’s instructions and ensure your LED device is properly maintained by regularly cleaning the mask to keep output consistent.
Overusing the device or exceeding recommended session lengths won’t speed up your progress. Instead, trust in moderate, regular treatments for the safest and most effective outcomes.
Relax and Don’t Multitask While the Mask Is On
Relaxing and avoiding multitasking during your mask session creates the best environment for your skin to benefit. When you treat mask time as a downtime moment, your facial muscles can relax fully, which enhances absorption and results. Stay still by practicing simple meditation techniques or focusing on your breath, ensuring even light exposure across your face. To maintain consistent usage, carefully removing tape extensions at home requires a beginner-friendly approach and the right supplies to avoid damage. Dim ambient lighting minimizes external distractions and helps reinforce a calm, distraction-free state. Avoid multitasking, as it increases the likelihood that you’ll skip or rush your sessions, reducing their effectiveness over time. Consistency is key—dedicate a few quiet minutes to simply sit back and let the mask do its work, maintaining the regularity that experts recommend for the best results. Keeping this low-effort pause benefits your skin by allowing it to recover and rejuvenate without added stress or interruption. For instance, using the mask in Glow Mode targets dull skin and boosts collagen through specific light wavelengths. Understanding the factors that shorten its lifespan can help you avoid common mistakes and preserve your device’s performance. Before starting your session, ensure your face is clean and dry to prevent adhesive residue from interfering with the mask’s light penetration, as leftover oils can block effectiveness.
Post-Session Skincare: Apply Moisturizer and Sunscreen
If you’re doing a daytime session, sun protection isn’t optional. Apply a broad-spectrum SPF of 30 or higher after your moisturizer, not before the mask. This sequencing shields your skin from UV damage and helps preserve your LED results. The correct order is: cleanse, LED, moisturizer, then sunscreen. Avoid using aggressive active ingredients during this routine—your focus should be on hydration and protection rather than repair. For those new to LED therapy, understanding the difference between machine types can help you choose the right skincare device for your routine.
Three Mistakes That Ruin Your LED Results: and How to Fix Them
Skipping treatment intervals, using the wrong skin preparation, and overusing your LED mask are three common mistakes that can ruin your results. To achieve the best improvements, stick to the recommended schedule of 3 to 5 sessions weekly for 6 to 8 weeks. Light therapy builds up gradually, so sporadic use won’t produce lasting changes. Consistency is key to seeing the full benefits. For comprehensive anti-aging effects, choose a mask combining both red and near-infrared wavelengths.
Always start with clean, dry skin before applying the mask. Avoid retinoids, acids, or vitamin C on the day of treatment, as these can interfere with light absorption. Never use your device on irritated, sunburned, or damaged skin, as it can cause further irritation and hamper results. Proper skin prep ensures the light penetrates effectively and minimizes adverse reactions.
Stick to sessions lasting 10 to 20 minutes, and do not exceed three to five times per week. Longer or more frequent sessions won’t speed up results; instead, they can cause redness, irritation, or skin damage. Following the recommended duration and frequency helps your skin respond optimally without risking setbacks.