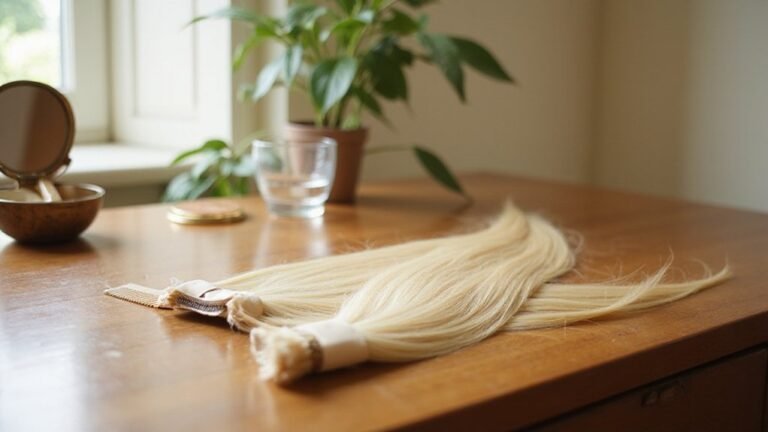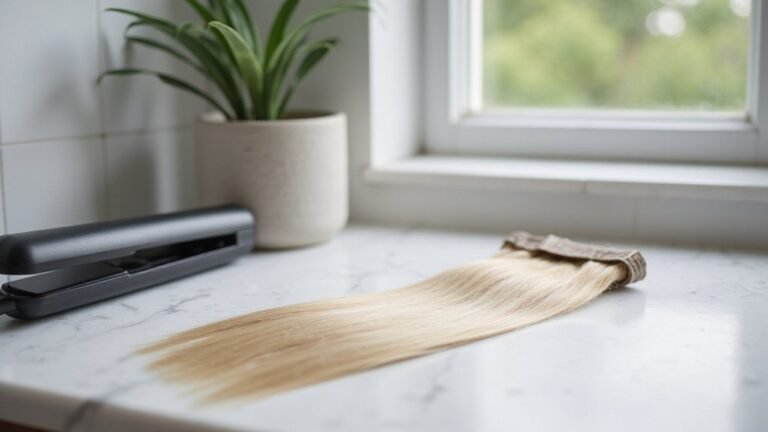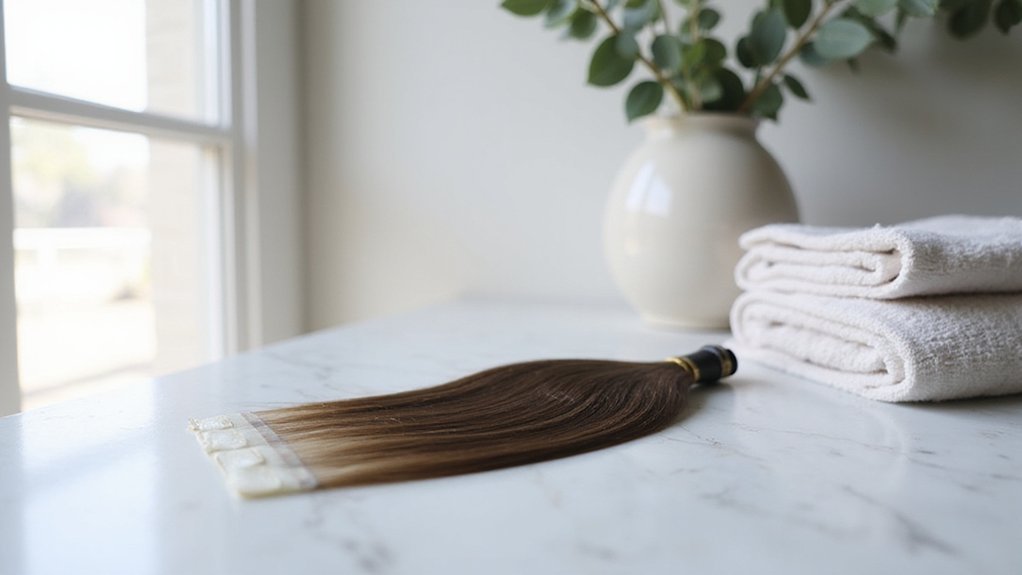
Want to add tape-in hair extensions without damaging your natural hair? Getting them right starts with properly preparing your hair and applying the tapes correctly.
When done well, this method can give you longer-lasting, natural-looking volume and length. Here’s a simple guide to help you master the basics and avoid common pitfalls.
Wash With Clarifying Shampoo Before Tape-In Hair Extensions
To prepare your natural hair before installing tape-in extensions, you should wash it with a clarifying shampoo. This step ensures the removal of oil, dirt, and product buildup that could prevent the tape adhesive from bonding securely. Start by detangling your hair with a wide-tooth comb to prevent knots during washing. Apply the clarifying shampoo directly to your scalp and natural hair—avoid using it as a conditioner or leave-in treatment. Lather the shampoo twice to thoroughly clean the hair and scalp, using lukewarm water to facilitate proper rinsing. Rinse completely to eliminate any residue, leaving a clean, light base for the extensions to adhere to. This process is similar to how a derma roller uses microneedling to stimulate the scalp’s natural repair process. On application day, skip conditioner, leave-in conditioners, serums, and heavy oils, as they can weaken the tape’s grip and damage your hair over time. Using clarifying shampoo initially creates a strong bond that reduces slipping and makes styling easier later. A derma roller with fine needles can also help improve product absorption after the extensions are removed. For maintenance, restrict the use of clarifying shampoos because excessive use can strip color and dry out the hair and bonds. Opt for gentle, extension-safe shampoos for your regular routine to preserve the health of both your natural hair and the extensions.
Section Hair Near the Nape for Hidden Tape Placement
Begin by sectioning your hair horizontally at the nape, about one to two inches above your hairline. This height keeps the tape-in extensions hidden beneath your top layers while ensuring secure placement. Leave the top half-inch of natural hair out to cover the tape row later, blending the extensions seamlessly with your own hair.
Make the section narrow enough for control, but wide enough to support the length of the tape extensions—about the width of two fingers. Space each tape approximately ¼ inch apart, leaving a finger’s width between them, to prevent bulk and ensure natural movement. Use a staggered pattern for the tapes so the seams don’t line up directly, which enhances discreetness. This staggered pattern mirrors a brick lay pattern for optimal coverage and a seamless blend. Before starting, confirm your natural hair is completely dry and free of oils to ensure the adhesive bonds firmly, just as with any lace front application. Choosing the right cap construction can also influence how smoothly the tape lies flat against the scalp.
Align each tape carefully before pressing. Apply gentle, consistent pressure to eliminate air pockets and bond the tape smoothly to your natural hair. This method keeps the row flat and hidden beneath the top layers, resulting in a natural appearance and comfortable wear. For a truly seamless finish, always use consistent pressure when bonding each tape section.
Position Tape Wefts Away From the Scalp and Sandwich Thin Sections
When positioning tape wefts, keep them about 1/4 to 1/2 inch off the scalp. This small gap, roughly a centimeter, helps prevent discomfort and visible adhesive. Placing them closer can cause buckling and tension as your hair naturally falls. Maintaining this space allows the extension to lie flatter and move with you, especially important near the hairline if your strands are thinner. Beginners should also look for a snug fit that avoids slippage without cutting off circulation. After removal, safe aftercare involves using a gentle adhesive remover to dissolve residue without damaging the natural hair.
For secure extension placement, use the Sandwich technique. Take two wefts and press them together with a thin, controlled layer of your own hair between them. Keep this strip small and even, running horizontally so the bond sits flat and distributes pressure evenly. Avoid angling it diagonally, as that can add pull. After pressing the pieces firmly, allow the sandwiched hair to fall naturally downward, not stretched. This flat, smooth placement minimizes shifting and keeps the entire row hidden beneath a buffer of dense surface hair. Always stretch the weft tautly during application to prevent ripples or tension issues. For best results, consider that consistent use of skin-stimulating tools may improve the overall health of the scalp where tape wefts are applied.

Perfect for Tape-in Hair Extensions Removal: Specifically designed to effectively remove tape-in hair extension glue while being gentle on your hair and skin, ensuring a safe and easy removal experience

FAST-ACTING HAIR EXTENSION REMOVER: our hair tape in extension remover solvent is specifically designed to quickly and easily remove hair extension glue while being gentle on your skin and hair. Our oil-based rapid remover is suitable for sensitive scalps and will get your hair extensions to tape out without any pulling or damage. our adhesive tape in remover is formulated using citrus oils and extracts that will work on any style of tape in extensions or soft bonds

Say goodbye to sticky fingers and hair! Our Tape-in Remover is specially designed to easily remove Tape in Adhesive with little to no residue.
Leave a Finger’s Width Between Tape-In Extensions
Leave about a finger’s width between each tape-in extension set. This spacing is crucial for maintaining bond longevity and natural movement. Crowding the tapes causes the adhesive to pry open over time as your hair grows, which can lead to lifting or damage. The gap allows each bond to move independently, helping the extensions stay secure without pulling on your natural hair.
Even in denser installations where you might reduce the gap to half an inch, never eliminate it completely. Leaving this space ensures the wefts stay flat and discreet, preventing them from sticking together or lifting prematurely. Proper spacing helps your extensions remain hidden, comfortable, and durable—allowing your natural hair and scalp to grow without unnecessary stress. When adjusting this gap for specific zones, such as the nape or fragile areas, you may choose a bottom-first placement to layer from underneath for a more secure hold. Unlike the skin on your face, your scalp is less sensitive to prolonged pressure, but maintaining these gaps still supports healthy skin contact and reduces irritation risks.

【Hair Extension Tool Kits Included】1x tape in hair extension pliers, 1x comb, 2 x hair pads,2 x hair clips,60 pieces hair extension tape tabs, 1 x tape remover scraper tool with 10pcs blades.

【Super Sticky】Hair tape for extensions has super sticky adhesive on both sides and strong stickiness. It is not easy to fall off and can be firmly attached to your hair. The double-sided hair extension tape is suitable for long-term use and can be used for 6–8 weeks.

Tapes Specifications & Portable Packaging: Each tape measures 1.6 x 0.3 inches, suitable for most daily uses. Available in 24pcs, 48pcs, 72pcs, 120pcs, and 180pcs, with elegant, lightweight packaging to meet various needs
Press Bonds Firmly and Wait 24 Hours Before Shampooing
Press the bonds firmly with your fingers, a flat brush, or pliers for at least 30 seconds to activate the pressure-sensitive adhesive and ensure full contact across the tape. Make sure to press both sides of the sandwich bond evenly to maximize adhesion—avoiding lifting or repositioning before pressing, as this can weaken the bond. This initial pressing step helps the adhesive start drying and allows the bond to lie flush with your scalp, reducing gaps and increasing strength. Understanding needle configurations can similarly inform the precision required for applying small tape sections. For those with long hair, securing it in a wig cap first can keep strands flat and out of the way during the pressing process. The consistent pressure applied during this step mirrors how a tattoo machine’s electromagnetic coils create rapid, controlled movements to drive ink into the skin.
After securing the bonds, wait a full 24 hours before shampooing. This waiting period is crucial because many pressure-sensitive tapes reach about 90% of their maximum hold within this time. Shampooing too soon exposes the adhesive to water and movement before it has set properly, which can cause the bond to loosen prematurely. Use a sulfate-free shampoo and ensure your hair is clean and dry before applying the extensions. Patience during this waiting period ensures a longer-lasting, secure bond.