If you’re wondering how to safely remove tape from your hair extensions without damaging your hair, you’re in the right place.
The key is gentle patience and using the right products to loosen the adhesive.
With a careful approach, you can take out your extensions smoothly and leave your hair healthy and ready for your next style.
Keep reading for step-by-step guidance on the process.
Be Patient: Let the Adhesive Soften Before Removing Tape Extensions
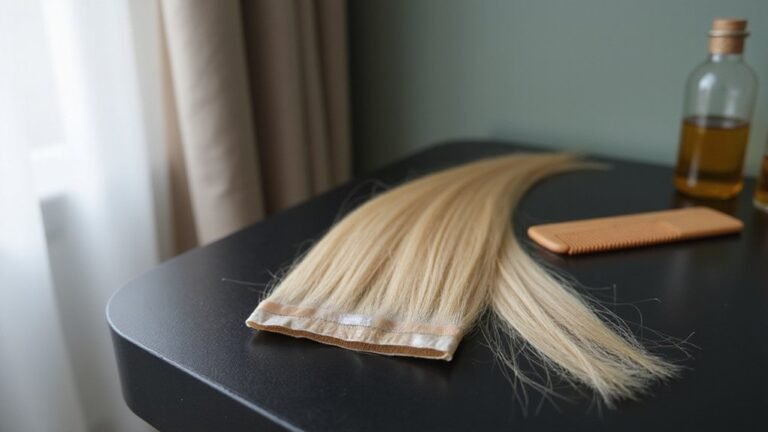
Patience is key when removing tape extensions. Allow the adhesive to soften completely before attempting to pull them out. Most removers need about 10 to 15 minutes to penetrate and break down the bond. Some sprays work faster, in roughly 2 minutes, but stubborn adhesives may require longer. You’ll know it’s ready when the tape feels no longer sticky and separates easily when tested with a rat-tail comb. Using a rubbing alcohol or oil solution, such as coconut oil or grape seed oil, directly saturates the bond for effective softening. The same chemical solvents used in manufacturing processes can weaken adhesive bonds when applied topically. To prevent damage, always work in small sections to avoid tangling the natural hair. A similar principle of micro-needling helps topical solutions penetrate deeper for faster adhesive breakdown.
Don’t rush the process. Keep the product undisturbed and reapply it to tight areas if needed, rather than forcing the removal. Hastily pulling can cause hair breakage or scalp irritation from harsh tugging. Be cautious with heat; too much can burn your scalp. When the bond releases naturally, you can lift the extension away with minimal effort, leaving no glue residue behind.
What You’ll Need: Alcohol, Oil, and the Right Tools
To safely remove tape extensions, you’ll need isopropyl alcohol, hair oil, and a few precise tools. Use 91% isopropyl alcohol because it breaks down the tape adhesive faster than lower strengths. Apply it directly onto the tape seam using a small spray bottle or a dropper for controlled application. Pair this with a hair oil, such as coconut or baby oil, to weaken any residue and help the removal process glide smoothly. Always apply the oil first to protect your scalp for a beginner-friendly walkthrough, always wait a few minutes after applying the alcohol to let the adhesive fully soften before attempting to separate the tapes.
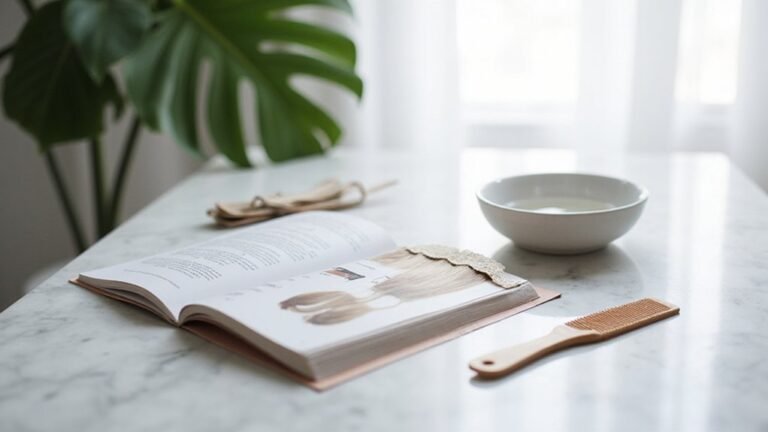
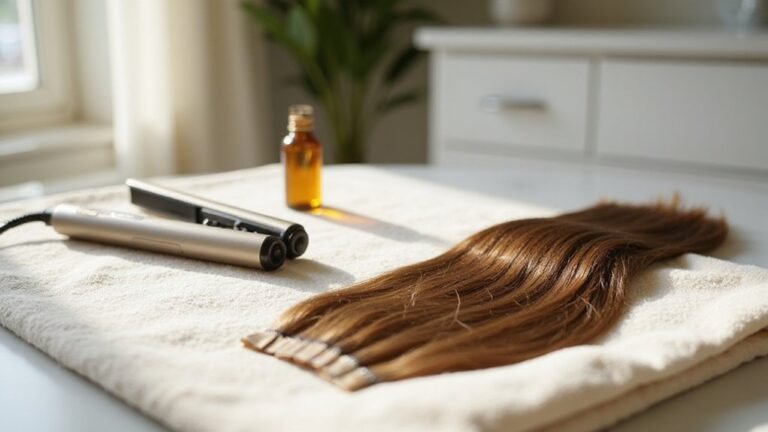
Gather a rat tail comb to gently lift the tape corners, hair clips to section off surrounding hair and prevent pulling, and cotton pads for targeted cleaning of adhesive residue. Protect your clothes and workspace with a towel to catch drips and avoid messes. Post-removal care helps maintain hair health and prevent damage. These tools ensure gentle detangling and help maintain hair health, reducing the risk of pulling or damage. Keep everything organized before you start to make the removal process efficient and stress-free.

Bulk 50-Pack: Our Bulk 50-Pack of Hair Extension Aftercare Cards is essential for salons, providing a substantial supply of after care cards. These are perfect for hair extensions wholesale, hair salon supplies, and salon boutique wholesale, ensuring every client receives crucial hair extension after care instructions, enhancing client satisfaction and care for their hair extensions bulk color.

Tape in Extension Remover with Faster Action: Our fast-acting wig glue remover spray gently dissolves adhesives in under a minute. The precision mist targets tape in remover needs for lace fronts, clips, or bonded extensions

FAST, RESIDUE-FREE CLEANING: Removes oils and dirt instantly for cleaner bonding surfaces; ideal for prepping wig installs, lace systems, toupee applications and hair tape areas.
How to Section Hair to Safely Remove Tape Extensions
Start by dividing your hair into four clean quadrants: left, right, front, and back. Securing the untouched sections with section clips keeps them out of your working zone. Begin at the nape and work upward, creating horizontal sections about two inches thick. Isolate one tape sandwich with a rat-tail comb, leaving the rest clipped away. Only open that single bond—avoid tackling multiple sections simultaneously—to prevent accidental tugging on adjacent strands. Work in a well-lit, ventilated space and use a mirror to see those hard-to-reach back sections, as proper lighting and airflow are essential for a safe and precise removal process. Detangling beforehand reduces snagging and makes the process smoother. Complete each section thoroughly, checking for any missed adhesive at the root, before unclipping the next. Using oil on the scalp near these tape areas helps to safely loosen residue and lubricate the strands for gentler removal. Following this methodical pattern keeps tension minimal and protects your natural hair. Applying a bond remover solution directly to the tape can further break down the adhesive for effortless separation.
How to Apply Alcohol So It Really Softens the Tape
To effectively soften tape with alcohol, use 91% isopropyl alcohol for faster results. The high concentration allows the chemical reaction to occur more quickly, meaning you need less alcohol and less waiting time. Fill a spray bottle or nozzle with the alcohol and target the tape bond’s “sandwich” gap directly. Make sure the adhesive layer gets fully wet — don’t just coat the surface. Saturate it thoroughly so the alcohol can penetrate the glue. Let it sit for 1 to 2 minutes; if the bond is stubborn, wait up to 5 minutes. If resistance persists, reapply the alcohol and wait again. Patience is key here—pulling too soon risks damaging the tape or hair. Rely on the chemical effect of the alcohol to soften the adhesive rather than forcing it apart. This approach mirrors the slow chemical reaction method used when softening adhesives in other precision applications like tattoo machine setup. Always check the manufacturer’s guidelines for the safe removal steps to avoid hair breakage.


Versatile Industrial Solvent: Our 91% IPA is a reliable solvent for diverse applications. Perfect as a degreaser, it effortlessly cleans mechanical parts and aids in manufacturing processes requiring a high-purity solvent. Tackle tough grease and grime with this trusted solution
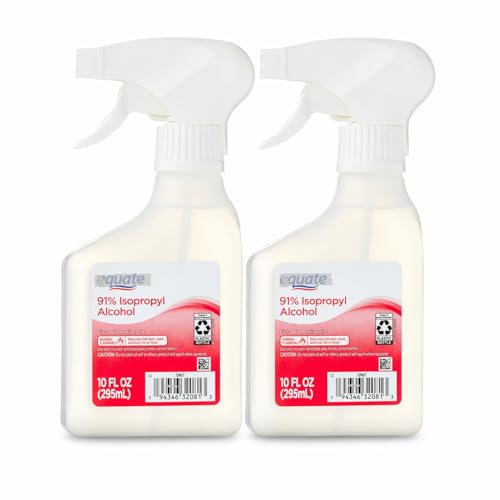
HIGH PURITY 91% ALCOHOL FORMULA – Fast-acting solution effectively cleans and disinfects surfaces by removing dirt, oil, and residue
How Long to Wait for the Adhesive to Loosen Before Peeling
The best time to start peeling is when the tape feels slippery, softened, or slightly tacky, usually after waiting 10 to 15 minutes for natural oils or adhesive remover to work. For most removers, 10–15 minutes is sufficient, but sprays can act faster—sometimes within 30 to 60 seconds—then require another 20 to 40 seconds after prying the seam. Don’t rely solely on the clock; instead, assess how the tape responds to gentle pressure. If it lifts or slides with minimal force, it’s ready. Resistance indicates you should wait longer, reapply more softening agent, and test again later. Patience is your best tool; softening agents need time to weaken the bond without forcing it, which can damage your strands. Similarly, using a derma roller on your face requires patience to avoid skin irritation. When the tape no longer sticks tightly or feels overly sticky, you can attempt peeling—more waiting and gentle softening always beat rushing to avoid damage.
What to Do If the Tape Won’t Budge Without Pulling
If the tape won’t budge without pulling, resist the temptation to force it. Pulling risks breaking the strands and damaging the roots. Instead, apply an oil-based or alcohol-based adhesive remover directly onto the seam. Spray or dab the solvent onto the adhesive area to soften it. Use a rat-tail comb to gently lift the edge of the bond, allowing the solvent to seep between the wefts where the glue is located. This access is crucial—without it, the remover cannot break down the hold effectively. Remember to use proper removal tools, not your fingers. Let the solution sit for a few moments to penetrate the adhesive, then gently attempt a light slide to release the bonds. If resistance persists, apply more remover and wait a little longer. Do not pry or force the bond apart, as this indicates the adhesive is not fully dissolved. Work on one tape segment at a time to maintain control. Once the bond releases, comb out any remaining residue and follow up with a clarifying shampoo to eliminate any leftover oil or alcohol. To properly prepare for removal, section hair to locate the specific extension and apply solvent to both the top and underside of the tape. This careful approach mirrors the precision of using tattoo machines to ensure clean, controlled results, much like how tattoo needles are designed with specific materials and practical insights to achieve precise application without damaging the skin. Similar care is required for any repetitive grooming procedure to avoid causing strain over time.
How to Peel Tape Extensions Slowly Without Snagging Hair
To peel tape extensions slowly without snagging your hair, focus on gentle, controlled movements. Once the bond is loosened enough to move freely without force, slide the tape down the hair shaft rather than yanking it away from your scalp. Gently lift the top layer of tape, then reapply remover to the bottom tab to weaken the adhesive further. Keep your motions steady and deliberate—sharp or forceful pulls can cause breakage and damage your hair. Work section by section, using clips to isolate each bond for better control. For prolonged wear, the adhesive may have hardened, so re-saturating with an alcohol-based remover helps break down the bond more effectively. Applying a gentle rolling motion with the derma roller can also help loosen stubborn residue without pulling at the hair. Before using the roller, ensure the derma roller is clean and properly sanitized to avoid irritation. It is also important to have a fine-tooth comb on hand to gently separate any tangled strands near the tape bond.
Avoid rushing the process like a chemical treatment or heat application; patience is key. If you encounter resistance, stop immediately, re-saturate with remover, and wait a moment before trying again. Use a rat-tail comb to lightly separate the tape tabs, guiding them away without prying or pulling aggressively. Keep your hands steady, maintain light tension, and move slowly. When the tape releases properly, it will slide free easily. Rushing increases the risk of snagging strands or causing length damage—taking your time ensures a safe, snag-free removal.
Why Oil Removes Stubborn Residue After the Tape Comes Off
Oil works better than harsher solvents because of how adhesive chemistry interacts with it. Hair-extension tape uses a pressure-sensitive adhesive that remains sticky until its bond is broken. Oil molecules penetrate the adhesive polymers through absorption, weakening the sticky layer’s grip on your hair. After 15 to 30 minutes, the residue becomes soft, chalky, and brittle, allowing it to lift away easily without scraping or tugging. This gentle process releases the bond naturally, making residue removal less damaging. Common kitchen oils like coconut, olive, or almond oil are effective options for dissolving stubborn tape residue. Regular cleansing of the scalp with clarifying products can help prevent additional buildup from adhesives and styling products. Following a proper washing method for the extensions themselves also helps maintain their quality and longevity. The same principle of using tapered needle configurations ensures precision when applying adhesive to fine hair strands. For longer-lasting wear, avoiding heat styling near the tape bonds can significantly reduce premature loosening and residue buildup.
How to Clean Leftover Glue From Strands Without Breakage
To remove leftover glue from strands without causing breakage, follow a gentle, step-by-step approach. Start by applying a remover specifically designed for hair extensions to the affected areas. Allow it to sit for 5 to 10 minutes to soften the adhesive. Use a wide-tooth comb to carefully detangle the strands, working from the ends towards the roots with slow, repeated passes. For stubborn spots, dip a cotton swab in 70% isopropyl rubbing alcohol and carefully target the glue, avoiding excess application to prevent dryness. Alternatively, soaking the strands in a mixture of conditioner and warm water for 15 to 20 minutes under a shower cap can hydrate and loosen the glue. Always work in small sections to ensure gentle handling, and after removing the residue, wash your strands with a mild shampoo and conditioner to restore moisture. This careful process helps maintain the integrity of your extensions while older bonds are easier to remove compared to fresher bonds that require more product and patience.

Perfect for Tape-in Hair Extensions Removal: Specifically designed to effectively remove tape-in hair extension glue while being gentle on your hair and skin, ensuring a safe and easy removal experience

FAST-ACTING HAIR EXTENSION REMOVER: our hair tape in extension remover solvent is specifically designed to quickly and easily remove hair extension glue while being gentle on your skin and hair. Our oil-based rapid remover is suitable for sensitive scalps and will get your hair extensions to tape out without any pulling or damage. our adhesive tape in remover is formulated using citrus oils and extracts that will work on any style of tape in extensions or soft bonds

Quick-Acting Tape In Remover: Designed to soften and dissolve tape-in extension adhesive, lace wig glue, and sticky residue, our tape in extension remover helps loosen bonds quickly while minimizing leftover residue. Suitable for tape in hair extensions, lace front wigs, toupees, and hair replacement systems, making removal easier and preparing surfaces for future reapplication
How to Recover Hair After Tape Removal
After tape removal, calming your scalp and restoring moisture is essential. Start with a gentle shampoo that cleanses without disrupting your hair’s natural pH or irritating sensitive skin. Steer clear of alcohol-based products, as they can worsen dryness and harm scalp health. Before washing, ensure all tape residue is completely removed from the system base to prevent build-up and reinjury.
Deep conditioning for at least an hour helps soften rough, tangled hair and rebuild moisture. Follow up with a leave-in conditioner to reduce friction during detangling. Work section by section, holding near the roots, and never yank on stuck tape, as this can cause further damage.
If you notice some shedding, mild hair loss is normal during recovery. However, persistent traction injury may require a longer healing period. Opt for loose hairstyles to minimize tension, and avoid applying heat, color treatments, or perms until your scalp fully recovers. Gentle scalp massages can encourage blood flow, supporting follicle health. Eating a diet rich in protein, iron, and biotin boosts hair follicle recovery, and noticeable regrowth typically appears within 3 to 6 months, with full healing taking up to a year.

Ultimate Hydration: Deep nourishing scalp moisturizer for dry scalp treatment; combats extreme dryness and flaking; provides lasting scalp itch relief; perfect scalp care for both women and men seeking healthy scalp solutions

SheaMoisture 100% Virgin Coconut Oil Leave-In is a sulfate free conditioner that softens hair and improves styling manageability.

SheaMoisture Jamaican Black Castor Oil Leave In Conditioner is a reparative leave-in conditioner that softens and detangles hair while controlling frizz.