Ever wonder how many needles are in a tattoo needle? The answer isn’t just a simple count but is hidden within the needle’s code, telling you how many needles are grouped together.
This number influences the line thickness and shading speed, but there’s more to consider. Keep reading to learn how these groupings shape your final tattoo.
What Does a Needle Count Code Actually Tell You?
The middle two digits of a tattoo needle code tell you exactly how many needles are soldered together in a group. For example, in a code like 1207RL, the “07” indicates there are seven needles grouped as one. This quick reference allows you to identify the needle count instantly, without opening the package. Knowing the needle count ensures you select the right tool for your design, as different counts are suited for different effects—thin lines, shading, or coloring. It also reflects the manufacturing quality; consistent, well-soldered needles are safer and perform better. The final step in the manufacturing process involves sterilizing the needles in an autoclave to ensure safety and performance. Needle counts can range from single needles to groups of 100, but for most tattoo work, you’ll find common options between five and twenty needles. Just as a derma roller relies on microneedling to create controlled micro-injuries that stimulate collagen production, tattoo needles use precise groupings to affect how pigment is deposited into the skin. Relying on this code helps avoid mistakes like grabbing a larger cluster when a finer line is needed, saving time and improving your results. The needle count directly impacts the density of the grouping and application style for different coverage and line thickness. Unlike hair extensions where wear time and application method determine suitability, tattoo needle selection depends on the specific grouping needed for each design element.
How Needle Count Changes Your Lines and Shading
Needle count directly impacts how your lines and shading turn out. A lower count, like a 3RL, creates finer, more controlled lines suited for delicate details. Conversely, a higher count such as a 14RL produces bold, thick outlines that really stand out. When it comes to shading, larger needle groupings like a 15M1C cover more skin with each pass, allowing you to achieve smooth, even tones more quickly. More needles in the grouping also allow for broader coverage that speeds up large-scale work. Understanding needle configurations helps you match the grouping to the specific technique you plan to use. Just as with derma rollers, allowing adequate recovery time between sessions prevents overworking the skin and reduces the risk of irritation or damage. For example, a 7M1 grouping is a common choice for soft shading transitions in realistic work.
Your grip also changes with needle count: a smaller grouping feels more nimble for precise lines, while a larger magnum smoothly glides across broader areas. Needle gauge influences this further—thinner needles in low-count configurations deliver a finer ink flow, boosting precision. Heavier-handed artists should be cautious with higher counts because they deposit more pigment and can cause more skin trauma. Select your needle count based on whether you need tight details or broad coverage, and always match it to the task at hand.

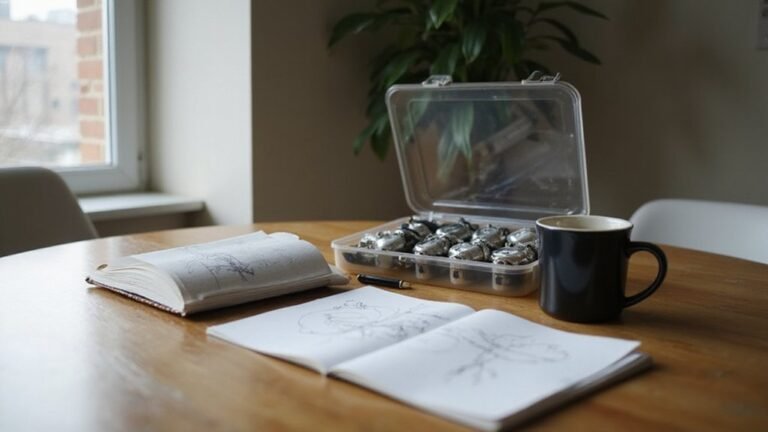
Cartridge Needles Sizes: 20 pcs tattoo cartridge needles include 3RL 5RL 5RM 7RM, each size has 5pcs. Those tattoo needles can be used for lining and shading, which can assist you with the entire tattoo work

Poseidon cartridge adopt a one-time joint design hygienic standard The material is stainless steel and easy to color,and has better ink flow
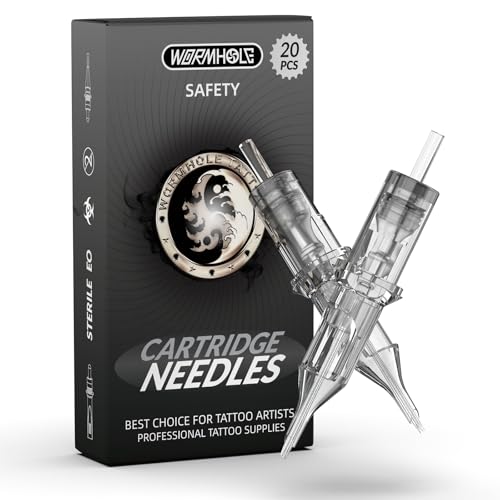
Package: 20pcs tattoo cartridge needles; Wormhole Tattoo Needles are individually packed, and for disposable use only
Does a Higher Needle Count Always Mean More Ink?
A higher needle count doesn’t always mean more ink. While more needles can cover a larger area faster, they don’t deposit more pigment per pass. Needle count determines how broad the coverage will be, not the volume of ink applied. For example, a multi-needle grouping can spread ink evenly across a wider area, but the saturation of the color still relies on other factors. This is similar to how LED face masks use specific light wavelengths to achieve results, rather than simply increasing the number of lights. The actual amount of ink delivered depends heavily on needle diameter and configuration. A larger, thicker needle can push more pigment with each puncture compared to a thinner needle, even if it has fewer needles overall. Additionally, the shape of the needle grouping, how deep you puncture, and the skin’s properties all influence how much ink remains in the dermis. Understanding tattoo ink composition helps clarify that pigment delivery depends on carrier properties and particle size, not just needle count. For example, coil machines and rotary machines use different mechanisms to drive the needle, which can affect how consistently ink is deposited.
Why 9 Needles Are the Most Versatile Count for Lining and Shading
A 9-round shader (9RS) provides two key advantages due to its medium-sized circular grouping. Its design allows you to create bold, thick lines for outlines or lettering, then easily switch to building soft gradients and smooth color transitions without changing tools. This needle configuration balances enough pins to handle darker, more saturated passes while remaining small enough for controlled work in medium-detail areas. Understanding the gauge of the needle is crucial for selecting the right one for your specific technique. You’ll achieve thicker lines with less skin trauma compared to larger groupings, and you can blend colors smoothly for black-and-grey shading or color fills. To optimize its versatility, adjust your tattoo machine settings: run at a slightly higher voltage for crisp lining, then lower it for softer shading. Overall, it’s an efficient all-around option that streamlines your workflow without compromising quality. Using a round shader cartridge ensures consistent ink flow when you keep the machine angle consistent to minimize fuzziness. For longer-lasting results, proper aftercare and maintenance of your equipment will extend its usability and performance. Just as with hair extensions, improper technique can cause trauma to the skin, so always prioritize sterile tools and gentle application.

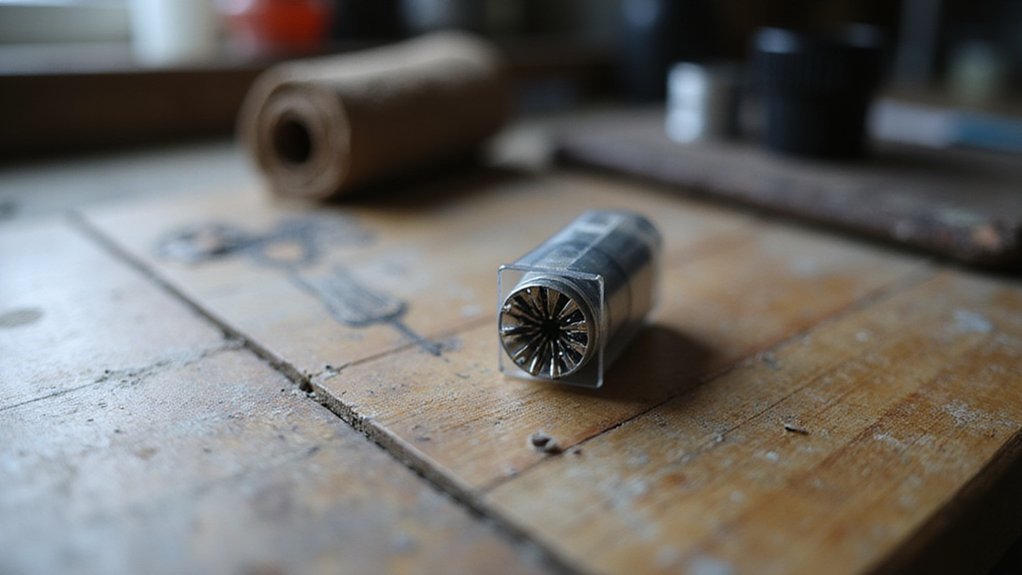
Mast Pro purple tattoo cartridges needles have been providing with high density clear plastic body.
Mast Pro purple tattoo cartridges needles have been providing with high density clear plastic body

35/09RS, 35 means diameter: #12. 35/09RS means 1209RS.
How to Match Needle Count to Your Tattoo Design
For ultra-fine linework, use a 1 or 3 round liner. These needle counts provide maximum precision and are perfect for detailed, delicate lines. For standard outlines, a 5 or 7 round liner offers a good balance between control and visibility, making them suitable for most basic sketching and defining edges. Just as tape hair extensions rely on the right adhesive for secure placement, your needle choice must match the task to avoid spreading or damaging the skin. When shading or packing color, switch to a magnum needle—7 to 13 curved shaders are ideal for smooth blending, while higher counts enable faster saturation over larger areas. For big backgrounds or high-volume work, use 14 or more needle counts to cover large spaces quickly. Always use a removal oil to gently break down any adhesive residue if you are also working with temporary skin applications, ensuring a clean surface. Always prioritize sterile, single-use needles to ensure hygiene, and dispose of used needles in a sharps container to keep everyone safe. Remember to check adhesive compatibility before starting any application to prevent lifting or premature failure.
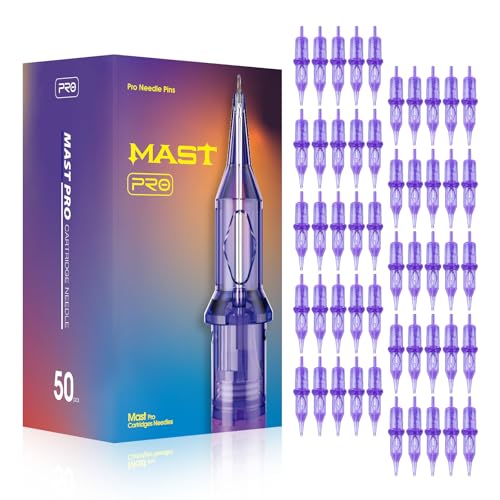
Mast Pro purple tattoo cartridges needles have been providing with high density clear plastic body.

Package: 50pcs mixed tattoo cartridge needles, includes 10pcs each of 1203RL, 1205RL, 1207RL, 1209RL, 1211RL.

COMPLETE LINING PACK: 20 individually sealed 3RL round liner cartridges for crisp outlines and fine lines. The 3-needle formation gives you control to lay clean, precise lines each session.