Getting your tattoo lines crisp and clean can sometimes feel tricky. The key is finding the right balance of voltage, needle depth, and technique so your lines stay sharp and consistent.
Once you know these settings, you’ll be able to create precise, professional-looking designs every time. Keep reading to learn how to fine-tune your machine for perfect lines.
Match Your Tattoo Lining Voltage to Hand Speed
Start lining around 6V to 7V. Use practice skin to make small adjustments in 0.5V increments. If your lines are weak and faint, you’re pushing the machine too fast for that voltage—slow down or increase the power. Overworked, jagged, or broken lines indicate you’re moving too slow; try speeding up your hand movement or lowering the voltage. Pay attention to the machine’s sound; a steady, humming noise suggests a good balance. Your aim is to maintain a consistent, solid line with each pass, avoiding uneven or shaky results. Always confirm that your tattoo machine setup includes the correct needle configuration and tube grip alignment before adjusting voltage. Properly matching voltage to needle size enhances line quality and protects the skin. Beginners should also consider starting with a wider needle grouping to achieve more forgiving, stable lines as they develop their hand speed. Understanding the pigment grinding duration helps ensure the ink’s consistency remains stable during your lining session.
Set Needle Depth to 0.5–2mm to Avoid Blowouts
Set your needle depth to 0.5–2mm to prevent blowouts. This range ensures pigment is placed in the dermis, which improves ink retention and pigment permanence. Going deeper risks depositing ink into the subcutaneous tissue, causing blurry lines and tissue trauma. If your needle is too shallow, pigment will stay in the epidermis, which fades quickly. To avoid these issues, ensure your needle penetrates the dermis at 1–2 mm below the skin surface. Similar to how improper installation of tape in extensions can cause hair damage, incorrect needle depth in tattooing leads to ink migration and poor results. Beginners should also check voltage settings to maintain consistent needle speed and avoid skipped lines. This process is comparable to how a derma roller creates controlled micro-injuries to stimulate collagen production in the dermis.
Check your needle hang with the machine running, as vibration can alter the visible length. Aim for a protrusion around 1.5–2mm, about the thickness of a nickel. Adjust the depth based on skin thickness; thinner areas require shallower settings. Start with conservative adjustments and test on practice skin. Small tweaks help avoid overcorrection. For standard lining, stay within 1.5–2mm; for delicate work, use 0.5–1.5mm. This approach guarantees clean, lasting lines.
Hold the Machine and Stretch Skin for Clean Angles
Angle the machine near-vertical, around 75 to 85 degrees, aligning it with your stroke direction. Smaller liners work better with a shallower tilt, while larger groupings require a more upright position to prevent blowouts or skipped lines. When you notice the machine stuttering or failing to deliver ink, check for oscillation or timing issues between the contact screw and the spring.
Stretch the skin taut with your non-dominant hand to create a stable surface that allows the needle to glide smoothly. When working on curves, hook your thumb and pinky together to increase tension. For longer stretches of tattoo work, using tape-in extensions can help maintain consistent tension by securing the skin in place. Lightly contact stabilizing fingers on the skin and adjust your angle as needed to follow the line’s shape. Maintaining consistent posture and skin tension—rather than applying force—helps produce clean, saturated angles every time.
Tune a Coil Liner’s Contact Gap With a Dime
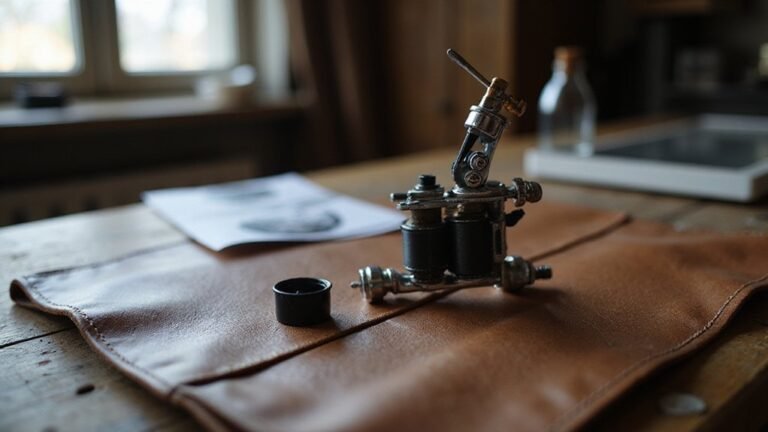
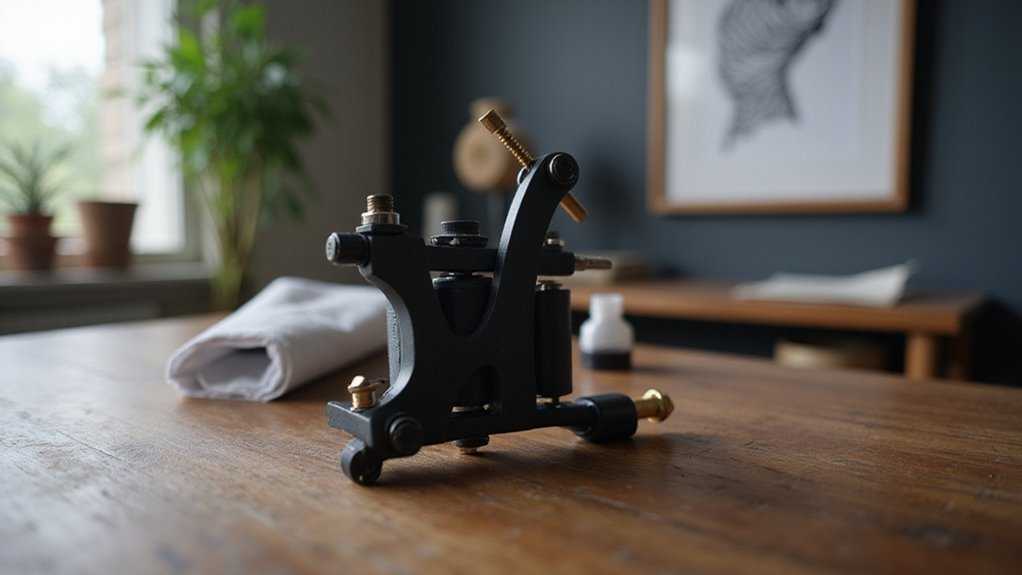
To tune a coil liner’s contact gap with a dime, you need to set the power to zero or turn it off. Then, loosen the thumbscrew that locks the contact screw. Press the armature bar down by hand to reveal the working gap. Insert a dime between the front spring and the contact screw tip to establish a baseline gap measurement. Adjust the screw until the dime fits snugly without forcing it, then tighten the thumbscrew again. This ensures the armature bar is flush with the top of the coil, providing proper coil clearance for initial setup. Understanding this adjustment is part of the beginner-friendly walkthrough for mastering machine operation. A consistent gap also helps avoid common issues like skipping or double-striking during use.
This dime-width contact gap ensures a quick, responsive cycle—important for creating crisp lines. It’s a starting point, not a final setting. If the gap is too large, the machine will struggle to cycle properly. Fine-tune the contact by listening to the machine’s sound and observing its movement later on. Never use voltage to force a poor gap; instead, keeping contact surfaces clean helps maintain a consistent liner performance right from the start.
Pick the Right Stroke Length for One-Pass Lines
The optimal stroke length for one-pass lines typically falls between 3.5 mm and 4.2 mm. This range provides the right balance to deposit ink fully without damaging or overworking the skin. Shorter strokes, such as 1.8 to 2.5 mm, allow for greater precision but often lack the punch needed to achieve bold, solid lines in a single pass. They are better suited for detailed or delicate work rather than rapid, saturated lines. Equipment must be well-maintained to ensure precise, clean results. For those working with wigs, selecting a high-quality hot comb can similarly prevent damage while achieving smooth, consistent styling. Similarly, finding the best baseball cap with wig can enhance both comfort and durability during daily wear.
Medium stroke lengths, around 3.5 mm, offer versatility with control and consistent ink flow, making them a reliable default choice for many tattoo artists. Larger needle groupings, especially in traditional and tribal styles, typically require longer strokes of 4.0 mm or more to generate enough power and ink deposit for bold lines. Adjusting the stroke length within this range based on needle grouping and line weight ensures optimal results for different styles and techniques.
How to Control Needle Speed and Restart Broken Lines
Controlling needle speed and restarting broken lines requires precise adjustments and steady technique. You regulate needle speed primarily through voltage, making small 0.1 to 0.2V adjustments. These subtle changes prevent sudden shifts in line quality and keep your work consistent. Listening to your machine is key—a steady hum indicates correct speed, while changes in noise may suggest you need to tweak your voltage. Align voltage with your hand speed rather than forcing the machine to match your motion. Thinner liners, for example, often need a lower voltage or slower hand movement to produce even ink saturation. If you notice dotting or fading, your voltage is likely too low, or your hand moves too quickly. Understanding the number of needles in a grouping, such as a 3RL liner, helps you match voltage to the specific needle configuration for consistent ink flow. For finer needle groupings in particular, choosing the right derma roller size can provide insight into how needle density affects skin penetration and healing.
When restarting a broken line, stop, wipe the area clean, and inspect for debris or irregularities. Follow the pre-existing line with steady pressure, ensuring your needle stays within the correct depth. Avoid overworking the area—one controlled pass is usually enough to fill gaps. Inconsistent lines often stem from uneven depth or inconsistent speed, not your setup. Keep the needle tip visible at all times, and adjust voltage only in small increments of 0.1 to 0.2V. Pay attention to how your skin reacts—swelling or pooling indicates you’re either going too fast or slow. Achieving steady, consistent lines hinges on maintaining harmony between needle speed, hand motion, and machine settings.
Run Diagnostic Line Tests on Practice Skin
Before running diagnostic line tests on practice skin, ensure your workspace is clean and flat, and verify your machine settings are properly dialed in. This process is not about creating perfect art but about isolating control and consistency. Start with straight lines to assess your machine’s performance in terms of uniformity, wobble, and saturation. Do not attempt color blending or shading until your fundamental lines are solid and predictable. It is recommended to use Frankenskins or Real Skins for easier tattoo practice on fake skin. Understanding different needle configurations helps you select the optimal liner for crisp, single-pass results. However, be aware that some artists eventually rethink ink tattoos for health or career reasons, so prioritizing clean technique now is wise. Familiarizing yourself with buyer-focused tips can also help you set realistic expectations for line quality.
Next, incorporate half circles and S-curves to evaluate how your hand and machine handle direction changes. Run multiple identical lines to confirm your output remains consistent across repetitions. Vary the stroke depth deliberately—shallow, correct, and deeper—to observe how each affects the appearance, checking for even thickness, wobbling, or patchiness. A good line appears dark, continuous, and smooth without surface damage. If you notice cut marks or faded areas, then adjust your voltage or hand speed accordingly. Repeat these tests until every pass feels smooth, controlled, and predictable, ensuring you’re practicing control rather than just pattern creation.
What to Do When Your Lines Look Dotted or Patchy?
If your lines appear dotted or patchy, the most common cause is a mismatch between your hand speed and the machine’s voltage. Moving too fast with low voltage causes the needle to struggle, resulting in color fading and broken lines. To fix this, raise the voltage to better match your pace, ensuring the ink flows smoothly. If you’re moving too slowly while using high voltage, you risk overworking the skin, so reduce the voltage accordingly. Achieving proper speed and voltage synchronization is crucial for continuous ink flow and a clean, even line. Investing in top tattoo chairs ensures you maintain a stable posture, which directly improves your hand speed consistency and line quality. For those still testing materials, using a reliable temporary tattoo ink can help you practice line work without permanent consequences. Just as with a derma roller, preparing the skin properly by cleaning and sanitizing the area can prevent inconsistencies and improve needle glide.
Regular maintenance of your machine also plays a vital role. A dirty or misaligned machine can cycle inconsistently, which breaks your line and creates patchiness. Make sure to check and clean your needle regularly and verify that the needle depth isn’t set too shallow, as this can leave gaps in your lines. Additionally, ensure that the machine makes consistent three-point contact for stability during each stroke. With proper setup and upkeep, you’ll be able to produce solid, uniform lines effortlessly. For instance, an adjustable stroke machine allows you to set a larger stroke like 4-5 mm for bold outlines, which can help overcome patchiness by delivering a heavier, more saturated line.