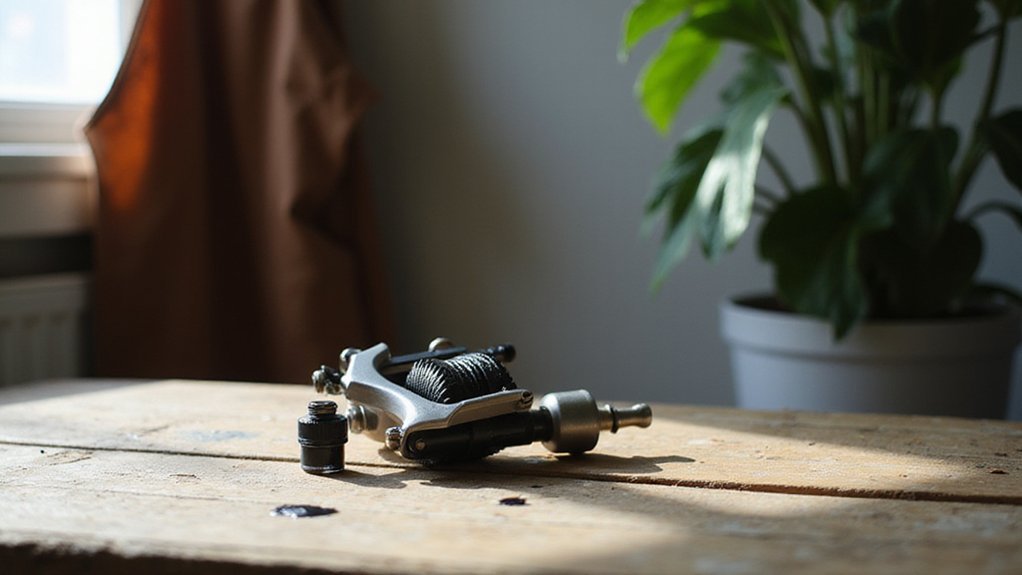
Getting started with a tattoo machine can feel overwhelming, especially if you’re new to it. Knowing the right steps to operate and maintain your equipment is key to safe and effective tattooing.
By understanding the basics—like assembly, voltage settings, and cleaning—you’ll build a solid foundation. Keep reading to find out how to confidently handle a tattoo machine from setup to cleanup.
Safety and Sterilization: What You Must Do Before Touching a Tattoo Machine
To prevent infection, wrap your machine, clip cord, and all touched surfaces with disposable barrier film before starting. Proper skin preparation is essential; clean the area thoroughly, shave with a single-use razor, and disinfect the skin. Always use sterile water and fresh supplies during the process. Reusable parts like grips must be sterilized in an autoclave before each use. Never reuse needles; dispose of them immediately into a sharps container to reduce contamination risk. Lastly, inspect the machine and cord for any damage, cracks, or fraying before you begin to ensure safety and proper operation. Understanding microneedling’s micro-injuries helps explain why strict sterilization prevents infection during similar skin penetration procedures. Tattoo ink must be manufactured with high quality pigments to ensure it remains sterile and safe for use. When applying barrier film, always use a crisscross pattern to seal the grip and avoid lifting during use.
How to Assemble Your Tattoo Machine Without Needle Wobble
To assemble your tattoo machine without needle wobble, start by selecting the right needle grouping that closely matches your tube size. This ensures the needle guides smoothly and reduces side-to-side movement. Insert the needle gently, since tips are fragile, and position it so it just barely extends past the tube opening. Excessive hangout can cause wobble and affect your line work. Holding the tube steady while you insert the needle helps prevent the fragile tips from bending or breaking. Tape extensions offer similar stability benefits for hair volume, holding bundles firmly in place.
On a coil machine, align the armature bar nipple directly with the tube. Make sure the front spring sits flat against the contact screw, which helps maintain consistent contact and movement. Set a small gap between the rear coil and its contact point—about the thickness of a dollar bill—so the coil energizes correctly without excess slack. Use a rubber band over the needle bar for snug tension that prevents movement without adding friction. For rotary machines, note that lower risk of wobble can simplify the assembly process for beginners. Tighten the tube vise just enough to hold everything steady; over-tightening can warp the setup and lead to wobble.
Finally, perform a manual motion check by moving the needle bar freely to ensure smooth, consistent movement. Follow with a full-function test on the machine to confirm there’s no unnecessary play or wobbling during operation. Regular machine maintenance, including checking and tightening connections and cleaning parts, is essential to prevent wobble before it interferes with your work. Recognize that wobbles indicate setup issues, so correcting any misalignment in the needle and tube before starting is critical for stable performance.
How Deep Should Your Needle Go? the 1.5–2 Mm Rule
Needle depth should be around 1.5 mm as a safe starting point. Adjust based on the body’s area and skin thickness; thinner skin on elbows or ankles requires shallower work, while thicker areas like thighs can tolerate up to 2 mm. Use a layer roughly the thickness of a dime to guide your depth. Penetrating too deep into the subcutis can cause blowouts and scarring. Consistent depth also depends on maintaining a stable treatment schedule for your machine’s power output, as battery or voltage drops can alter needle projection mid-session. To extend the lifespan of your tape extensions, avoid over-washing and excessive heat exposure that can shorten their wear time. Using a DIY prison tattoo machine often requires improvised depth control, as the lack of a professional tube can make consistent needle projection difficult.
Always review healed results—sharp lines and stable color indicate correct depth. Because skin layers and placement vary, adjust your needle to suit each client and location conservatively. Remember, mastering depth control takes practice to develop a keen eye and steady hand.

Fits Dial indicator height dial test indicator depth gauge etc interchangeable measurer Tool.

Poseidon cartridge adopt a one-time joint design hygienic standard The material is stainless steel and easy to color,and has better ink flow
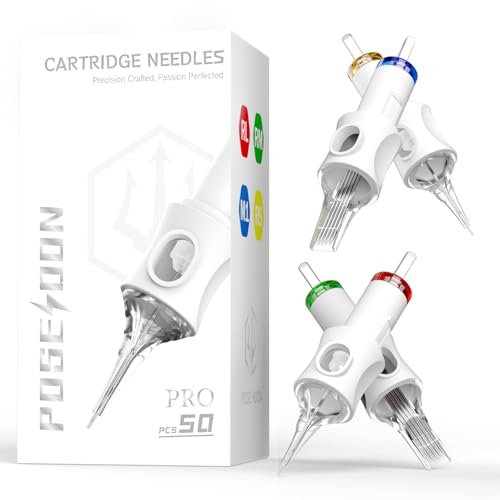
【Complete Variety Pack】50 sterile tattoo needles (10 sizes × 5 each) including 3RL, 5RL, 7RL, 9RL, 5RS, 9RS, 9RM, 11RM, 15RM, 7M1 (Note: RS-type needles correspond to Model #12; all other needles in this pack are Model #10). The spiral nozzle design holds 30% more ink than standard needles, while laser-sharpened tips ensure crisp lines and smooth shading - perfect for both studio professionals and home practice.
What Voltage and Stroke Work Best for Lining vs. Shading
For lining, higher voltage around 8V and a longer 4mm stroke work best. This setup ensures quick ink flow and crisp, single-pass lines, which are crucial for clean outlines. If you prefer bolder, more defined lines, increasing the voltage towards the higher end of 7.5 to 9V can enhance line sharpness. Consistent needle depth is also essential to prevent blowouts. Without transfer paper, you can create a freehand stencil by tracing a design with a sharpie and applying deodorant to the skin. For artists exploring metallic finishes, gold ink quality is vital for achieving vibrant results. Beginners should also select top tattoo needles for stick and poke to ensure reliable ink delivery and minimize skin trauma.
For shading, lower voltage settings between 6 and 6.5V are ideal for beginners because they produce softer, more gradual tones. Pair this with a shorter 3mm stroke to reduce skin impact and allow for smoother color blending and softer transitions. Keep in mind that hand speed and needle grouping influence these settings; faster hand movement and grouped needles may require slight adjustments. Always start conservatively, listen closely to how the machine sounds, and make small tweaks to find what works best for you. Remember, voltage and stroke are interdependent—never copy another artist’s numbers blindly but instead tailor your machine settings to your technique and comfort.

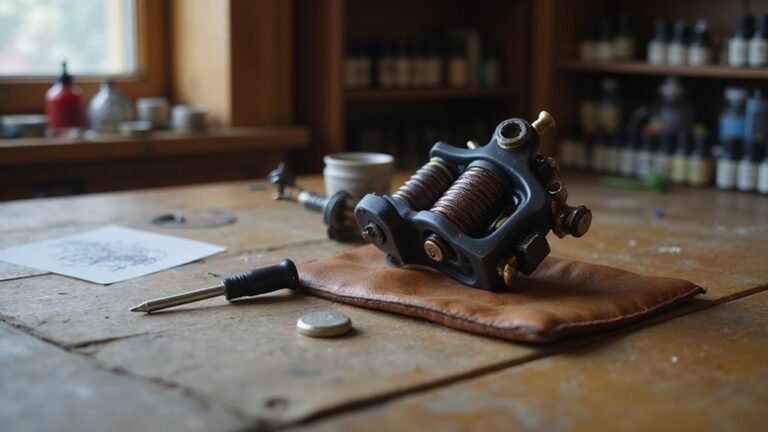
Material:Ambition soldier tattoo machine is made by aluminium alloy. Its length is 148mm, grip diameter is 32mm, and weight is 210g. Well balanced in weight, comfortable to hold.
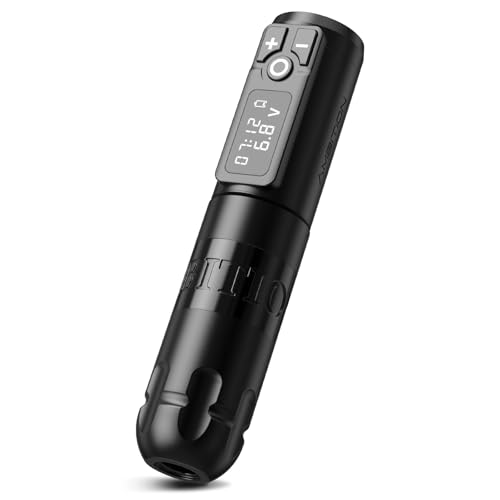
Material:Ambition soldier tattoo machine is made by aluminium alloy. Its length is 148mm, grip diameter is 32mm, and weight is 210g. Well balanced in weight, comfortable to hold.

OLED Display: Tattoo gun features an oversized OLED screen that clearly shows voltage, working time, and battery level. The intuitive interface allows for fast, precise adjustments, helping tattoo artists stay focused without interruptions
How to Hold Your Tattoo Machine Like a Pro
To hold your tattoo machine like a pro, use a relaxed yet firm grip similar to holding a pencil or paintbrush. The main control points should be your thumb, index, and middle finger forming a tripod-style hold. Your middle finger supports the cartridge or body of the machine, helping to stabilize needle depth. Rest your ring finger and pinky lightly on the skin to enhance steadiness without applying unnecessary pressure. Keep your wrist relaxed and your elbow tucked in to improve ergonomics and reduce fatigue during long sessions. Consistent practice of needle depth control will eventually build the confidence needed to transition to a more advanced hold that allows you to float the needle for finer control. Maintaining a consistent grip is essential—practicing until your hold feels natural and repeatable will lead to cleaner, more precise work. When working with coil machines, position the cord over your arm to prevent it from snagging or pulling. Never squeeze the machine tightly; doing so wastes energy and diminishes control. Aim for a balanced, tension-free hold that allows fluid movement without wobbling, ensuring better results and less strain during tattooing. To further optimize your setup, consider how your grip interacts with the machine’s weight distribution, as a balanced tool reduces the need for extra finger pressure.

[Premium Food-grade Silicone] Crafted from high-quality food-grade silicone, these tattoo machine grip covers feature an inner diameter of 32mm, outer diameter of 54mm, and height of 42mm. Weight is 48.5g
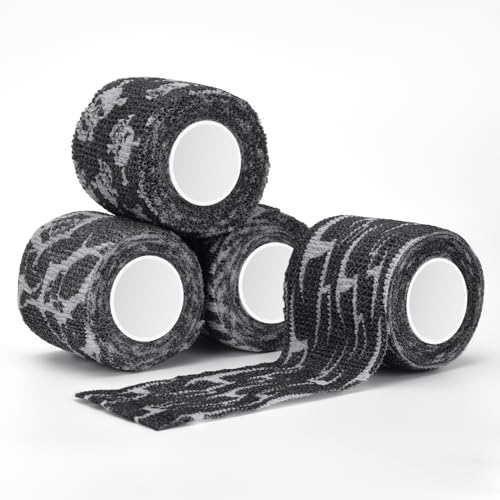
The elastic self-adhesive bandage can be used to wrap the handle of the tattoo pen, which can absorb sweat and prevent the tattoo color from staining the machine.

🫧Package Contains - 200Pcs pink tattoo pen covers and 4Pcs tattoo grip tape. Tattoo machine covers measure 7.09" x 2.56". Tattoo grip wraps measure 2“ x 5 yards.
Why Stretching the Skin Is the Secret to Clean Lines
Stretching the skin properly is crucial for achieving clean, crisp lines. When your grip locks in, the next step is using your opposite hand to stretch the skin evenly and firmly. Loose skin absorbs needle motion, which can cause inconsistent depth and patchy lines. By stretching the skin flat, you create a taut surface where the needle punctures cleanly instead of pushing the tissue down. This reduces the “dip” effect and helps maintain a predictable depth, preventing blowouts and uneven marks. Tight skin ensures the needle pierces rather than pushes, which is especially critical with larger needle configurations like an 11 round liner or 15 mag for consistent results.
Use three-point tension by pulling the skin from multiple directions to smooth out surface tension. This creates a dense, solid canvas that resists bouncing and shifting. Stronger tension ensures the needle meets consistent resistance, resulting in sharper, more confident lines. Without proper stretching, you’ll struggle with skin bouncing and produce faded or choppy results. Mastering this technique guarantees your lines stay crisp, clean, and precise every time.
5 Beginner Practice Drills for Steady Hands and Clean Lines
To develop steady hands and clean lines, focus on building line repetition endurance with consistent motion. Repeating the same motion helps your muscles learn the feel of controlled, precise movement. Use ballpoint pens or pencils for practice drills, as they simulate the machine’s feel without needing skin. Concentrate on letting the needle do the work, emphasizing clean, saturated results before increasing speed. Practice hand speed, timing, and control by identifying your start and end points, letting the needle catch before pulling, and maintaining a steady tempo. Speed will come naturally once you have mastered these fundamentals, so prioritize precision and consistency first. Proper hand anchoring and grip are vital for stability, preventing micro-movements and maintaining control during each pull. Understanding the different tattoo machine types helps you choose the right tool for your practice drills. Always clean the machine after each session to prevent ink buildup and ensure smooth operation. To avoid unnecessary stress on your skin during practice, remember that overworking the surface can lead to irritation, much like traction damage from heavy extensions pulling at the roots.
How to Clean and Store Your Tattoo Machine After Every Session
After every session, you should thoroughly clean and disinfect your tattoo machine to maintain its performance and prevent cross-contamination. First, switch off and unplug the machine, then put on fresh gloves. Remove all single-use items such as needles and tubes and dispose of them safely in a sharps container. Detach the grip, tube, and cable components and place them on a clean barrier for cleaning. When selecting needles for shading tasks, choose best tattoo needles specifically designed for smooth ink saturation. To further ensure safety, always pre-soak reusable parts in an appropriate disinfectant solution before detailed cleaning.
Wipe the external surfaces with a disinfectant-moistened cloth, avoiding spraying directly onto the machine. Use cotton swabs for cleaning threads and grooves where debris can accumulate. Allow the disinfectant to sit for about 10 minutes to effectively sanitize, then wipe away any residue with alcohol. Ensure all parts are air-dried completely before reassembling the machine. Oil any moving parts only if necessary to keep them functioning smoothly. Store your machine in a clean, dry area to prevent damage and contamination. Following these steps consistently will enhance the machine’s durability and help prevent the spread of bacteria. Remember to clean your workstation before and after each session using the same protocols for a hygienic environment, and always act more cautiously than perceived necessary to ensure safety. Similar rigorous cleaning routines are also recommended for devices that use red light therapy to maintain their efficacy and hygiene.

MADE IN THE USA SINCE 1990 — For over 30 years Dynamic Color has produced professional tattoo supplies in the United States, an established American brand artists built their work on long before most imported labels existed.

[EFFICIENT CLEANING OF TATTOO NEEDLES] - The tattoo needle cleaner will rinse the tattoo needles with a large amount of water to ensure that the tattoo cartridges are rinsed within 2-3 seconds, avoiding you from mixing the colors during the tattooing process. It is a great tattoo cleaning product, more efficient than dip cup

Revive Dried-Out Inks with Ease: Xtreme Wetting Solution is your go-to remedy for bringing dried-out inks back to life, saving you from the frustration of wasted inks and unnecessary expenses.