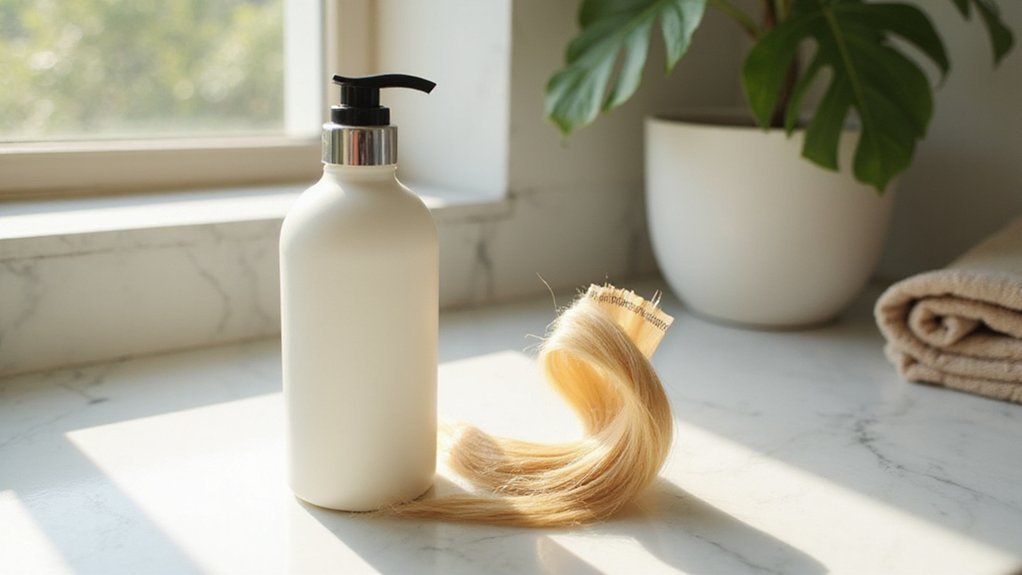
Removing tape-in hair extensions can feel tricky, but with the right approach, you can do it safely without damaging your natural hair.
The key is to gently loosen the bond with a specialized remover or alcohol, then carefully lift the extensions apart.
In this guide, you’ll learn step-by-step how to remove tape-in extensions without yanking or breaking your hair, plus tips for cleaning up residue and reusing the extensions if you want.
Why You Should Never Remove Tape-In Extensions Without a Remover
Removing tape-in extensions without a remover is risky because the adhesive bond relies on proper softening before removal. Without a remover, you’re forced to peel or tug at the glue, increasing the chance of breakage and thinning of your natural hair. Adhesive removers, like oil-based solutions or dedicated dissolvers, are designed to soften the glue first, making the process gentle and controlled. They break down the bond safely without causing damage or irritation. Natural oils such as argan or coconut can help loosen the adhesive, but they are less effective on their own and still require a proper remover to fully dissolve the glue. Ripping extensions out without the proper product can leave sticky residue on your hair and scalp, leading to difficulty cleaning up and potential scalp trauma. This process is similar to how a derma roller uses micro-needling to stimulate controlled skin repair without causing unnecessary damage. Always choose a quality adhesive remover to ensure a safe, gentle, and mess-free removal process.
What You’ll Need Before You Start Removing Tape-In Extensions
To remove tape-in extensions safely, you need a few essential tools and products ready. First, gather a professional tape-extension remover, which is specially formulated to dissolve the adhesive without damaging your hair. If you don’t have a remover, isopropyl alcohol or an oil-based product like coconut oil can serve as effective alternatives. The remover is a mix of alcohol and mineral oil, sold by The Hair Shop. Cotton balls are best for controlled application, helping you target the adhesive precisely without excess mess. Beginners often find that choosing the right wig caps for grip can also improve stability during hair maintenance tasks. Using a vanity stool with backrest can provide comfortable support while you work on your hair.
Set up a clean, well-lit workspace to keep things tidy and to spot any drips or residue easily. Use a towel to catch any drips or leftover adhesive. Have sectioning clips on hand to divide your hair into manageable parts, and a rat-tail comb plus a fine-tooth comb to part the hair accurately and remove any remaining adhesive residue.
Post-removal, stock up on clarifying shampoo to thoroughly cleanse your scalp and hair of leftover oils. Keep conditioner nearby to restore moisture after the process. If you plan to reuse the extensions, prepare replacement tape and a flat surface for reapplication. Always separate old tape from new adhesive to prevent contamination and ensure a clean bond. With the right tools and products prepared, you’ll make the removal process smooth and damage-free.
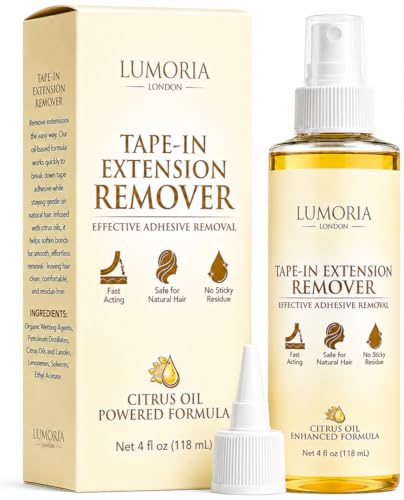
FAST-ACTING HAIR EXTENSION REMOVER: Loosen tape tabs, wig glue and sticky adhesive bonds quickly without stressful pulling or tugging. This tape in hair extension remover helps release extensions smoothly, making removal easier for at-home users, stylists, wig wearers and regular extension maintenance - without damaging your natural hair.

FAST-ACTING HAIR EXTENSION REMOVER: our hair tape in extension remover solvent is specifically designed to quickly and easily remove hair extension glue while being gentle on your skin and hair. Our oil-based rapid remover is suitable for sensitive scalps and will get your hair extensions to tape out without any pulling or damage. our adhesive tape in remover is formulated using citrus oils and extracts that will work on any style of tape in extensions or soft bonds

EASY TO USE - This formula was made for easy and clean removal for K Tip, U-Tip, Keratip, Plastic Tubes, Tape-ins, and Shrinkies Hair Extensions
Step 1: Saturate the Tape Bond With a Professional Solvent Remover
Start by saturating the tape bond directly with a professional solvent remover, ensuring the adhesive layer is fully soaked. Use a spray-on applicator for controlled coverage and quick penetration into the adhesive. An even distribution softens the entire strip, not just the visible edge, making removal easier. If you have overlapping bonds, apply extra solution to reach hidden adhesive layers. Choose your solvent carefully based on your hair type and chemical sensitivity—alcohol-based formulas evaporate faster, while oil-based options are more effective on stronger bonds but require thorough washing afterward. Match the remover to your specific tape system for optimal results. Professional-grade removers typically start breaking down the adhesive within seconds to a minute, depending on the buildup. Avoid pulling or tugging until the chemical process has fully softened the bond, as this helps reduce stress on your natural hair strands and keeps your hair safe. For a similar approach, you can practice controlling the spray applicator to ensure even coverage, just as beginners do with a tattoo machine to avoid over-saturating one area. A sturdy cap foundation provides stability for the hair system during the entire removal and reapplication process. Remember that habits like heat styling near the bonds can drastically shorten the tape in extensions last time before you need to refit them.
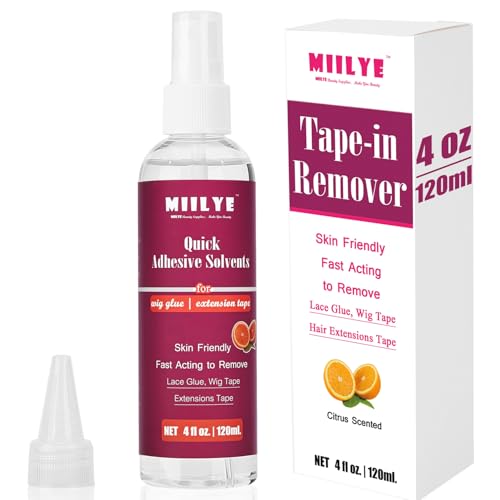
[Fast Acting Tape in Extension Remover] MIILYE tape in remover is designed for damage-free removal of lace front wigs and painless taking off tape in hair extensions, our upgraded tape in extension remover formula facilitates fast removing wig glue adhesive in 60 seconds and tape in extensions as little as 3 minutes;

EVERYTHING YOU NEED TO REMOVE TAPE INS: Big Kizzy Remover 1 (8oz) + Remover 2 (4oz) system is unlike any other tape in extension remover! One hair extension remover spray and one hair extension adhesive residue solvent, this dynamic duo makes removing tape ins easy for stylists and DIYers. MADE IN THE USA!

FAST-ACTING BOND REMOVER: Dissolves wig tape, extension tape, and adhesive residue for lace systems and tape in hair extensions human hair; ideal for daily wearers needing quick cleanup.
How Long to Let the Remover Sit Before Separating the Bond
After saturating the bond, let the remover sit for 30 to 60 seconds. This is the standard timeframe recommended for professional tape-in removers and allows the solvent to start loosening the adhesive without risking damage. For extension safety, avoid rushing this process. Instead, gently check if the tape tabs begin to slide apart easily. If they resist, the adhesive has not fully loosened; apply more remover and wait another 30 to 60 seconds. Some products may require up to 2 minutes or more, so always follow the specific instructions on the label. Removing too early can cause hair damage, residue buildup, and unnecessary stress on your scalp. Once the solvent has had enough time to break down the bond, gently test the tape. Only separate the extensions when the tape comes apart smoothly without force, signaling that it is safe to proceed. Professional tape-in removers use solvents similar to those in tattoo ink production, designed to dissolve strong adhesives effectively. For optimal results, wait for the adhesive to fully soften before applying any pressure, mirroring the patience required when letting a derma roller glide evenly across the skin without rushing the process. After removing all tapes, follow the aftercare tips to prevent residue buildup and maintain healthy hair.
Step 2: Gently Lift One Edge and Work More Remover Into the Opening
Once you’ve allowed the remover to work, gently lift only one edge of the tape using your rat-tail comb, fingertip, or extension scraper. Be careful not to grab or pull on the hair underneath. Create a small opening at the top seam to give your removal tools access to the adhesive. Keep the lift minimal—your goal is a tiny gap, not to pull the tape apart. Using both removers suitable for different adhesive types ensures effective breakdown regardless of the bond.
Next, spray or dab more remover directly into that opening, ensuring it contacts both the top and underside of the tape. Saturating from both sides weakens the adhesive more quickly. Use your comb tip or fingertip to spread the remover into the seam, keeping the area visibly wet.
Then, perform a slow, gentle lift-and-release motion. If resistance occurs when lifting the tape edge, do not increase force. Instead, apply more remover to the area. Resistance indicates the adhesive needs more solvent, not more pulling. Keep the extension steady and continue working until the adhesive softens enough to begin separating with minimal drag.
How to Tell When the Tape Is Ready to Release Without Resistance
You’ll know the tape is ready to release when it suddenly slips away with little or no resistance. The bond shifts from gripping tightly to peeling easily. The extension pieces should come apart smoothly, almost sliding apart without force. If you can lift the tape and it peels cleanly while staying attached to the extension tab rather than your natural hair, it’s ready.
If strands cling or resistance remains, pause. This indicates that more remover or time is needed. The key signs are a slippery feel and effortless separation when gently lifted. When the tape feels loosened and produces a quick, clean peel without jerking or sticking, you can proceed safely.
How to Use Hair Oil or Isopropyl Alcohol to Break Down Stubborn Adhesive
If the adhesive remains stubborn despite earlier attempts, using either hair oil or isopropyl alcohol can help break it down chemically. For a gentler approach, opt for hair oils such as coconut, olive, or baby oil. Apply a small amount directly onto the tape tab, then insert a rat-tail comb to create a tiny opening so the oil can seep between the layers. Gently massage the area to weaken the adhesive properties and let it sit for at least 10 to 15 minutes. This oil-based method mimics the gentle removal techniques used when adjusting a wig cap to protect the scalp. For quicker results, switch to isopropyl alcohol. Saturate the top of the tape with alcohol, but avoid forceful pulling. Work in small sections, allowing the chemical action to loosen the adhesive instead of yanking at it. Always allow at least one week between removal and reapplication to ensure the scalp recovers properly. When using either method, you can also gently slide the extensions free once the adhesive breaks down sufficiently. Following the correct washing and drying routine before removal can prevent excess oil buildup that might interfere with the adhesive bond.

Say goodbye to sticky fingers and hair! Our Tape-in Remover is specially designed to easily remove Tape in Adhesive with little to no residue.

Perfect for Tape-in Hair Extensions Removal: Specifically designed to effectively remove tape-in hair extension glue while being gentle on your hair and skin, ensuring a safe and easy removal experience

FAST-ACTING HAIR EXTENSION REMOVER: our hair tape in extension remover solvent is specifically designed to quickly and easily remove hair extension glue while being gentle on your skin and hair. Our oil-based rapid remover works well for sensitive scalps and will get your hair extensions to tape out without any pulling or damage. our adhesive tape in remover is formulated using citrus oils and extracts that will work on any style of tape in extensions or soft bonds
Step 3: Clean Adhesive Residue Off Your Natural Hair and the Extension Tabs
Once the tape tabs are removed, focus on cleaning the adhesive residue from both your natural hair and the extension tabs. To protect your hair color and scalp health, avoid aggressive pulling. Instead, apply a generous amount of heavy conditioner to the sticky areas and leave it on for up to an hour to soften the adhesive bond. Gently comb through each section—your natural strands and the extension tabs—to help the softened adhesive slide onto the comb. This process, which may require multiple sessions, helps break down the glue residue effectively by using a deep conditioning treatment. This approach mirrors the consistent usage of LED face masks, where repeated sessions yield the best results over time. For a gentler breakdown, a derma roller can also help lift residue by creating micro-channels that allow the conditioner to penetrate more deeply. Using a professional-grade solvent can further accelerate the breakdown of stubborn glue without damaging the hair. Rinse thoroughly and follow up with a clarifying shampoo, washing twice if necessary to remove any remaining residue near the roots. If there’s still stickiness, repeat the conditioner treatment and gentle combing process rather than scrubbing, which helps preserve your scalp’s integrity and prevents color fading. This method ensures a clean surface for reinstallation or styling without causing unnecessary damage.

FFAST ACTING WIG REMOVER SPRAY: Our wig remover spray can easily and gently remove your wig. It can be 60 seconds without damage and taking off tape extensions as little as 3 minutes without pain. It can also be used to clean up any adhesive left on your hairline, making it a cleaner and faster way to remove your wig

LACE REMOVER SPRAY: Your new go-to, glue and lace removal product! Not a harsh solvent, Bold Hold Lace Remover is a revolutionary spray solution designed to release bonding adhesives and eliminate residue build-up on lace front wigs without damaging the hair, skin, or scalp.
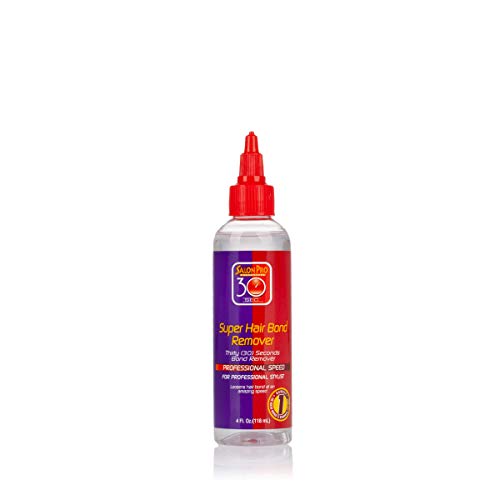
Enriched with Olive Oil
How to Keep Your Hair Safe While Removing Tape Extensions
To keep your hair safe while removing tape extensions, start by sectioning your hair into small, controlled areas. This minimizes tension on your natural strands and reduces the risk of damage. Clip away surrounding hair so only one bond is exposed at a time, allowing you to see the scalp clearly. This approach helps prevent accidental snagging and keeps the scalp comfortable during removal.
Next, soften the adhesive completely with a removal solvent. Saturate the bond until the tape appears visibly wet; avoid forcing the separation. If the tape resists, reapply more solvent rather than pulling harder, which can cause breakage. Hair porosity plays a role here—high-porosity hair may absorb the solvent faster, so adjust the amount accordingly to ensure the bond softens fully without overdoing it.
Use gentle tools like a rat-tail comb or your fingertips to lift the tape edges. Peel the tape slowly, supporting both the extension and your natural hair near the root. If you feel resistance or hair pulling, stop and add more solvent. Working in small sections, apply oil afterward to prevent re-tangling and keep the hair smooth. Move carefully throughout the process to avoid unnecessary breakage, maintaining a gentle touch at all times.
What to Do With Extensions After Removal: Residue, Reuse, and Aftercare
After removing your extensions, focus on managing residue, reusing the wefts, and caring for them properly. To remove leftover adhesive and oils, use a clarifying shampoo right after removal. One deep wash is enough to clean the hair thoroughly; avoid overdoing it to prevent dryness. Follow with your regular shampoo to maintain moisture. They are a popular choice for those seeking length and volume quickly. For a clean transfer of the stencil design, artists often rely on high-quality carbon paper for precise lines. A similar principle of careful application and removal applies to the DIY machine setup for consistent results.
For extension reuse, peel off the old tape backing while the remover is still working. Clean the wefts thoroughly and dry them completely before storage. If you encounter stubborn gunk, apply more remover before washing again. Store the wefts flat in a silk or soft fabric bag, kept away from sunlight to preserve their quality.
Aftercare involves gentle washing, applying conditioner from mid-lengths to ends, and detangling with a wide-tooth comb starting from the tips. It’s recommended to wait one to two weeks before reinstalling your extensions and to trim any split ends to keep the wefts healthy and reusable. To prevent root damage during this waiting period, keep up with routine care and monitor natural hair growth for timely re-taping.

Protect Hair Color From Fading: Our Clarifying Shampoo removes hair residue while our Restoring Conditioner locks in hydration to reveal bright, visibly healthy color that lasts, for all hair types. Suitable shampoo and conditioner for color treated hair

Break through everyday damage-causing buildup. This deep cleansing shampoo is pH-optimized to lift the cuticle and remove damage-causing impurities like chlorine, heavy metals, and the minerals commonly found in hard water, pollution, as well as excess oil and product buildup. The endless, refreshing lather cleanses hair without stripping to restore color vibrancy, shine, and softness, and maximize efficacy of hair repair routines. Use weekly or as needed. For straight, wavy, curly, coily hair types, and fine, medium, or coarse textures – plus all porosity levels.

Deeply cleanses and removes dulling buildup.